Showing posts with label Roses. Show all posts

09 May, 2011

Couple of Cupcakes

I'm getting more requests these days for cupcake orders. Naturally, they're the "in" thing right now and I don't doubt they are much more popular than my cakes. I've had two orders to do lately, the first was for Abby's auntie and uncle's wedding favours.

Chocolate Fudge Wedding Cupcake Favours

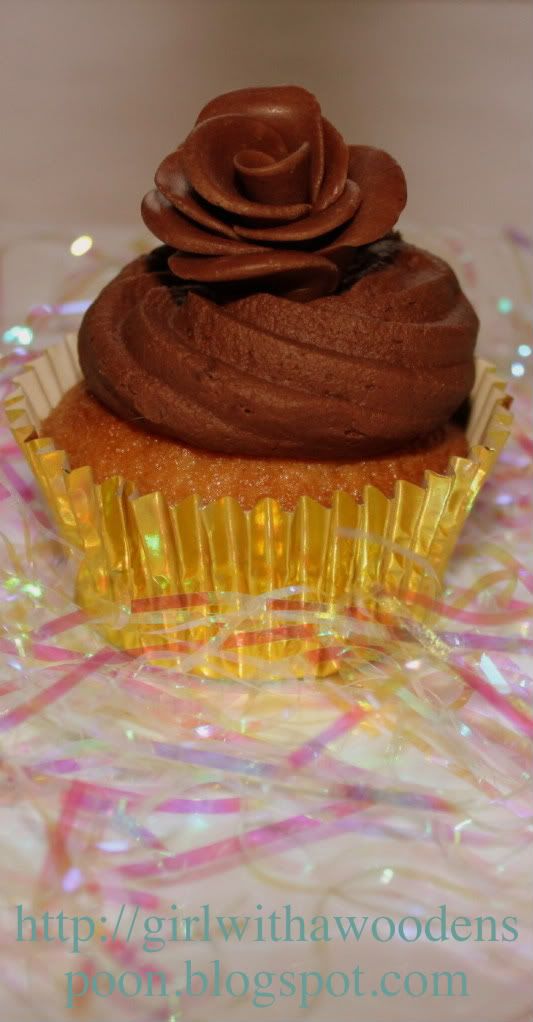
I had an absolute nightmare with these. They tasted amazing, don't get me wrong (yes, I can feel how big my head is). But because they had risen slightly in the centre, it was awful to ice with buttercream without it sliding off. The cupcakes were to go in clear plastic boxes tied with ribbon, so sliding buttercream was not a good look up the side of the box. So I wiped off the buttercream, started again. And again. And again. I was in tears trying to rectify the problem, and eventually had to cut the top of each cupcake off, swirl on some pre-made buttercream (because I had ran out of icing sugar and time was running out!!) and finish with some home-made chocolate roses. Remember how to make them? No? Find out here!
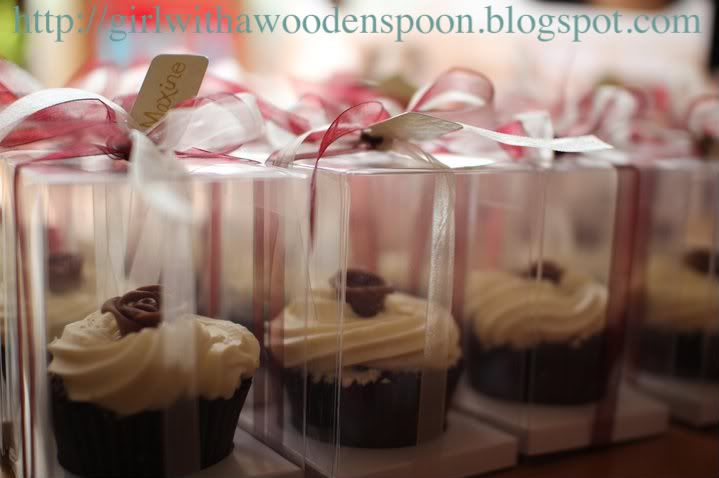
N.B Although watermarked, these images are actually courtesy of Abby's cousin - how amazing is this photography!!!
The favours came out amazingly (despite the smidgens of pre-buttercream you can see underneath the final swirl). They were finished with chocolate and cream organza ribbon and a label for everyone's names. Technically, these cupcakes acted as 1) favours, 2) name placements, 3) dessert! How efficient! Here's the second order:

Carrot Cupcakes with Cream Cheese Frosting

Now this was a challenge. I have never tasted carrot cake. I have never tasted cream cheese frosting. What the hell? I have no idea if they tasted like what they were supposed to taste like, but I made extra for my parents to be a judging panel. They liked them, and carrot cake is my dad's favourite so that had to be a good sign. Okay then, proceed.
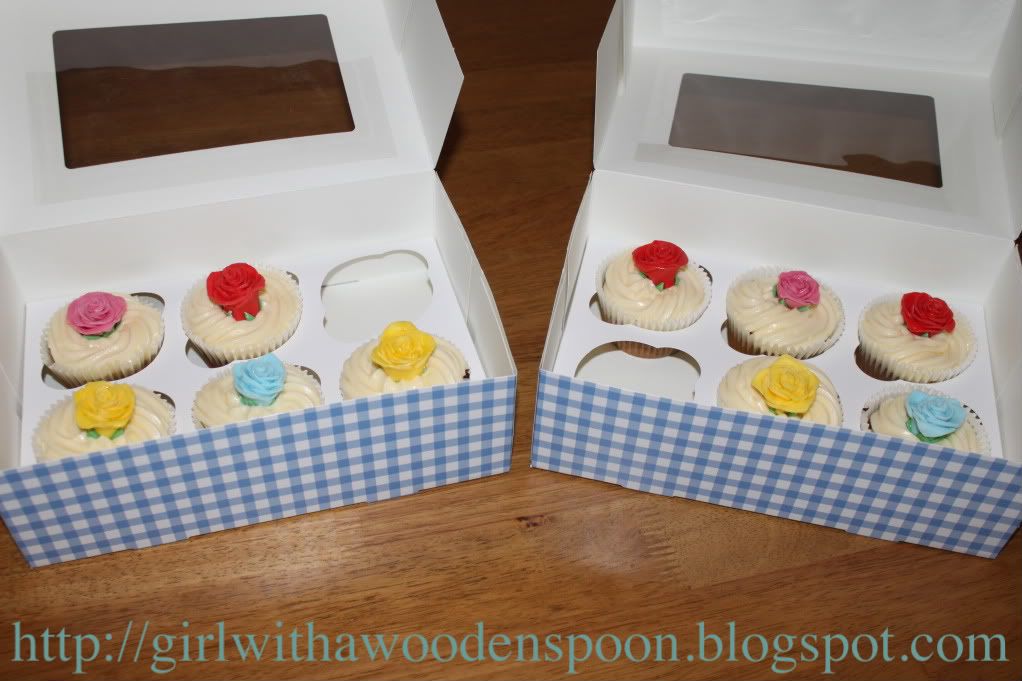
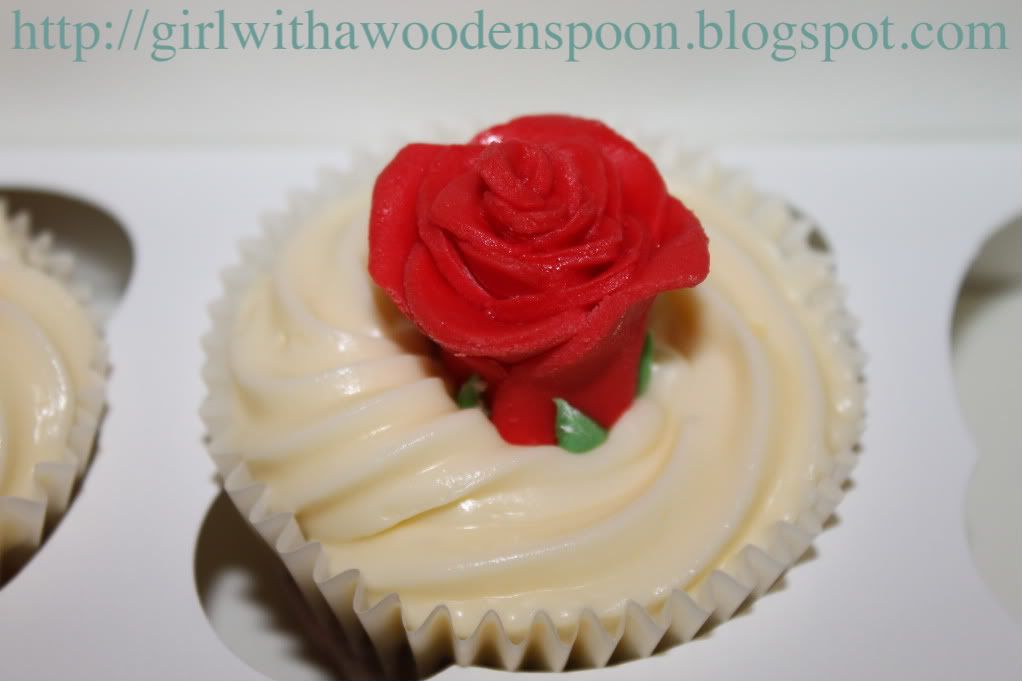
My friend Emily from university got married last week - congratulations! She wanted a spin on the general hen party and organised a vintage tea party to have with her girlfriends - bunting included! She asked me to create these cupcakes with an assortment of coloured sugarpaste roses to finish. Suffice to say, this is probably the only cake order I've done where I haven't descended into tears. Wahoo!! She loved them, and even paid more than what I asked for them because of this! How generous?! (I think the gingham cupcake boxes added the extra pzazz, don't you? Oh I love the word pzazz lately!)
The roses are made in exactly the same method as the chocolate ones, with a star cut-out of green icing underneath for the leaves :)
Happy Baking x

11 January, 2011

Chocolate Roses

I've recently posted on my Facebook a mass call out to anyone who wants a cake doing, and suprisingly, I've already got another wedding cake to do this year! Ahh!! What's more, it's my friend Jodie's cake - she's a complete chocoholic and so she wants an EXTREMELY chocolatey cake. There is a little shop on our seafront that specialises in chocolate celebration cakes, but to be honest they are totally overpriced and frankly quite rude in there, too. No wonder Jodie came to me!

With this in mind, I had to get a riddle on with getting to grips with cocoform. She doesn't know exactly what she wants, but I best be prepared for whatever she asks for. I dabbled in cocoform for my mum's 50th cake, but mostly that was just rolling it over a cake, with a little white chocolate bow. I need to challenge myself.. So I made chocolate roses today. I got a tiny pink mixing bowl complete with wooden spoon and sponge mix for christmas, and didn't want to waste the sponge mix. I made a few cupcakes with the mix, and decided to decorate with chocolate buttercream and chocolate roses.

To make 7 large chocolate roses, you will need:
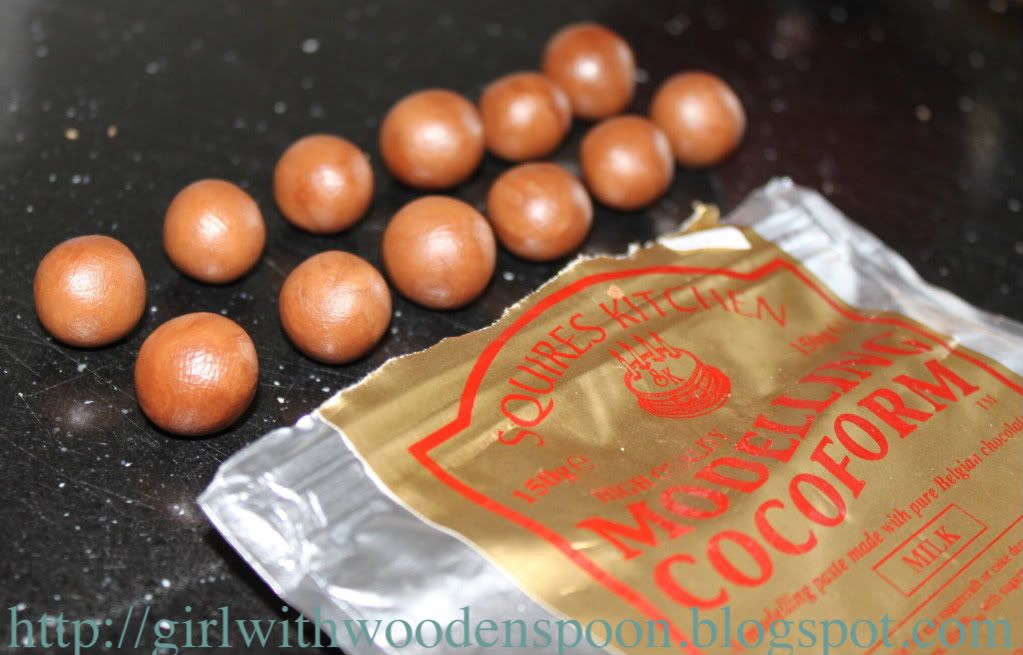
- 100g Milk Chocolate Squires Modelling Chocolate. This comes in at around £5 for a pack of 150g - so use wisely!
- Cling film

Method:
1) Knead the cocoform until pliable. The natural cocoa butter will lubricate the paste, so there is NO NEED for Trex or icing sugar.
2) Take off little pieces of cocoform and form into balls a little smaller than Malteasers, but all different sizes.
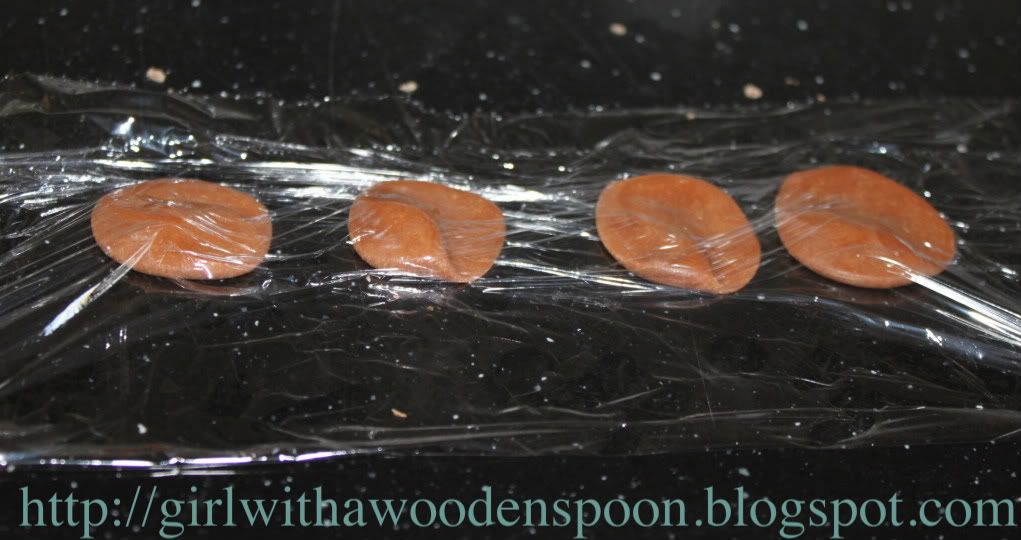
3) Tear off a piece of cling film, and place a few balls of cocoform onto the film. Pull over one end of the film to cover the balls.
4) Flatten each ball using the palm of your hand, then carefully smooth over two thirds of the petal pieces using the edge of your thumb. This will make it easier to mould the petals to make them look more realistic.
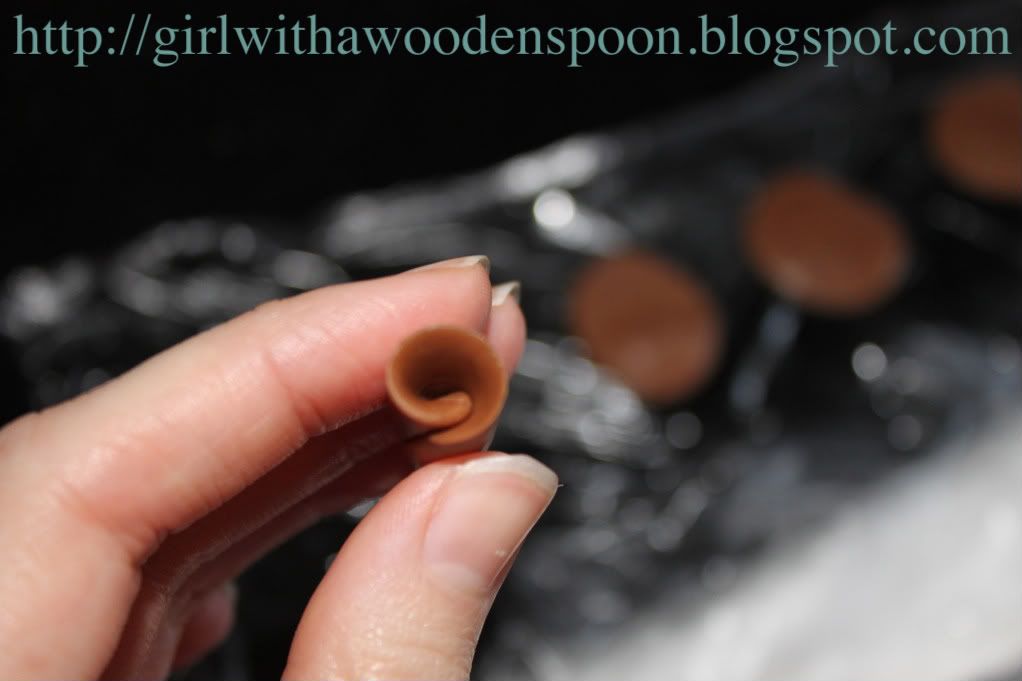
5) Take a small petal and curl it around itself using your thumb and forefinger. This will be the centre of the rose.
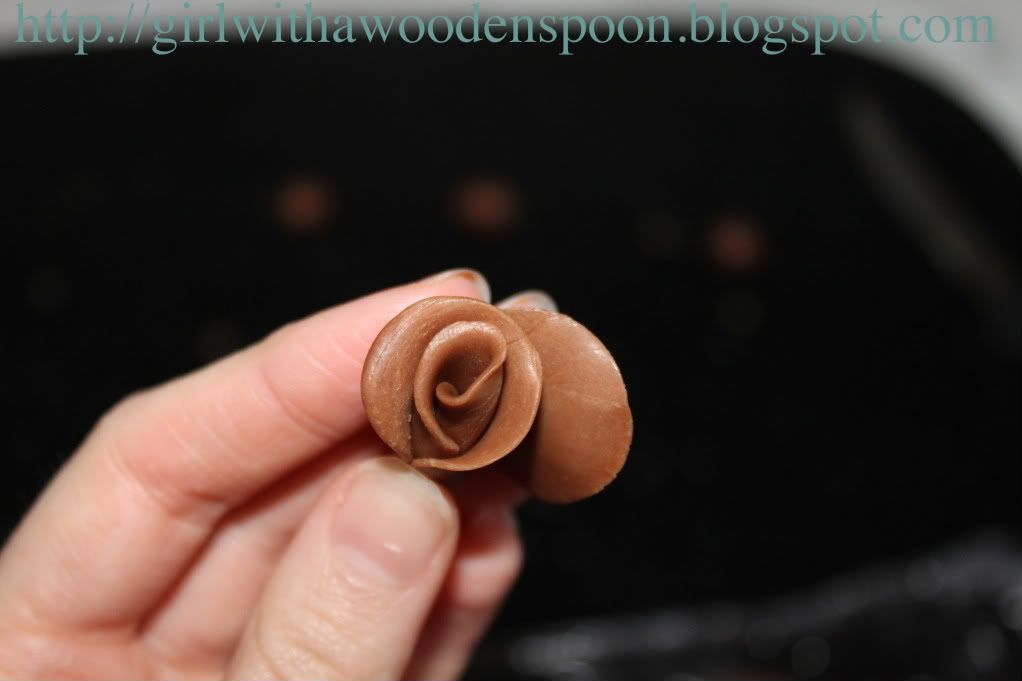
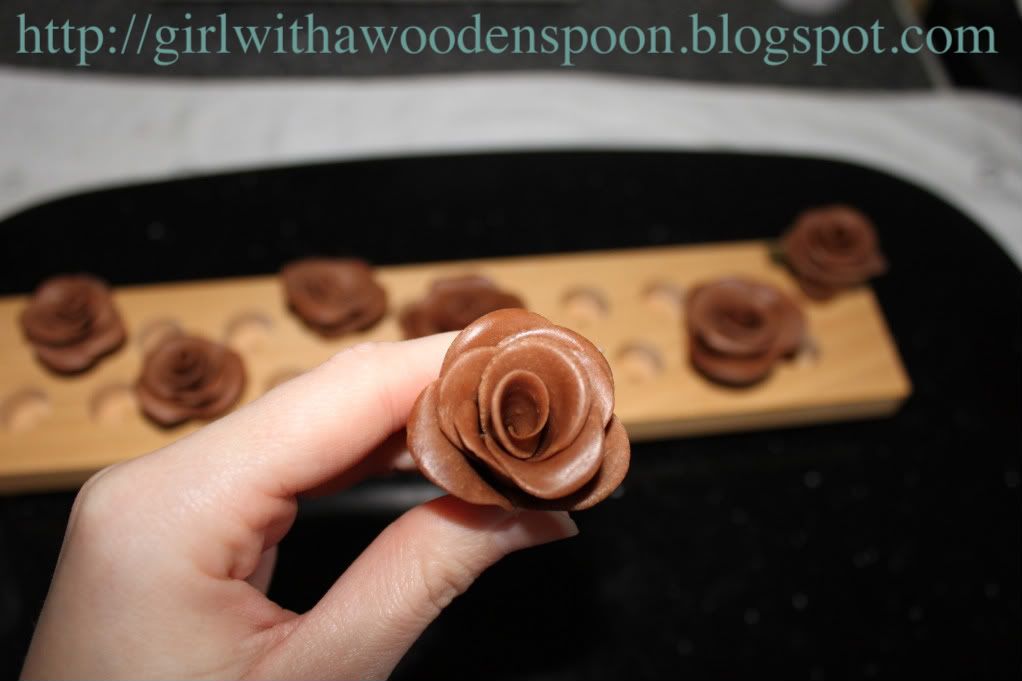
6) Gently add more petals to the centre of the rose, attaching them naturally with the cocoa butter in the cocoform. Use bigger petals towards the end of the rose, and curl the edges to make them a little wilted.
7) Cut off the bottom of the rose once finished, you will find that it gets quite fat with every layer of petals you add. I find that 8 petals is the average for every rose.
Please note, that as much as you may love chocolate, cocoform does not taste exactly like your favourite bar of Dairy Milk. It has glucose in the mixture to make it malleable, so it won't be exactly the same, but it's still edible. It's like the chocolate you get in your advent calendar every christmas - it doesn't taste just right, but you still eat it anyway :P

What do you think? Stick to icing flowers or do these look alright for a first-timer? :D
Happy Baking x