Showing posts with label Royal Icing. Show all posts

20 June, 2012

Peace and Love


Remember a while back when I talked about my friend Tash? Her lovely mum was true to her word and contacted me again for another commission for the school!

This time, they were having a very special visit from someone called "The Scary Guy." He's scary because he looks like this:

He's a motivational speaker, and a big deal in America. He goes to schools all over the country to talk about prejudice, racism, respect and having love for others. I think he's great! Now on an international tour of UK schools, too, Tash's mum wanted to provide him and the kids with some delicious treats for his Scary day at her school. This time the order was even bigger - TWO HUNDRED AND FIFTY cupcakes!!! I won't put pictures up of them, as they look exactly like the ones before, and plus I forgot to take pictures of them :D The only difference this time was that I was asked to provide about 25 undecorated cupcakes plus a load of goodies so that the kids could decorate them themselves. Sounds like a fun day of school to me...

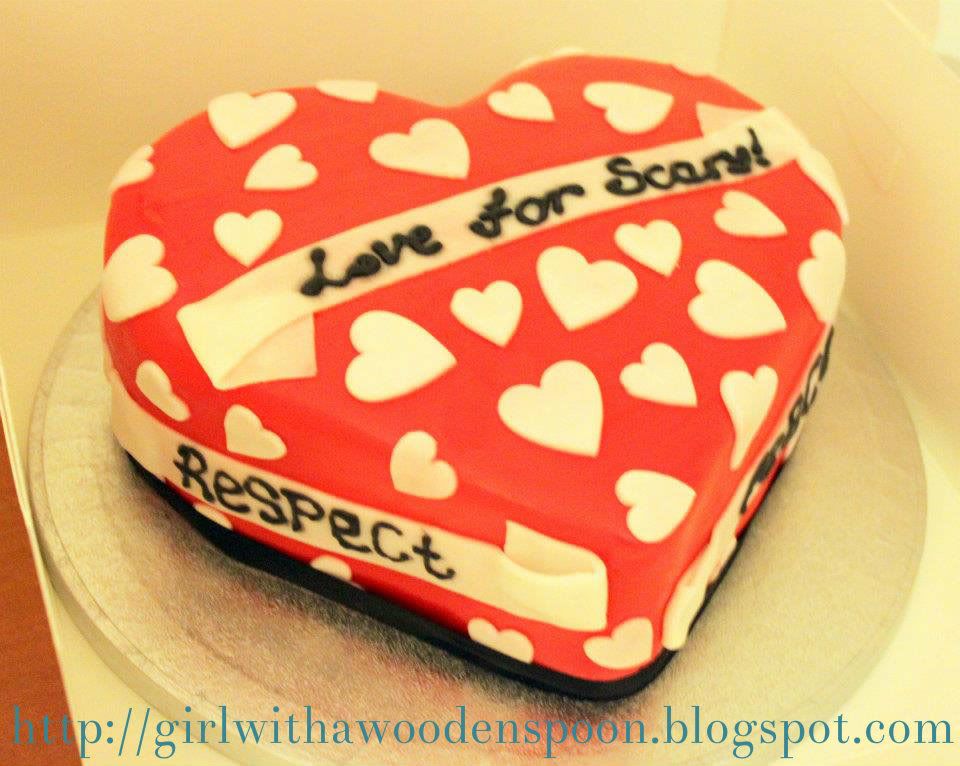
She also asked me to come up with a cake for Scary Guy, something to say thankyou for him being there. As you can see, the guy is covered in tats, so I went with a heart-shaped (love) cake and used my ribbon roller cutter to cut strips of icing into 'scrolls' like you'd get in tattoos. The difference being, my scrolls had words of encouragement, like "peace" and "respect." Not "mum" like you'd expect on a biker dude.  

Icing on the Top:
  • He's famous in America - and he ate MY cakes!!
  • It's for a good cause!
  • Everything was super yummy, and I even got a hug from the school advisor that came to pick it all up! :P
Burnt Bits:
  • I still couldn't master the art of royal icing at this point, and my writing was too runny. It spread slightly, which you can see. It's not just a blurry picture.
  • The "scrolls" I made were too thin, which is a problem because I used white icing on top of red and the red shows through :(
  • I couldn't make the original delivery slot due to my old job not telling me about a shift I had that particular day. It was really unprofessional of me to have to cancel, and the order ended up getting picked up at 7am the day of the talk. I know Tash is a friend, so I really don't want it to seem like I was taking the piss. But seriously, I felt awful. Jim's mum, best friend and daughter-in-law all rallied around to help me ice the 250 cupcakes in record time, but thanks to Tash's mum being really lovely and understanding, I didn't need to rush. Thankyou to everyone for just being so amazing to me!
I later found out that the guy devoured most of the cake to himself, and really enjoyed it, so I got a bit of an ego boost there! :D Love for Scary!!

Happy Baking x

07 June, 2012

This Cake Has Been Left Blank For You To Write Your Own Message

Sorry, it's a boring one guys!


It's nice that once in while someone asks for a simple cake - just something with a personal message on it. These cakes were both given as gifts and I was instructed for both of them to just have something simple on there.

I really don't have an awful lot to say about either of them, both recipients were pleased with them - but I know in my heart of hearts they could have been just a bit better... And I'd promised to show you everything I've done. Lucky you!

Icing on the Top:
  • It was good practice despite a simple design for each of them. One was a 6" vanilla sponge cake and the other was a 8" fruit cake. It's not often I make small cakes and they're a right royal pain in the ass to cover in icing as you don't have a lot of control over them like you would larger cakes. Also, I don't make too many fruit cakes unless someone wants one in one of the tiers of a wedding cake, or if it's christmas.
  • When the fruit cake was baking it made my flat smell like christmas in Summer :)

Burnt Bits:
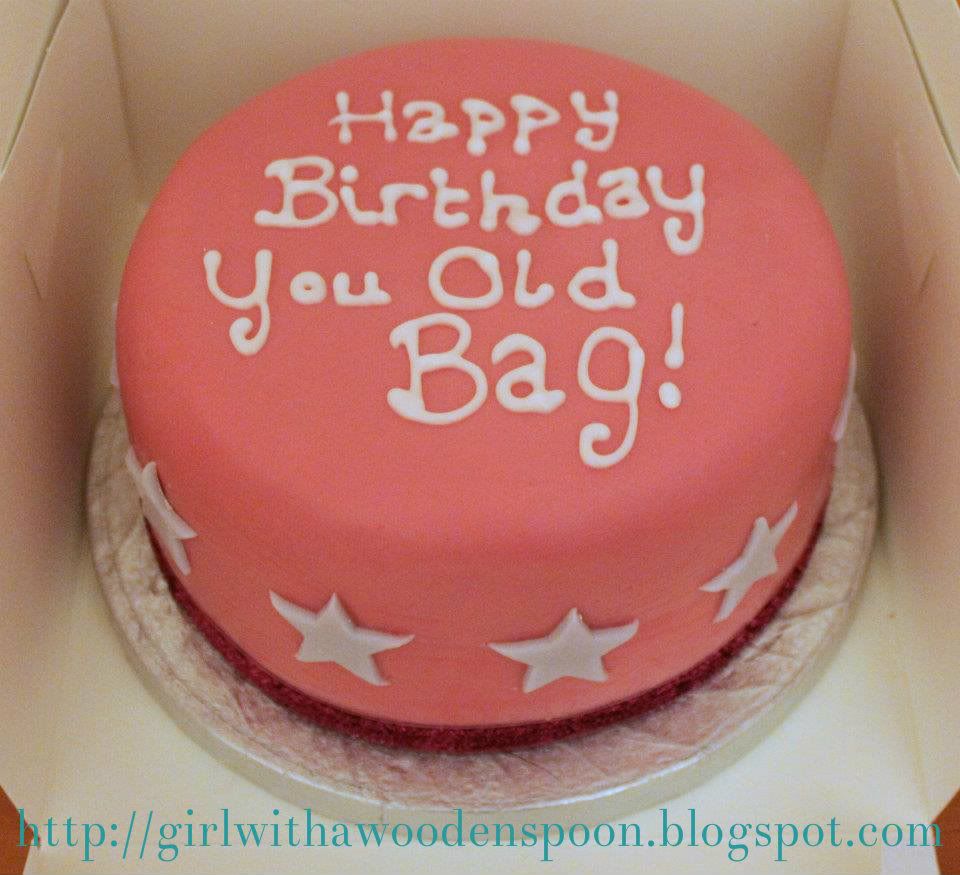
  • I hadn't done an awful lot of piping work before the pink cake - that's something I know I need to improve on and the next time I cover a cake dummy I think I'll try some intricate icing designs. You can tell that my font sizing is all over the place on this one and if I had just taken the time to plan ahead and space out my letters then it could have been really lovely. Luckily, it's a funny message so I think it looks okay a bit skew-whiff!
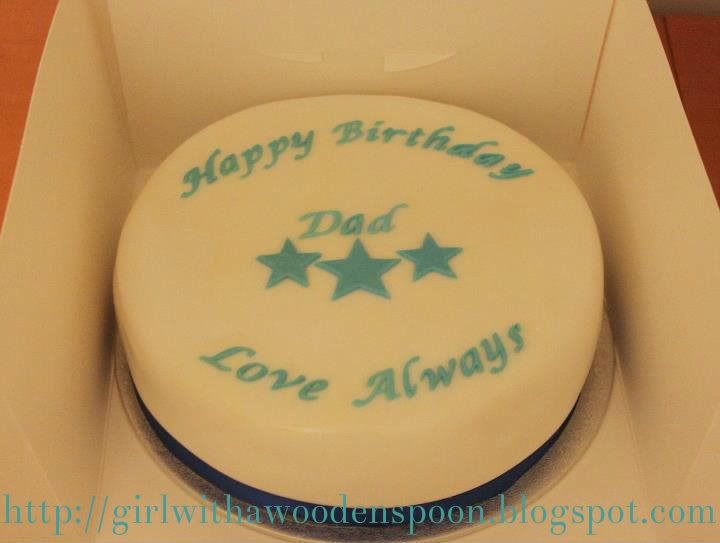
  • Remember what I said a few posts ago about how if you use too much Finishing Spray on a white cake it gives it a yellowy finish? Exhibit A: The Yellowy/White cake.
It'll be more interesting next time, I swear!

Happy Baking x

29 April, 2012

On The Piste


Ahh, we're back to one of the first cakes I ever made! But I said I'd discuss each cake, including the ones I really buggered up. This one, I did just that! So I've made up my own version of 'pros and cons' that I can look back on and review!

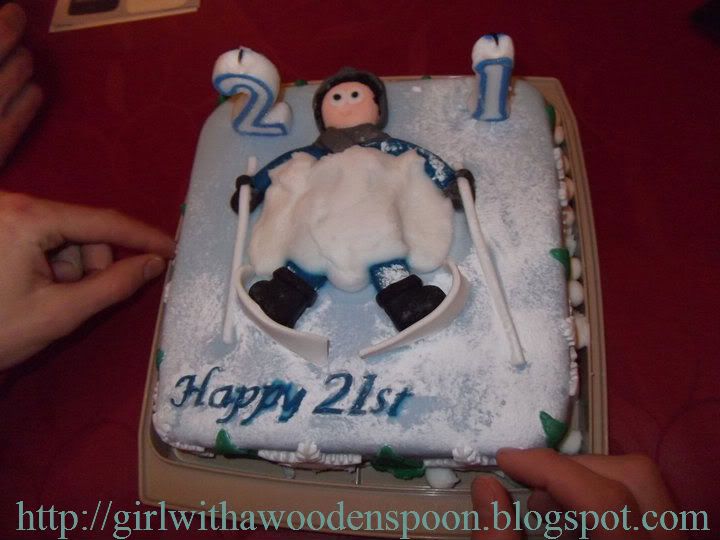
Here's what happened: One of my best friends, Hannah, was going away skiing with her boyfriend and his family and while they were out there it was her beau's 21st birthday... So she asked me to make a cake for him and yes - she took it all the way to the Alps (or wherever it was, I can't remember now!) She definitely crossed country borders, though. Cool huh? My cake went international!

Trying to remember now, I believe this was a vanilla sponge cake with jam and vanilla buttercream filling. The design was Hannah's idea, and to be honest I was pretty pleased with my first attempt at creating a sugarcraft person!

Icing on the Top:

  • The base of the cake was relatively perfect, a gorgeous icy blue colour with cut-out snowflakes and trees lining the sides.
  • It was the first go at using rolled-up balls of icing to also line the sides. This just tidied everything up a bit and also looked like snowballs!
  • The ski man was really cute and entirely edible! I created him by shaping an oblong piece of blue icing into arms and legs and a body, then adding on the head and additional pieces of clothing.
Burnt Bits:

  • I should've used royal icing for the snow splat on my little ski man. Instead, I used glace icing and it just wasn't the right consistency - it was too runny and absorbed all of the icing sugar 'snow' I sprinkled over him.
  • I really should've thought about what I wanted for the personalised message. This cake was actually presented on a silver cake board and 'Birthday' was stencilled onto the board rather than the cake as you can see I ran out of space! Looking back, I could have just stencilled out his name - 'Mark' - which would have fitted perfectly... Arrghh!
  • Unfortunately, Hannah and Mark's mum wanted to transport the cake discreetly and the big cake box it came in was just too recognisable amongst their ski gear in the boot of their car. So they removed the cake from the board (ahhhh!!) and popped it in their own tupperware box, and only managed to salvage a handful of the snowballs that were stuck to the board.
  • Finally, when using the shoddy alphabet stencils (they're called Tap-it's - don't use them!!!) I bought (I'm on my third set of them, they're not cheap either, but when you 'tap' them, not only do your letters pop out, but half of the stencil does, too. I use silicone ones now that you can tease out and they're soooo much better) they get covered a bit in icing sugar from where you've rolled them out. To get rid of the icing sugar blemishes on the letters, I used edible glue rather than a dab of water, and not only did the 'snow' sprinkles again get absorbed by the glue, but it never dried and gave a blotchy, wet look to the letters.
You can imagine by the time Mark got his cake he was probably looking at it a bit oddly. Of course, it's not Hannah's fault that she had to move the cake from it's original location but the end result was a bit naff thanks to my mistakes. Also, when I delivered the cake I realised that I hadn't remembered to put my memory card in my camera so didn't have any pictures of what it looked like as I left it. These are Hannah's pictures which she kindly sent me!

Sorry Mark, hope you had a good birthday. You were skiing afterall...!

Happy Baking x

15 December, 2010

50th Birthday Cake

I was naughty with this one. I cheated :O
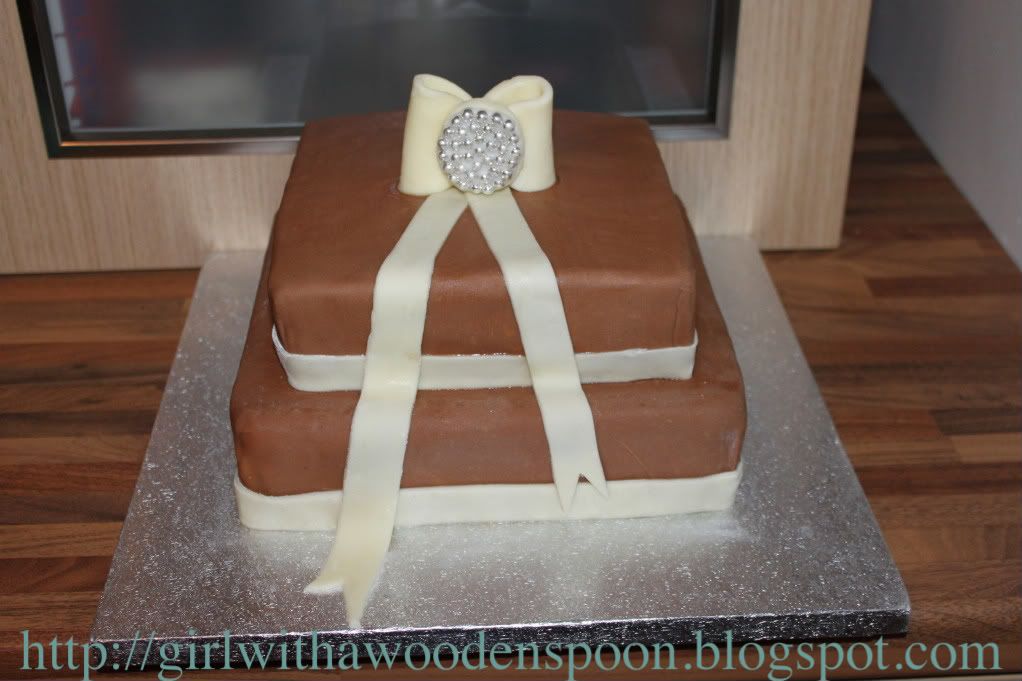
This post is not about the specific ingredients of the sponge, but rather about how I got on with the modelling chocolate which I used to cover and decorate my mum's two-tier birthday cake. I bought a dry Devil Food Cake mix from my local cake supply shop - I know it's naughty of me to cheat, but the lady who owns the shop adds preservatives into the mix so the cake has a longer shelf life. This cake took me aaaaaages to finish, so it was a good thing that it lasted so long. Using that mixture, you can bake up to 12 days before whatever celebration you need the cake for - it's ideal, and totally delicious!!!

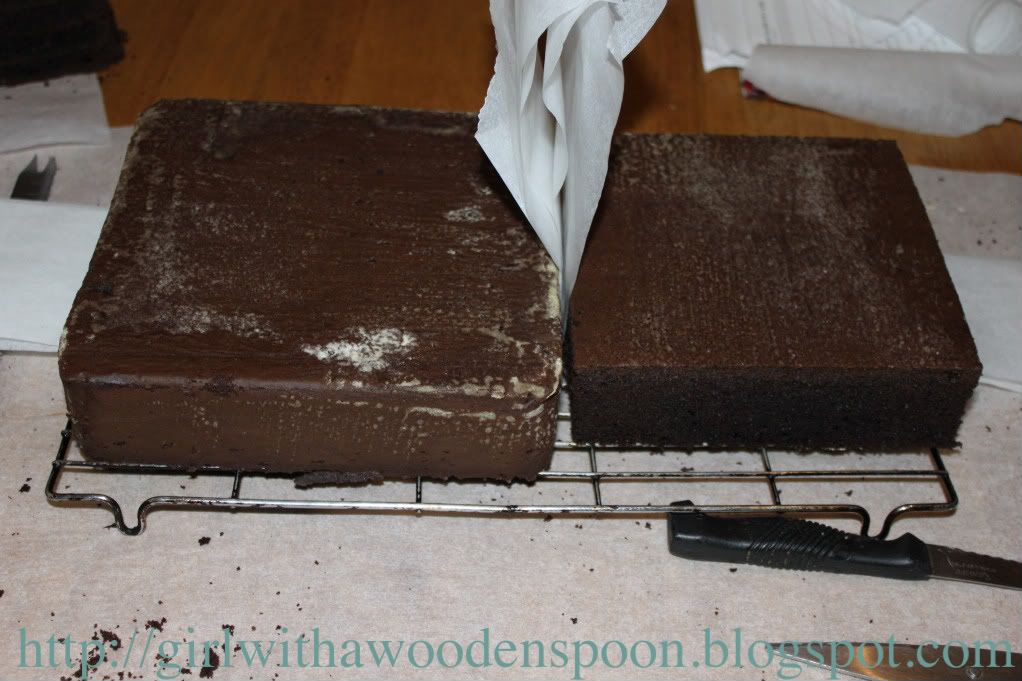
This is what the cakes turned out like before covering, and I measured my only square cake tin wrong and went out and bought another tin exactly the same size, so had to cut down the second tier veeeery carefully to add on top:
To cover the cakes, again I cheated. I bought chocolate frosting from the same cake shop - again because of the preservative qualities it has. I covered both cakes in the frosting, and then covered in rolled white modelling chocolate. To make this, you will need:
- Squire's Belgian White AND Milk Chocolate Coverture - 2 x 300g packs for each flavour
- Any good quality rolled white icing - 600g

You need to knead (haha) both icing and chocolate together until they have merged completely. This will take some time, and because of the bulkiness of the two together I broke them into smaller pieces, then merged into larger blobs once mixed well enough. The cocoa butter in the cocoform will make the mixture greasy, but in a good way, so you get the rhythym going soon enough.
Roll out like you would normal icing, with a little icing sugar for dusting. Cover each of the cakes in white chocolate first (remember, if you ice a normal cake you always do two layers, or one layer of marzipan and one of icing - this is the same principle: use two layers of chocolate) and then repeat the same steps with Milk Chocolate Coverture to cover. A little water is enough to make the milk chocolate stick to the first layer of white, do not layer with more frosting else it's too sickly!

To layer the cakes, you will need two 30cm wooden or plastic cake dowels. Cut these down to size so that they are the depth of the first layer, just slightly higher - about 1mm will do. Roughly add some more frosting onto the underside of the second tier, but not completely to the edges - the frosting will spread out too much else. Insert the cake dowels at four points in the first tier, where you know the second tier will cover them perfectly. Where you place the dowels will depend on where you want the second tier, so make sure you do this very carefully. Then simply place the second tier on top of the first, and voila!
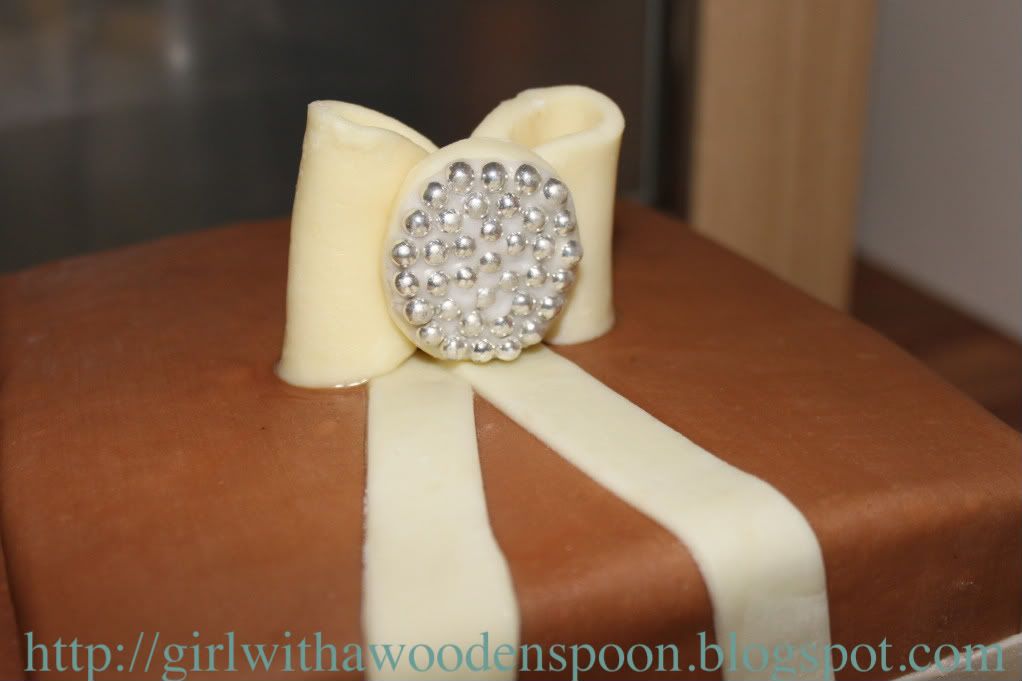
To make the white chocolate ribbon, I used some more cocoform mixture that was left over from covering the cakes. If you need to make more as necessary, repeat the earlier steps. Roll out to a thickness of about 2mm, and cut long strips for your ribbon tails. Cut a 'V' at each end to make them pretty. For the actual bow, I used a circular cutter and cut a brooch shape out. Using piped royal icing in small peaks, I attatched silver edible balls to give it that blingy look. Again with extra white cocoform, form a rough oval circle with your hand and a rolling pin. Join the two pointy edges together and pinch to stick. Repeat with a second oval, and these are the two parts of your bow. Again using royal icing, attatch the brooch into the middle of the bow and attatch with water to the ribbon tails on your cake. Hey presto!

I can't remember if I already mentioned this, but the final outcome of the cake changed considerably since the first time I mentioned it on here. I said I'd be using chocolate cigerellos, however they couldn't be ordered in time for my mum's birthday, so this is what we did instead!

Happy Baking x

15 August, 2010

Wedding Fever Part 2

The wedding fever continues as the week draws to a close. One of my best friend's is getting married next year - I'm doing her cake, of course! - and she just bought her wedding dress - ahhh exciting times! If that isn't enough to make me smile, a local wedding hangout in Plymouth are desperate for more cake makers to flaunt their stuff for their clients, so asked my friend (who was enquiring about a Reception there) to pass on the message to me, and to get some business cards up there! Woohoo!
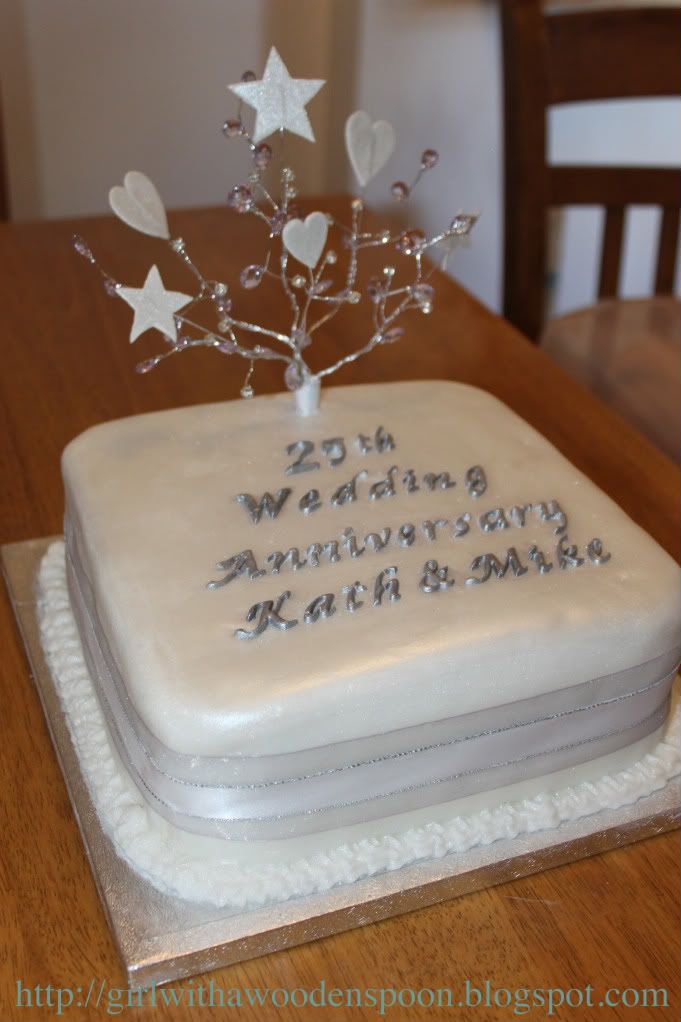
The Silver Wedding Anniversary was a huge success, they were so pleased with their suprise party and knew instantly I made their cake :D They loved it, thankfully! I followed the same recipe as the previous Engagement Cake, and FIIIIINALLY managed to figure out how to make an icing and wire spray decoration. FINALLY!!!
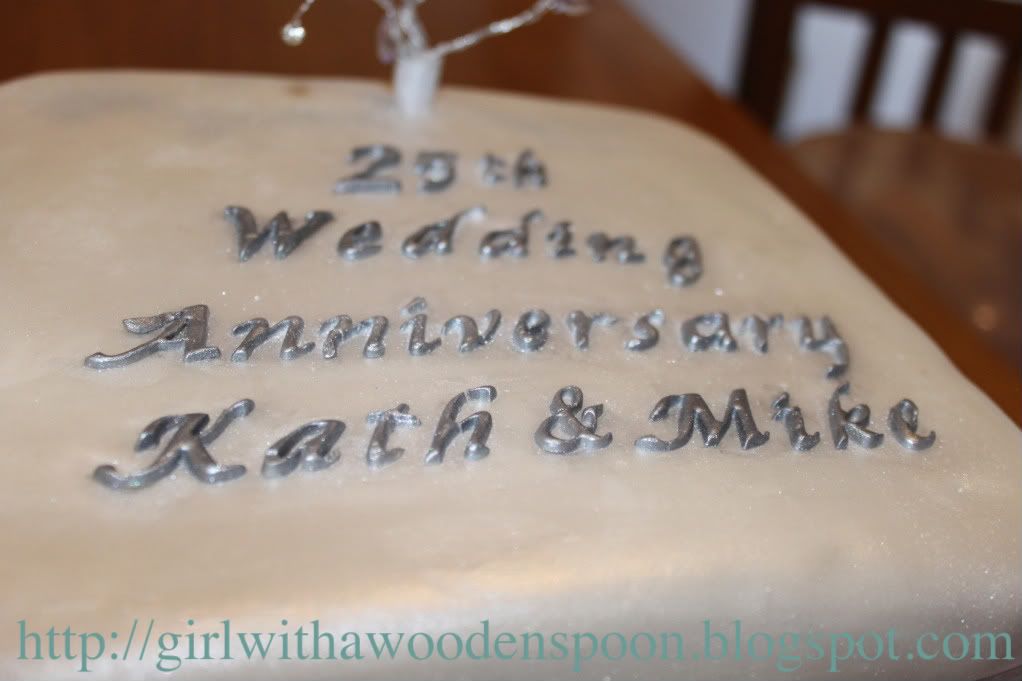
To decorate, I cut out some writing from White Rolled Icing, and using a Lustre Silver Edible Spray, gave the letters a metallic sheen. Hence the Silver anniversary theme. I left them to dry, which is a pain because since the font is so intricate, the feet of the font came off some of the letters after drying. Unfortunately, the silver spray takes aaaaaaages to dry, so I just had to suck it up and stick the letter feet back on later. Doesn't really make a whole difference though, does it?
I bought two sets of ribbon, since it was a white iced cake. Most silver ribbon is really tacky and untasteful - very glittery etc. So I bought a simple thick grey organza ribbon, and a thin white ribbon with silver edging. I then placed the thick ribbon around the cake first, and then the thin ribbon around the middle of the thicker ribbon. I used Royal Icing at a thick consistency to pipe around the edge of the cake, too. This is handy if you have a rough edge to the cake, which I usually do. Hey, I am still learning... To finish I dusted White Edible Shimmer Powder onto the entire cake to give a pearly sheen. Perfecto!

Okay, so how did I finally make the icing decoration? You will need:
- A pack of silver wire strands
- A pot of coloured Flower Paste - I used 'Silver Celebration' and dusted with more shimmer powder
- Cornflour
- A little water and pasting brush
- Jewels and gems for decoration
- Plastic pointed cone
*All available from a good cake stockist or craft shops*

It was so simple. I have always tried making this with simple rolled icing. I tried cutting out shapes, letting them dry in the fridge and then inserting the wire. Fail. I cut out shapes, let them dry at room temperature, and inserted wires. Fail. I cut out some more shapes, inserted the wire, and then let them dry. Fail. I tried all of these methods with different thicknesses for each cut out shape. FAIL. All of these times, the icing broke apart, or the wire wouldn't set flat and poked through.
So I asked my local cake shop owner. I took the two-year old, dusty decoration I had from my 18th Birthday Cake, and flat out just asked how the hell I did it. Her reply..."It's icing, dear..." YES I KNOW IT'S ICING!!! WHAT ICING?!?!
Well, I didn't really say that back to her. She is an old lady, after all. She told me to use Flower Paste, which is what people use to make icing flowers, too. It's very pliable and sets hard as a rock in no time at all.
She told me to roll out the icing very thinly, so thinly that you could read a book through it. Then, use a little cornflour for dusting. Cut out one shape, and use a little water brushed over it before placing a wire with the top folded down in the centre of the shape. Then cut out the same shape, and sandwich the wire between the two shapes. Voila, one icing on a stick.
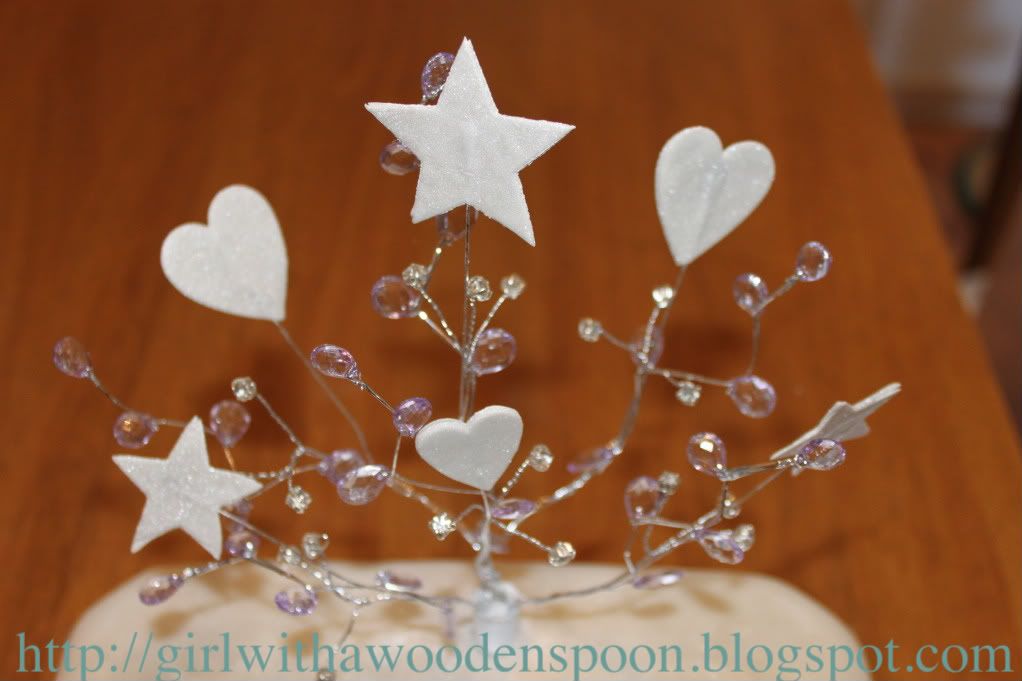
I did this numerous times with different size hearts and stars, and let them to dry overnight - juuuust in case. The next morning, I arranged each stick with one lilac jewelled wire, and one silver gemmed wire, and repeated this until I had six trios of icing, gems and jewels. I then twisted them altogether, tweaked them a bit to look nice, and superglued the decoration into a plastic pointed cone - specifically for this decoration. This was then inserted into the cake, and with a bit of remaining ribbon I fastened this around the base of the decoration to hide the cone and wires.

Happy Baking x

10 August, 2010

Wedding Fever Part 1

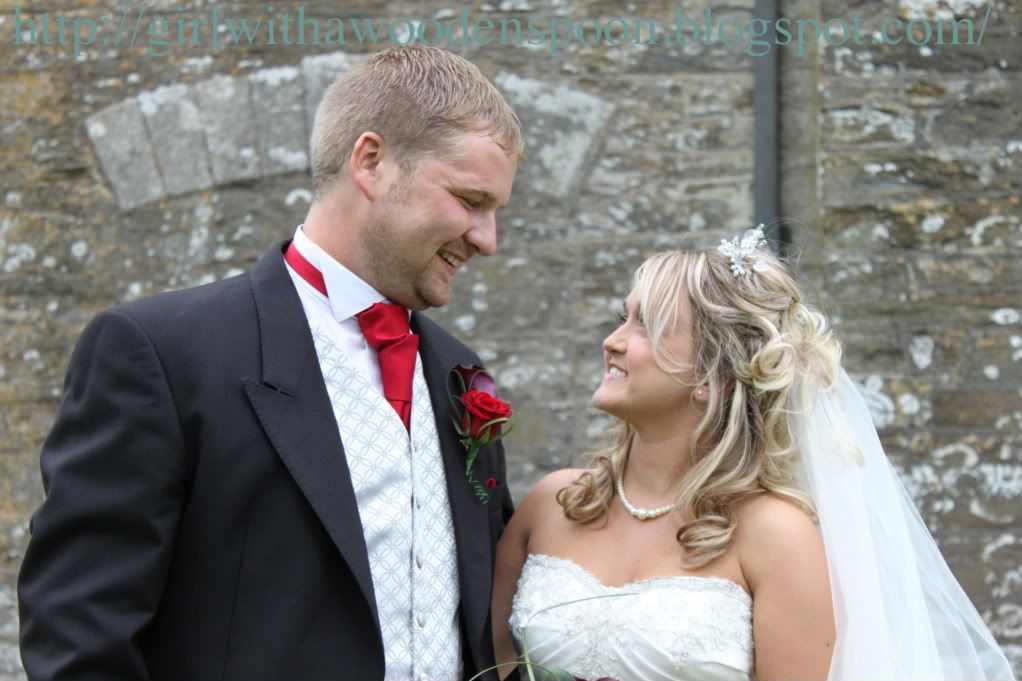
Hi folks! I can practically still hear wedding bells with all my latest antics! Two great people I know got married after being together for 10 years! Here's my favourite photograph of them on their happy day, don't they look beautiful?!
As mentioned in the previous post, I recently made an engagement cake for the other's half's cousin. I had a few ups and downs with this one, but they seemed pleased enough with it, and so did the whole family :D So much so, I got another order! This time for a Silver Wedding Anniversary cake, which I'm actually baking right now. Thought I'd get round to posting the other cake while it rises...
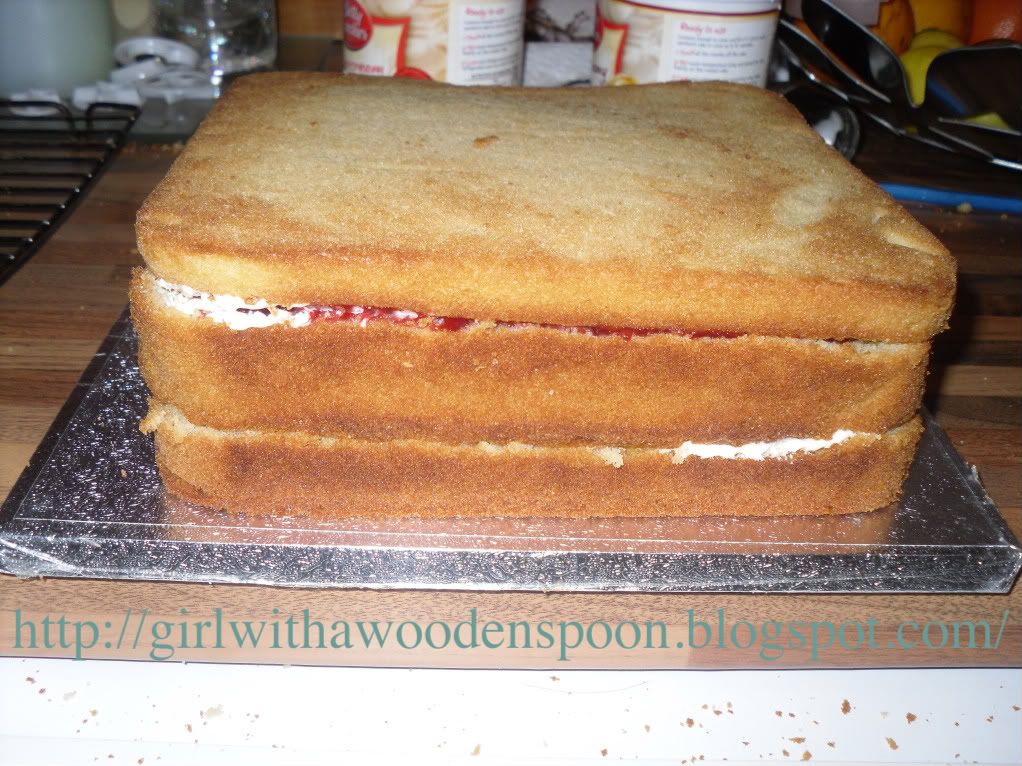
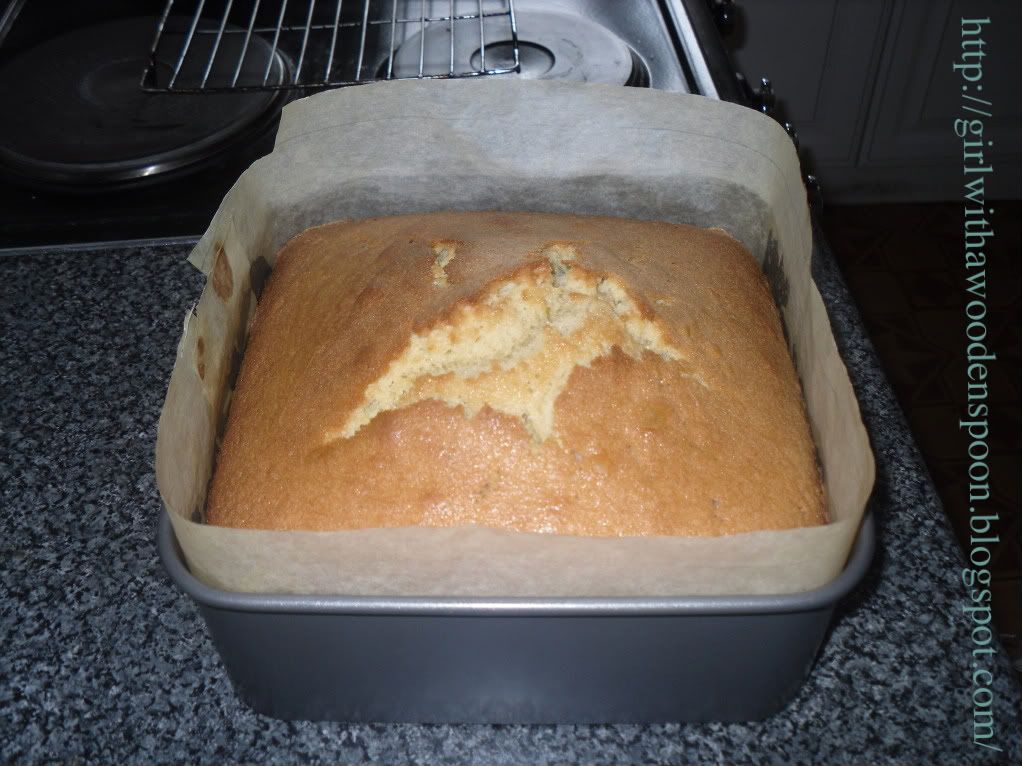
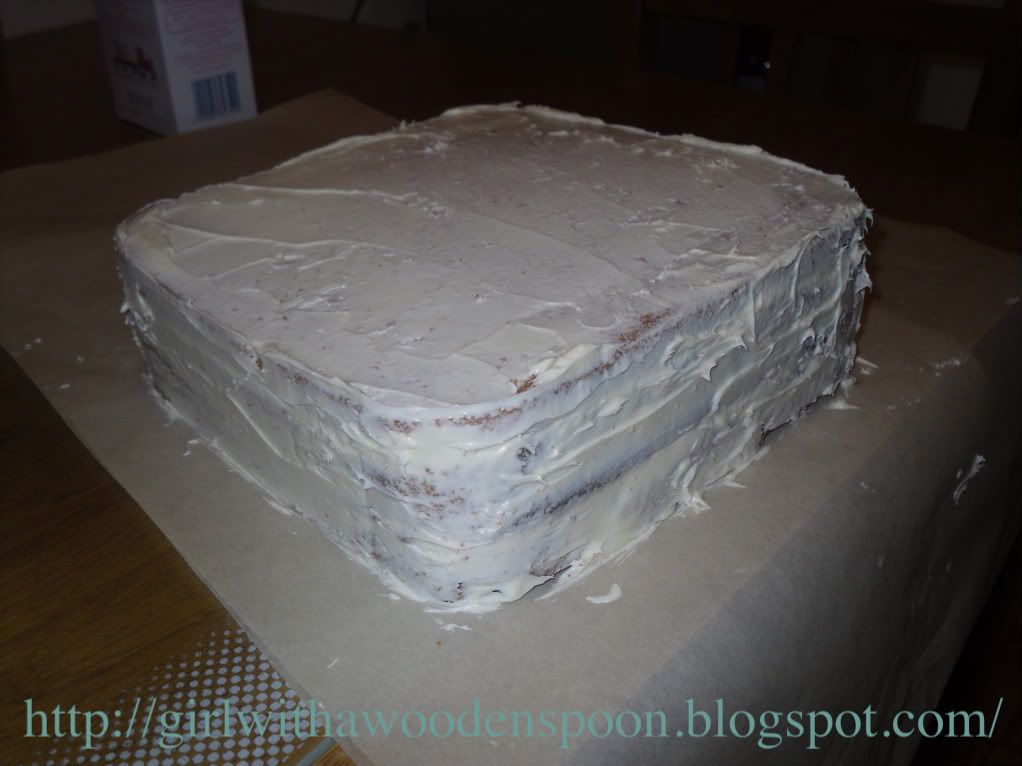
I made a simple square vanilla madeira cake, covered it in rolled icing and then decorated with icing letters, ribbon and a bow. I'll tell you where I went wrong further down the post...
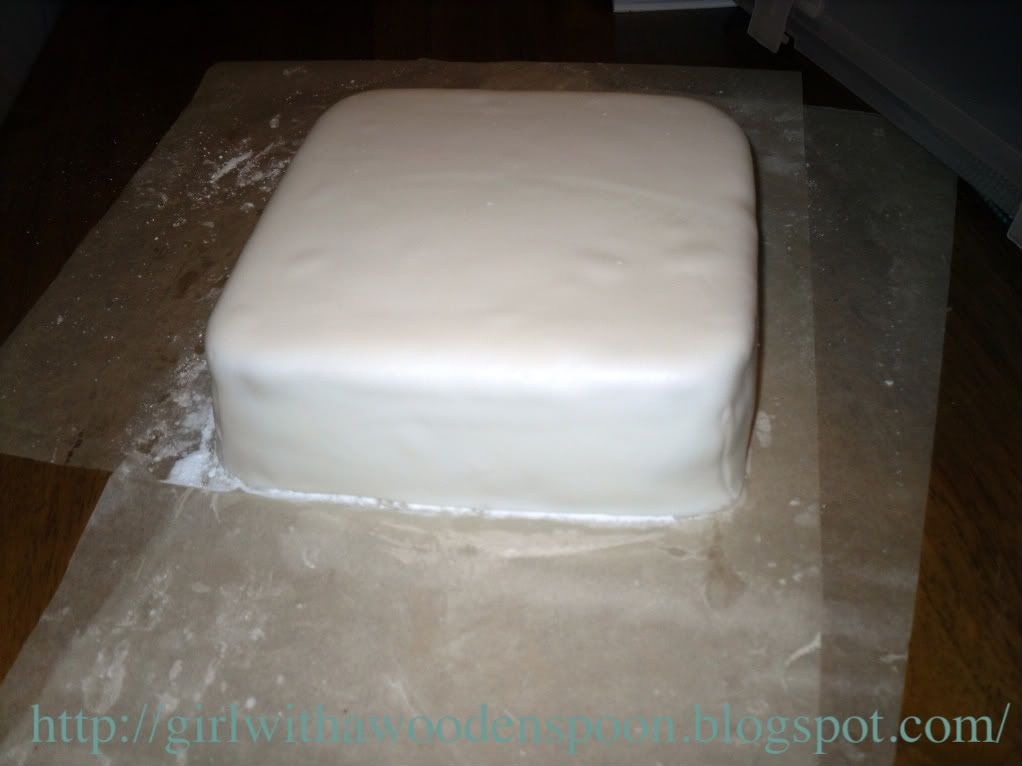
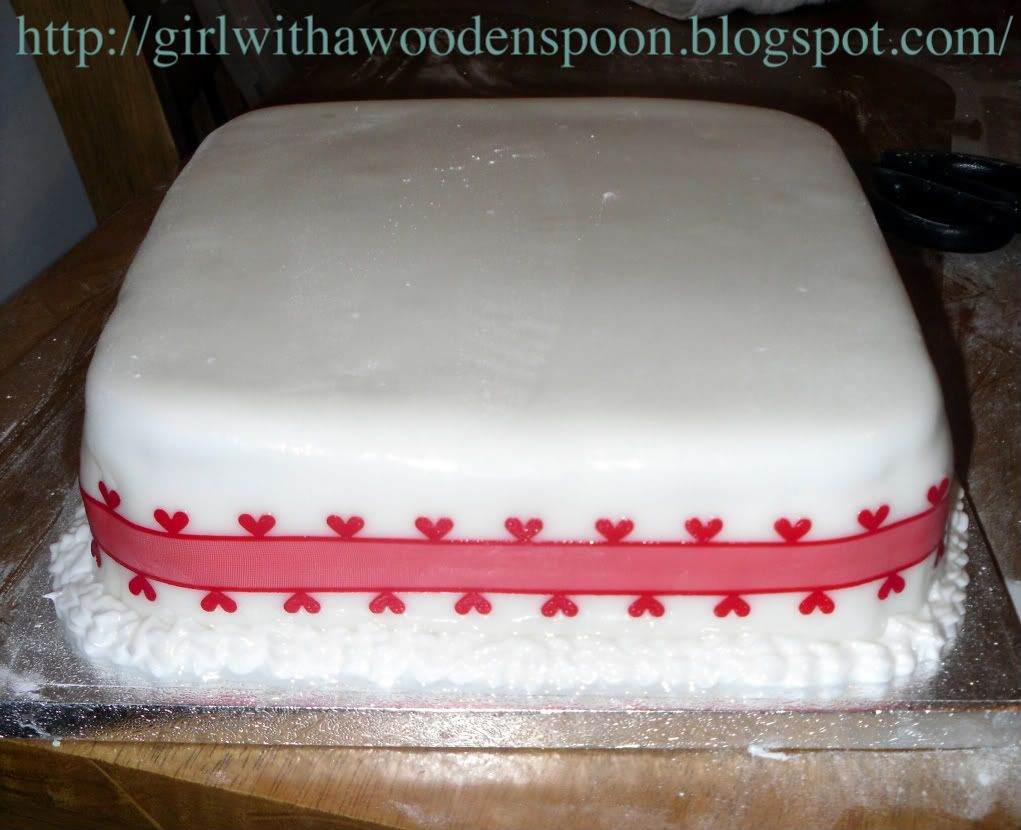
N.B. If you intend to make madeira sandwich cake like I did for this cake, you'll want to cut off the top of the cake to level it. This ultimately leaves you with half the cake left, so make two if you are sandwiching it :) Also, you can see in this picture that there are a few air bubbles in the icing. Use one of the pins to pop the bubbles and just smooth it over again with your hand. Use icing sugar to fill in the little hole.
Ingredients (for an 8 inch size square cake tin):
- 11 oz Butter
- 11 oz Sugar
- 6 Eggs
- 7 oz Plain Flour
- 2.5 oz Self-Raising Flour
- 6 teaspoons milk
*Optional* Buttercream and Strawberry Jam for the filling.
Decoration:
- 2 x Silver Spoon Ready Rolled Icing Sheets
- Red Rolled Icing
- Ribbons and bows (from all good decorating shops)
- 2 x Glass-Headed Pins
- Royal Icing (You can buy this ready made. RECOMMENDED. I made some from a recipe in my book and it gave me enough to cover a cake. I only needed a bit to pipe around the edges.
Method:
I bought a cheapy whisk from Sainsbury's to get my bottom drawer started. So go buy one for £4.18, chuck all the ingredients in a bowl and whiiiiiisk :P Haha, cheat. Bake for 1 hour and 35 minutes on 160'C.
When covering the cake, use a very thin layer of buttercream to make a glue for your first layer of icing. Remember to either ice your cake twice, or cover it in marzipan and then icing - depending on your tastebuds. Use a rolling pin to carefully pick up the icing and place over the cake. Use your hands to smooth down the lumps and bumps and chop off any excess icing with scissors. On the corners, pinch the excess icing together and chop it off. Brush a little boiled water over the first layer, then add your second layer. If you only use one layer of icing you will get a bumpy finish.
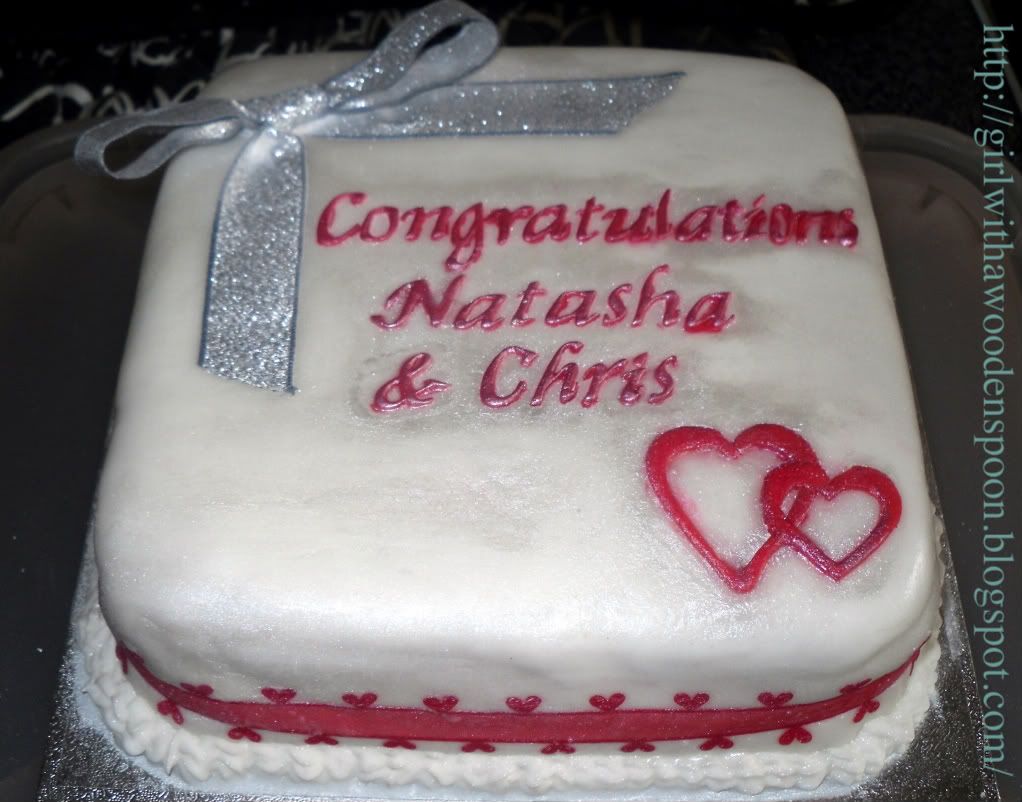
   I used alphabet letter cutters to spell out "Congratulations Natasha and Chris" onto the cake in red rolled icing, and then cut out a big and medium sized heart in red rolled icing to finish it. When fastening bows and ribbons, use a glass-headed pin to secure them in place. Just remember to tell your recipient there are sharp objects in the cake!
Okay, so where did it go wrong? For my 18th birthday cake, the ladies who made it managed to give the whole cake a glittery finish over the icing. I thought I'd try this. Remember the silver edible spray I used for the Caravan Cake? I sprayed some of this into a small pot then used a brush to brush some of the glitter spray onto the cake. This doesn't work. At least, if it's a silver colour. You can get other shades, including a pearl sheen for special cakes, so don't let my mistakes put you off. Anyways, I ended up with silver streaks on my white icing, effectively giving it a dirty finish. I just had to grit my teeth and try to blot it off with damp kitchen towels, and when that didn't work completely, went to the cake shop to pick up some white dusting powder. Well, here are the results. Obviously, I couldn't get in between the letters very well, which is where the worst of it is:
Happy Baking x