
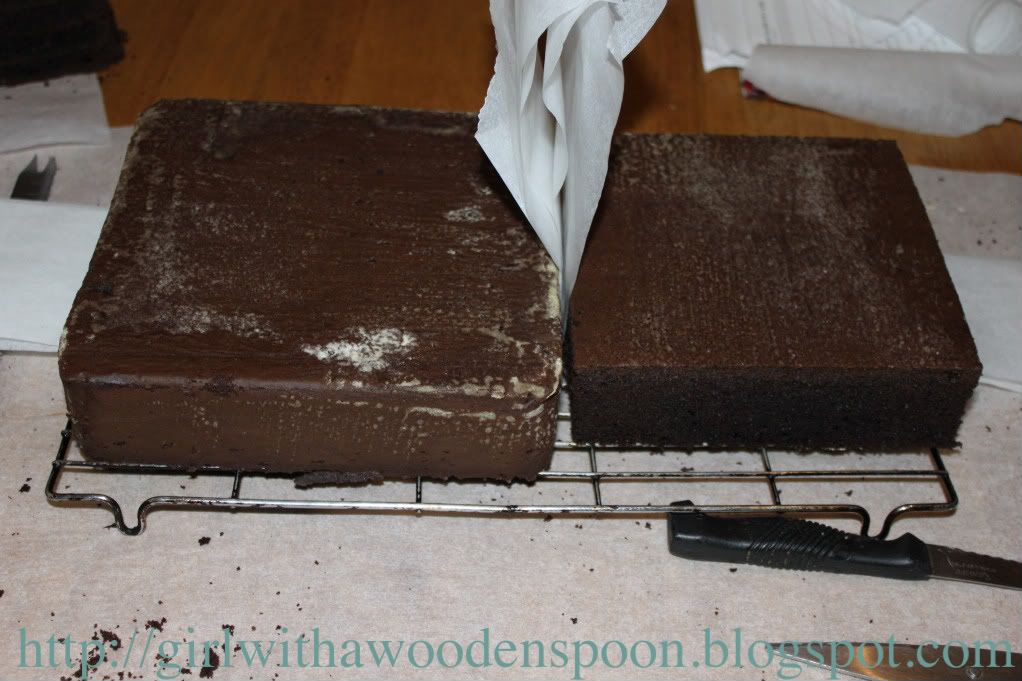
This is what the cakes turned out like before covering, and I measured my only square cake tin wrong and went out and bought another tin exactly the same size, so had to cut down the second tier veeeery carefully to add on top:
- Squire's Belgian White AND Milk Chocolate Coverture - 2 x 300g packs for each flavour
- Any good quality rolled white icing - 600g
You need to knead (haha) both icing and chocolate together until they have merged completely. This will take some time, and because of the bulkiness of the two together I broke them into smaller pieces, then merged into larger blobs once mixed well enough. The cocoa butter in the cocoform will make the mixture greasy, but in a good way, so you get the rhythym going soon enough.
Roll out like you would normal icing, with a little icing sugar for dusting. Cover each of the cakes in white chocolate first (remember, if you ice a normal cake you always do two layers, or one layer of marzipan and one of icing - this is the same principle: use two layers of chocolate) and then repeat the same steps with Milk Chocolate Coverture to cover. A little water is enough to make the milk chocolate stick to the first layer of white, do not layer with more frosting else it's too sickly!
To layer the cakes, you will need two 30cm wooden or plastic cake dowels. Cut these down to size so that they are the depth of the first layer, just slightly higher - about 1mm will do. Roughly add some more frosting onto the underside of the second tier, but not completely to the edges - the frosting will spread out too much else. Insert the cake dowels at four points in the first tier, where you know the second tier will cover them perfectly. Where you place the dowels will depend on where you want the second tier, so make sure you do this very carefully. Then simply place the second tier on top of the first, and voila!
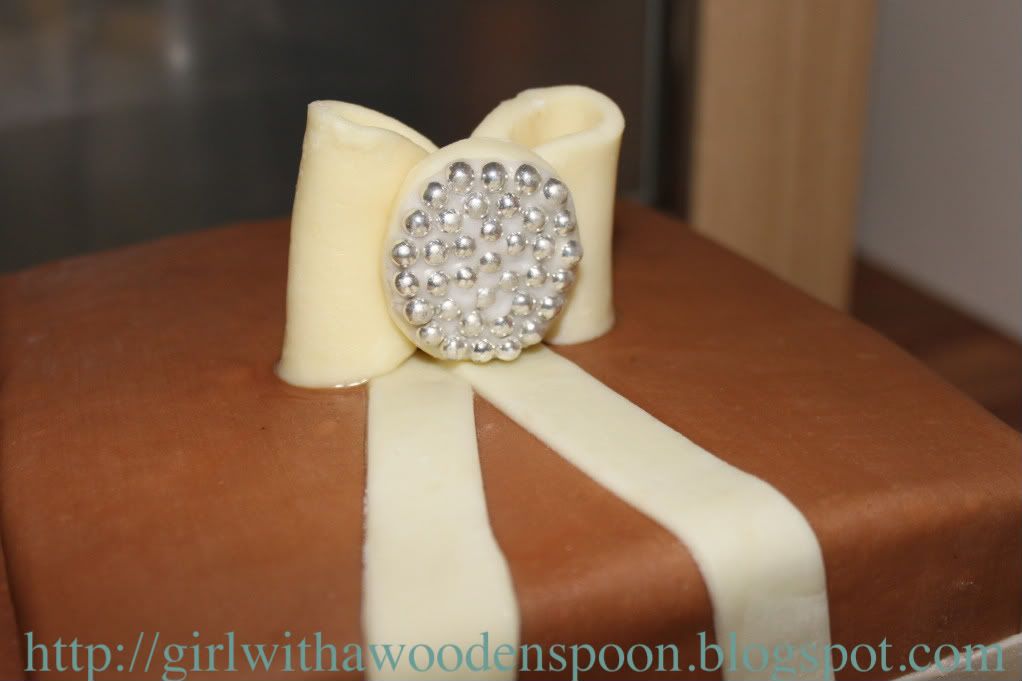
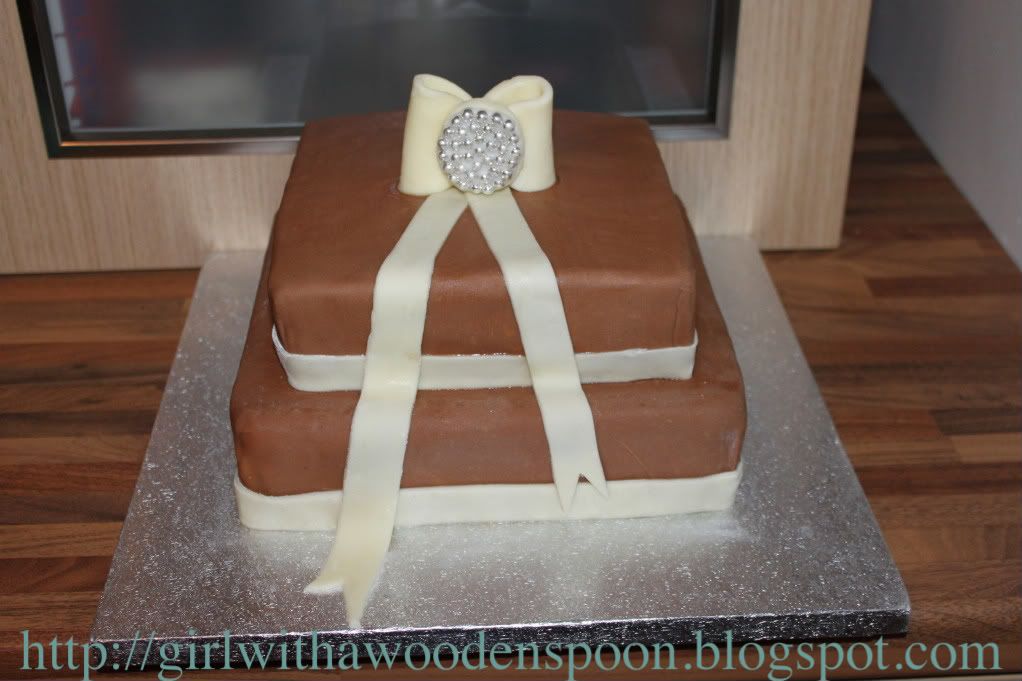
I can't remember if I already mentioned this, but the final outcome of the cake changed considerably since the first time I mentioned it on here. I said I'd be using chocolate cigerellos, however they couldn't be ordered in time for my mum's birthday, so this is what we did instead!
Happy Baking x
No comments:
Post a Comment