Showing posts with label Modelling Chocolate. Show all posts

11 January, 2011

Chocolate Roses

I've recently posted on my Facebook a mass call out to anyone who wants a cake doing, and suprisingly, I've already got another wedding cake to do this year! Ahh!! What's more, it's my friend Jodie's cake - she's a complete chocoholic and so she wants an EXTREMELY chocolatey cake. There is a little shop on our seafront that specialises in chocolate celebration cakes, but to be honest they are totally overpriced and frankly quite rude in there, too. No wonder Jodie came to me!

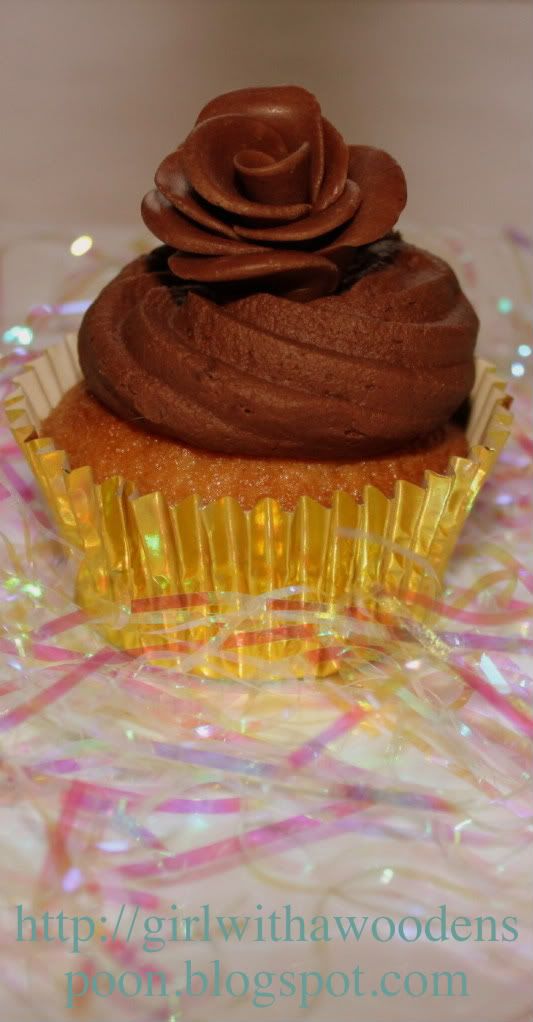
With this in mind, I had to get a riddle on with getting to grips with cocoform. She doesn't know exactly what she wants, but I best be prepared for whatever she asks for. I dabbled in cocoform for my mum's 50th cake, but mostly that was just rolling it over a cake, with a little white chocolate bow. I need to challenge myself.. So I made chocolate roses today. I got a tiny pink mixing bowl complete with wooden spoon and sponge mix for christmas, and didn't want to waste the sponge mix. I made a few cupcakes with the mix, and decided to decorate with chocolate buttercream and chocolate roses.

To make 7 large chocolate roses, you will need:
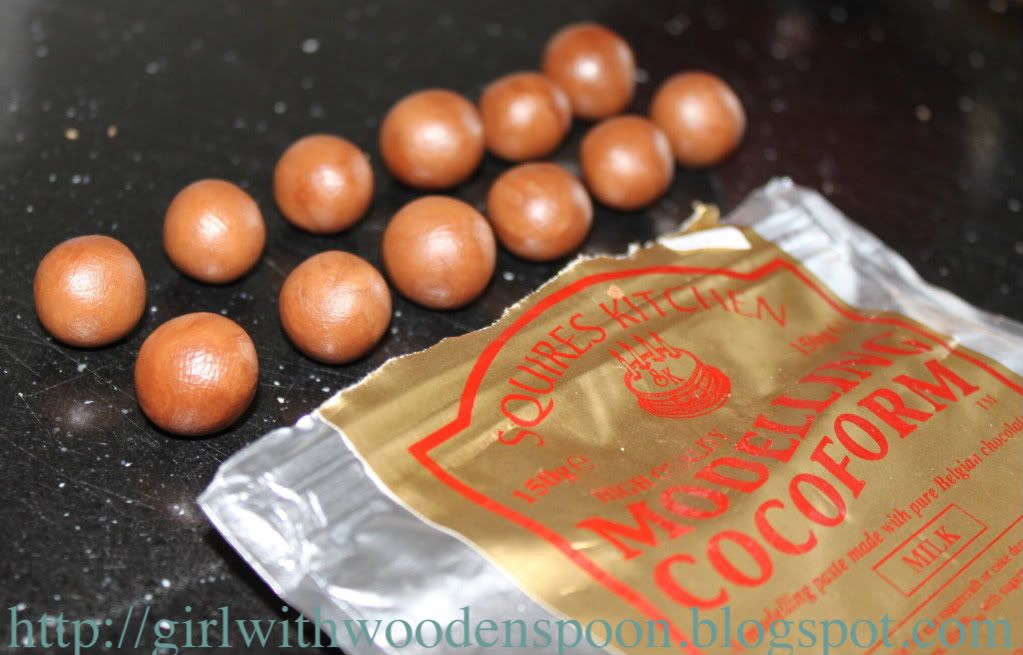
- 100g Milk Chocolate Squires Modelling Chocolate. This comes in at around £5 for a pack of 150g - so use wisely!
- Cling film

Method:
1) Knead the cocoform until pliable. The natural cocoa butter will lubricate the paste, so there is NO NEED for Trex or icing sugar.
2) Take off little pieces of cocoform and form into balls a little smaller than Malteasers, but all different sizes.
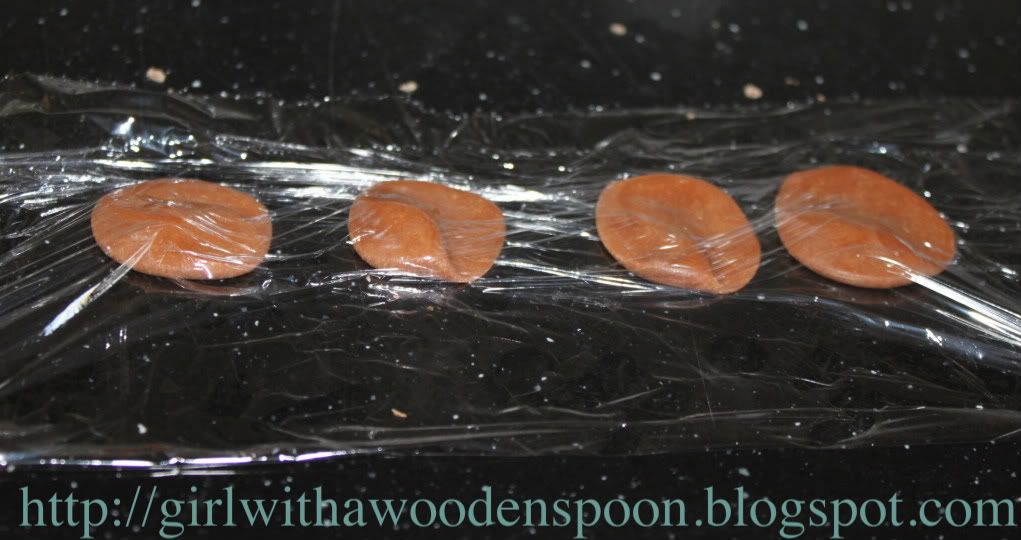
3) Tear off a piece of cling film, and place a few balls of cocoform onto the film. Pull over one end of the film to cover the balls.
4) Flatten each ball using the palm of your hand, then carefully smooth over two thirds of the petal pieces using the edge of your thumb. This will make it easier to mould the petals to make them look more realistic.
5) Take a small petal and curl it around itself using your thumb and forefinger. This will be the centre of the rose.
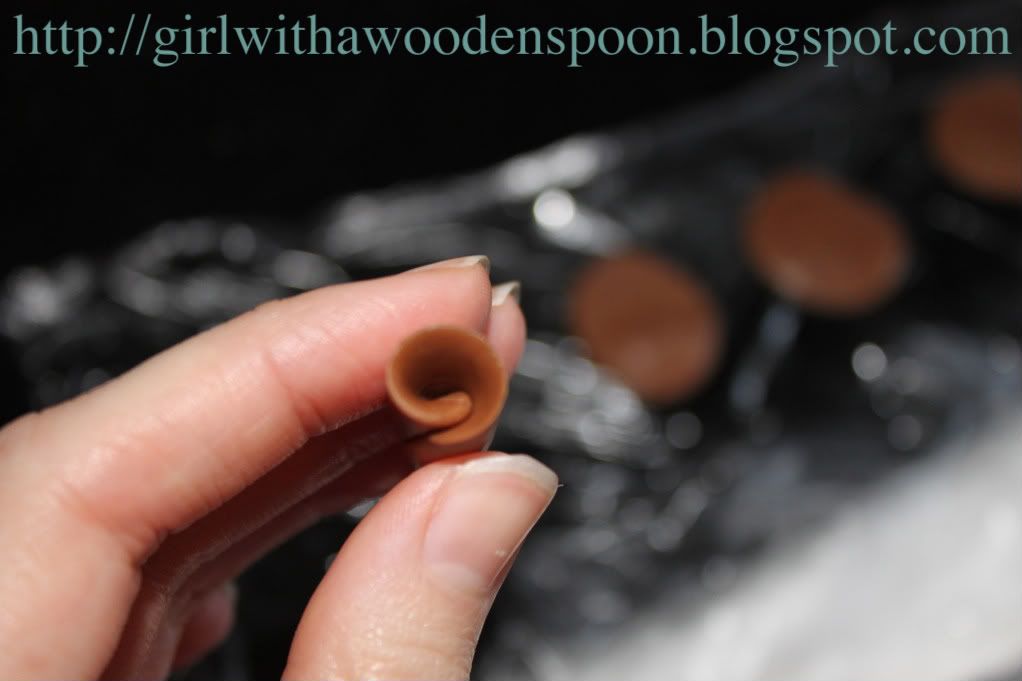
6) Gently add more petals to the centre of the rose, attaching them naturally with the cocoa butter in the cocoform. Use bigger petals towards the end of the rose, and curl the edges to make them a little wilted.
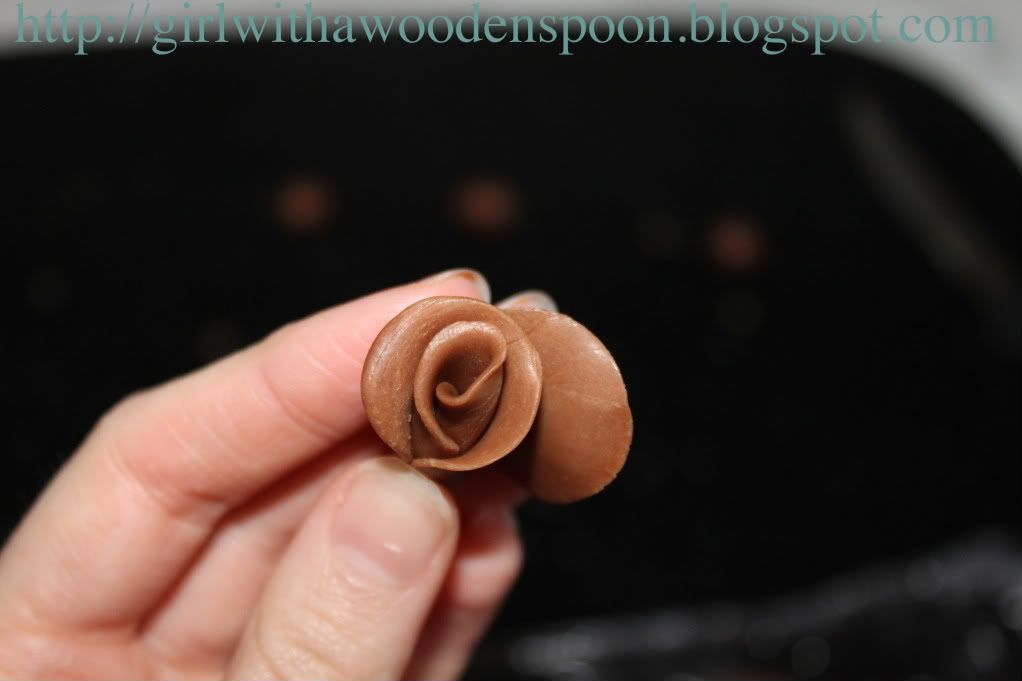
7) Cut off the bottom of the rose once finished, you will find that it gets quite fat with every layer of petals you add. I find that 8 petals is the average for every rose.
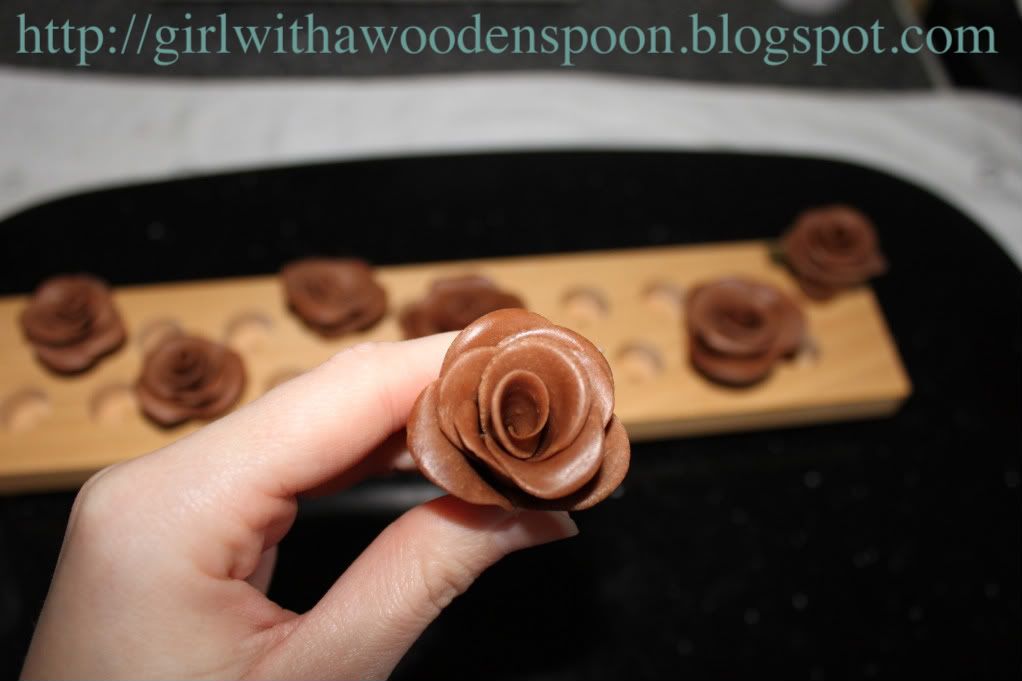
Please note, that as much as you may love chocolate, cocoform does not taste exactly like your favourite bar of Dairy Milk. It has glucose in the mixture to make it malleable, so it won't be exactly the same, but it's still edible. It's like the chocolate you get in your advent calendar every christmas - it doesn't taste just right, but you still eat it anyway :P

What do you think? Stick to icing flowers or do these look alright for a first-timer? :D
Happy Baking x

15 December, 2010

50th Birthday Cake

I was naughty with this one. I cheated :O
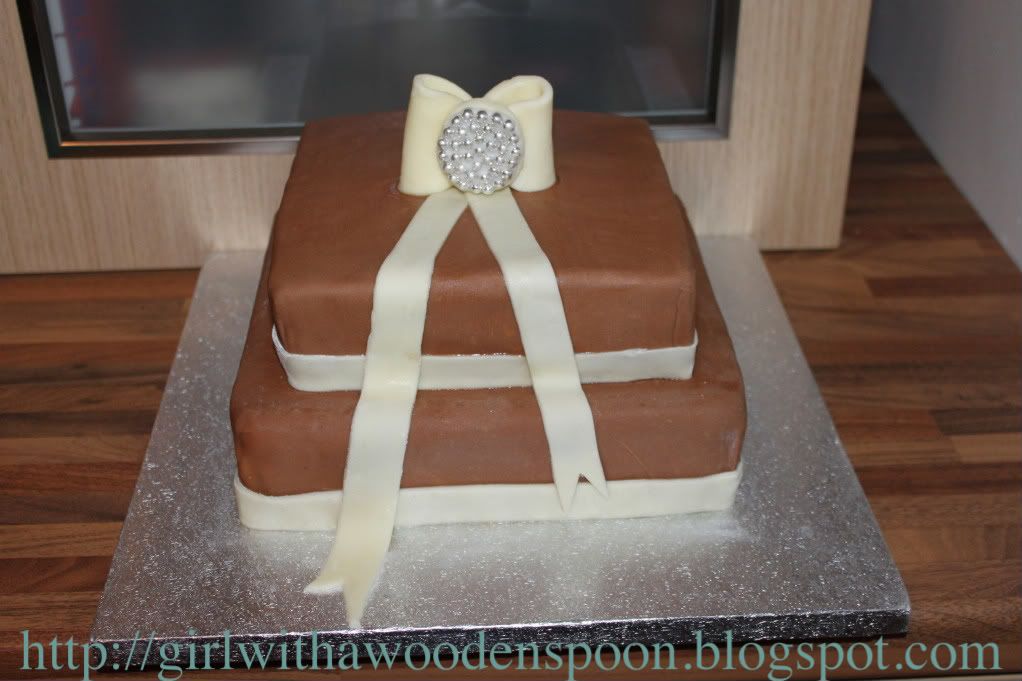
This post is not about the specific ingredients of the sponge, but rather about how I got on with the modelling chocolate which I used to cover and decorate my mum's two-tier birthday cake. I bought a dry Devil Food Cake mix from my local cake supply shop - I know it's naughty of me to cheat, but the lady who owns the shop adds preservatives into the mix so the cake has a longer shelf life. This cake took me aaaaaages to finish, so it was a good thing that it lasted so long. Using that mixture, you can bake up to 12 days before whatever celebration you need the cake for - it's ideal, and totally delicious!!!

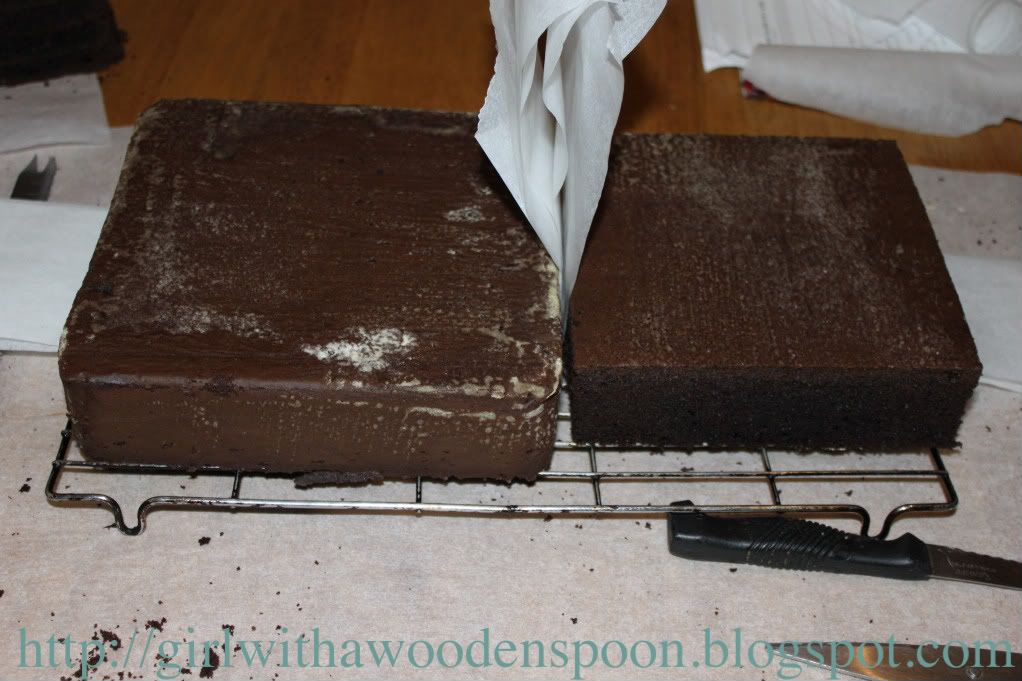
This is what the cakes turned out like before covering, and I measured my only square cake tin wrong and went out and bought another tin exactly the same size, so had to cut down the second tier veeeery carefully to add on top:
To cover the cakes, again I cheated. I bought chocolate frosting from the same cake shop - again because of the preservative qualities it has. I covered both cakes in the frosting, and then covered in rolled white modelling chocolate. To make this, you will need:
- Squire's Belgian White AND Milk Chocolate Coverture - 2 x 300g packs for each flavour
- Any good quality rolled white icing - 600g

You need to knead (haha) both icing and chocolate together until they have merged completely. This will take some time, and because of the bulkiness of the two together I broke them into smaller pieces, then merged into larger blobs once mixed well enough. The cocoa butter in the cocoform will make the mixture greasy, but in a good way, so you get the rhythym going soon enough.
Roll out like you would normal icing, with a little icing sugar for dusting. Cover each of the cakes in white chocolate first (remember, if you ice a normal cake you always do two layers, or one layer of marzipan and one of icing - this is the same principle: use two layers of chocolate) and then repeat the same steps with Milk Chocolate Coverture to cover. A little water is enough to make the milk chocolate stick to the first layer of white, do not layer with more frosting else it's too sickly!

To layer the cakes, you will need two 30cm wooden or plastic cake dowels. Cut these down to size so that they are the depth of the first layer, just slightly higher - about 1mm will do. Roughly add some more frosting onto the underside of the second tier, but not completely to the edges - the frosting will spread out too much else. Insert the cake dowels at four points in the first tier, where you know the second tier will cover them perfectly. Where you place the dowels will depend on where you want the second tier, so make sure you do this very carefully. Then simply place the second tier on top of the first, and voila!
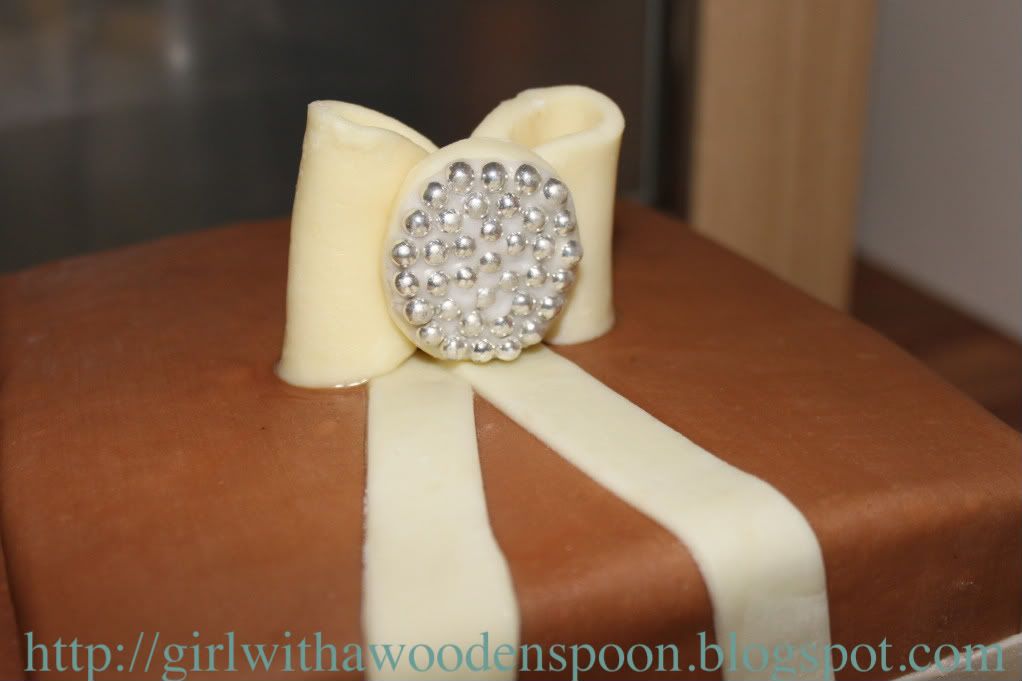
To make the white chocolate ribbon, I used some more cocoform mixture that was left over from covering the cakes. If you need to make more as necessary, repeat the earlier steps. Roll out to a thickness of about 2mm, and cut long strips for your ribbon tails. Cut a 'V' at each end to make them pretty. For the actual bow, I used a circular cutter and cut a brooch shape out. Using piped royal icing in small peaks, I attatched silver edible balls to give it that blingy look. Again with extra white cocoform, form a rough oval circle with your hand and a rolling pin. Join the two pointy edges together and pinch to stick. Repeat with a second oval, and these are the two parts of your bow. Again using royal icing, attatch the brooch into the middle of the bow and attatch with water to the ribbon tails on your cake. Hey presto!

I can't remember if I already mentioned this, but the final outcome of the cake changed considerably since the first time I mentioned it on here. I said I'd be using chocolate cigerellos, however they couldn't be ordered in time for my mum's birthday, so this is what we did instead!

Happy Baking x

What I've been up to...

Hi y'all!
So as my mother just asked me why I wasn't at Uni today, I forgot to mention to her we've already broken up for the christmas holidays so that means I'm baaaaack for now :) At least just to tell you what's been happening :P

I still have a ton of work to do over the break, including a fashion wedding photography shoot and starting my dissertation (eek!!) oh yeah... And christmas! Normally I'm the most organised person you'll meet. I carry my diary with me everywhere, and am constantly making lists of what I need to do/buy/save for. Yet the Big Day is upon us next week and I'm barely there with christmas presents. I'ma be a busy bee over the next few weeks!

But because it's christmas, I decided I needed to come back fairly quickly - I've got another cake to show you soon. A christmas cake! I'm also thinking of making mince pies as home-made presents for people who buy for me but I just can't afford to buy back for, so although they're very simple I'm attempting to make pastry from scratch for those - and you know how I feel about pastry. Hmm. We shall see!

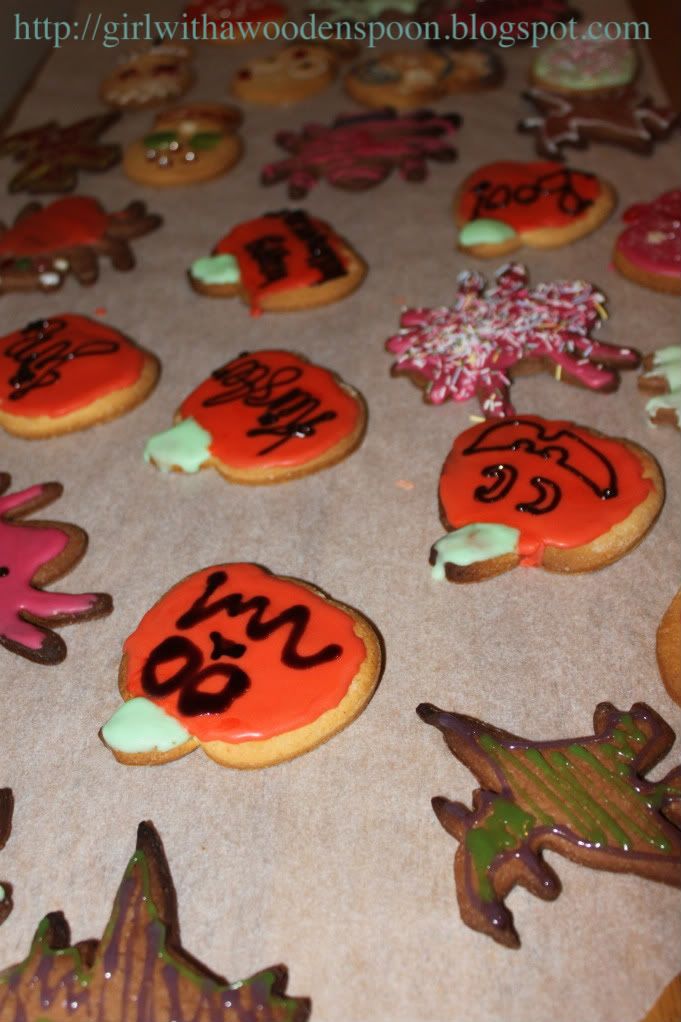
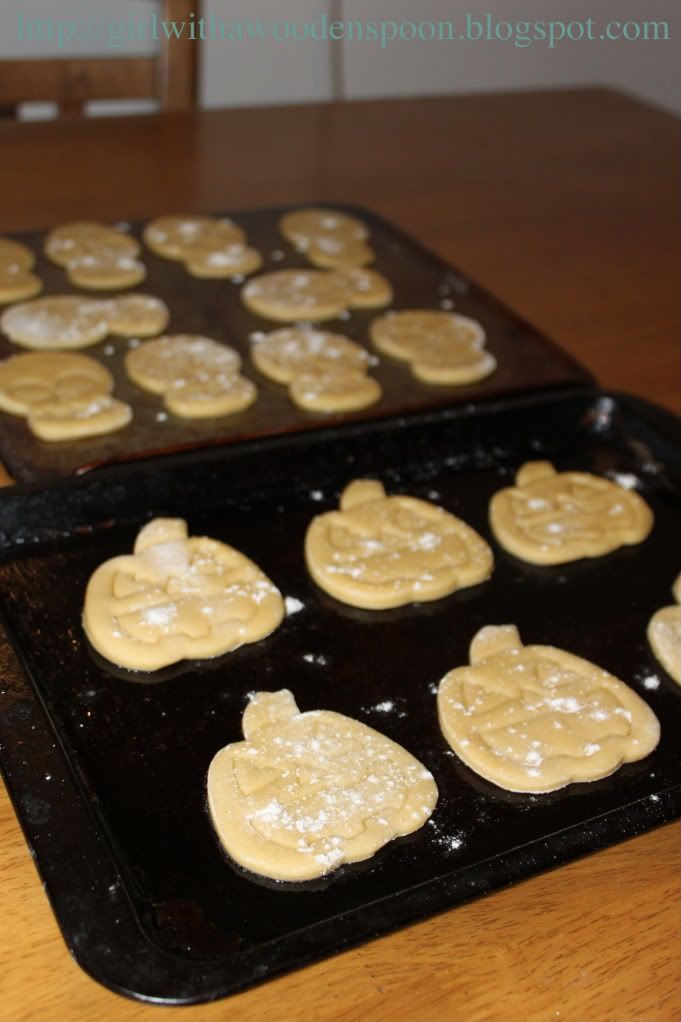
So in October this is what I did...
And then in November I celebrated a special friend's 21st...
And also rocked out to one of my favourite bands, Avenged Sevenfold...
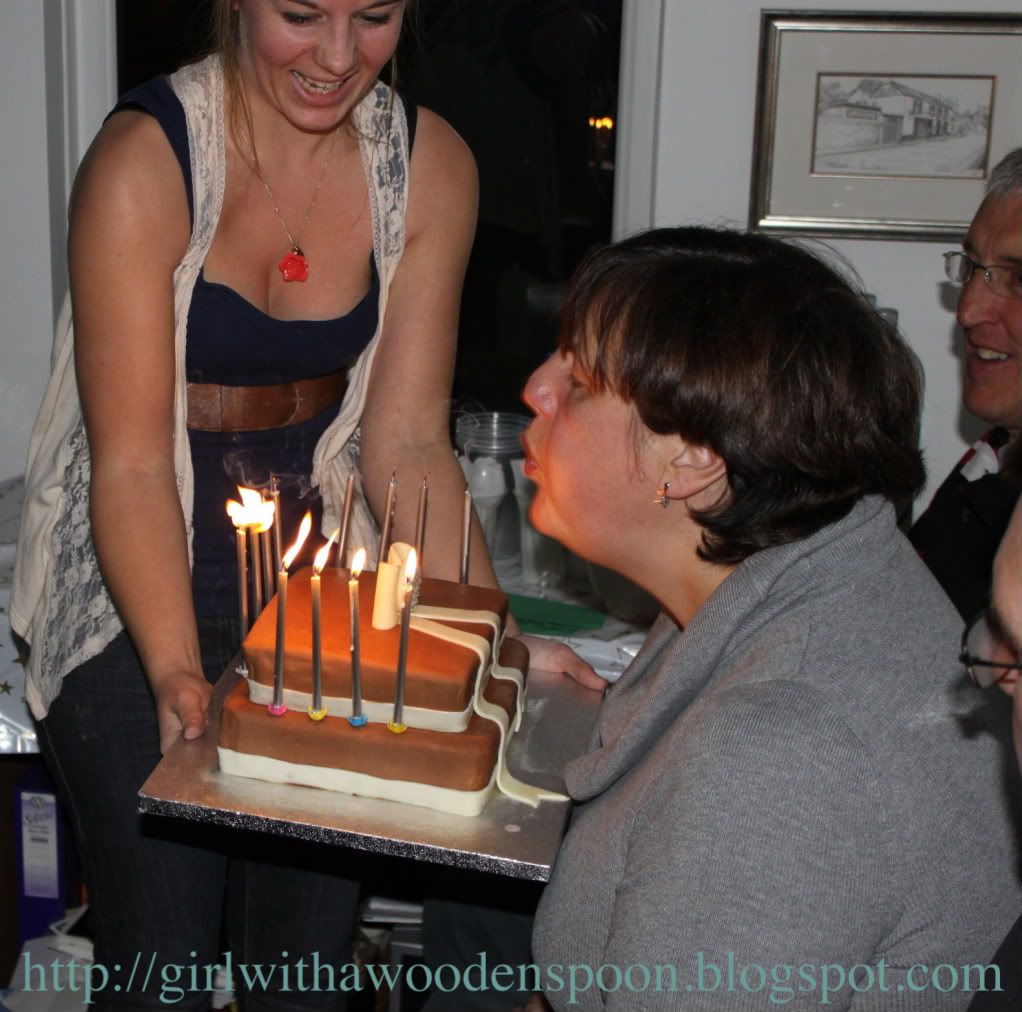
And of course, as mentioned beforehand, it was Mummy's 50th. Read about that later though :)
Anyways so that's what's been happening, flick over to my newest post to find out how the 50th Birthday cake went...
Happy Baking x

11 October, 2010

Couture and Romantic: Book Review

Ahh so sorry for lack of posts, I've been out of money for a while and anyone who knows anything about baking and cakes knows that a lot of money goes into all those little details. So for now I thought I'd do a quick review of two books I've recently acquired for my cookbook collection. They are exactly the sort of cakes I'd love to delve into and get proper stuck in but for the time being all I can do is commissions :( (Don't worry, I have a fabulous chocolate cigerello tiered cake coming for my mother's 50th in a month! Oh and I'll probably do some sort of Halloween themed something-or-other come payday!)
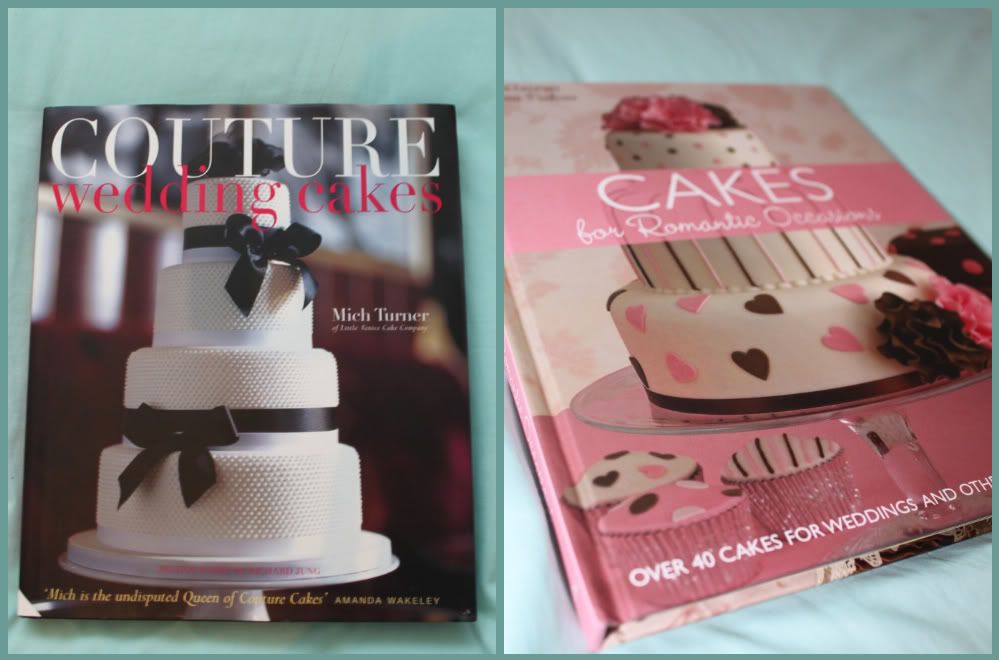
So my new books are "Cakes for Romantic Occasions" by May Clee-Cadman and "Couture Wedding Cakes" by Mich Turner. Both authors are reknowned cake designers and they have a fabulous array of cakes inside.
Couture Wedding Cakes:
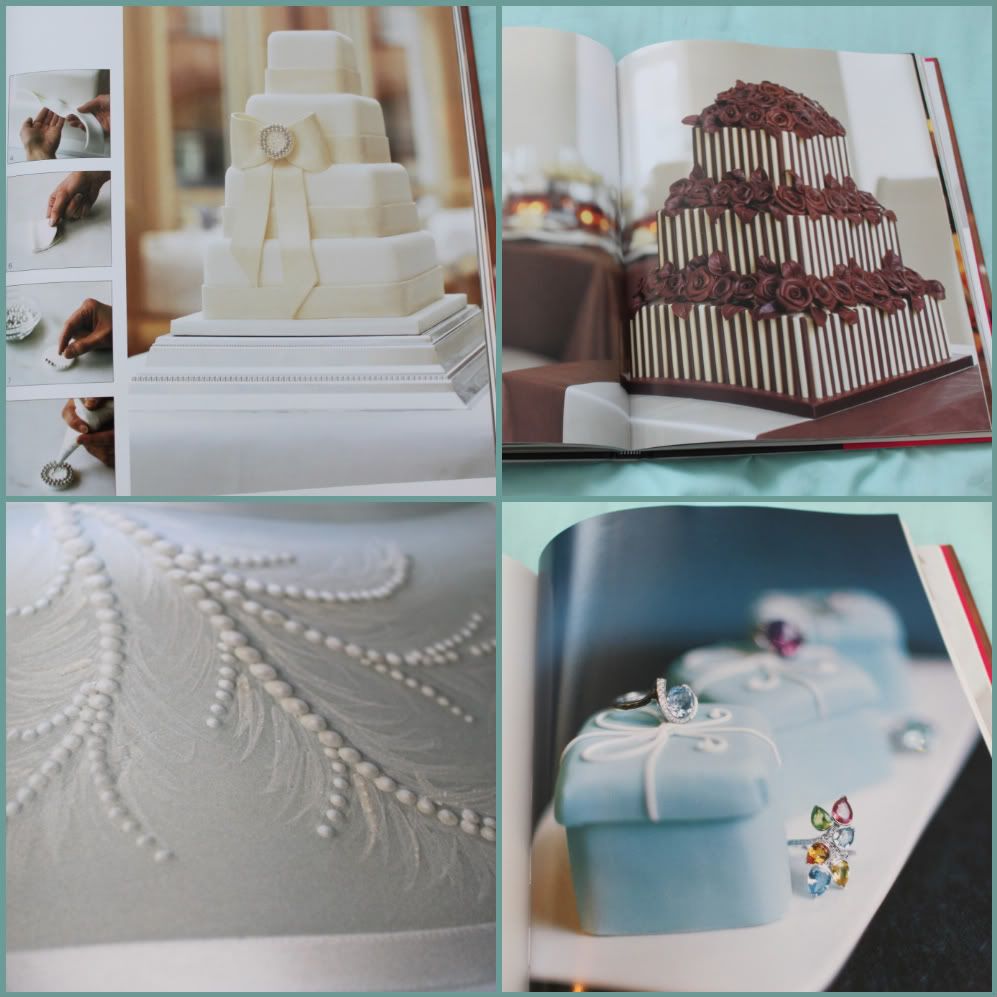
Mich Turner has designed some of the most intricate and amazing cakes I have ever seen, gaining inspiration from top notch designers such as Amanda Wakely, Tiffany's, Boodles (sigh!) and Chanel. She founded the Little Venice Cake Company in 1999, which stocks both M&S and Harrods.
The chocolate monochrome cake in the top right is what I will be attempting to make for Mummy's birthday - ahhh!! And I love the detail on the bottom left cake, that's actually painted on to give a feather effect - gorgeous!
Cakes for Romantic Occasions:
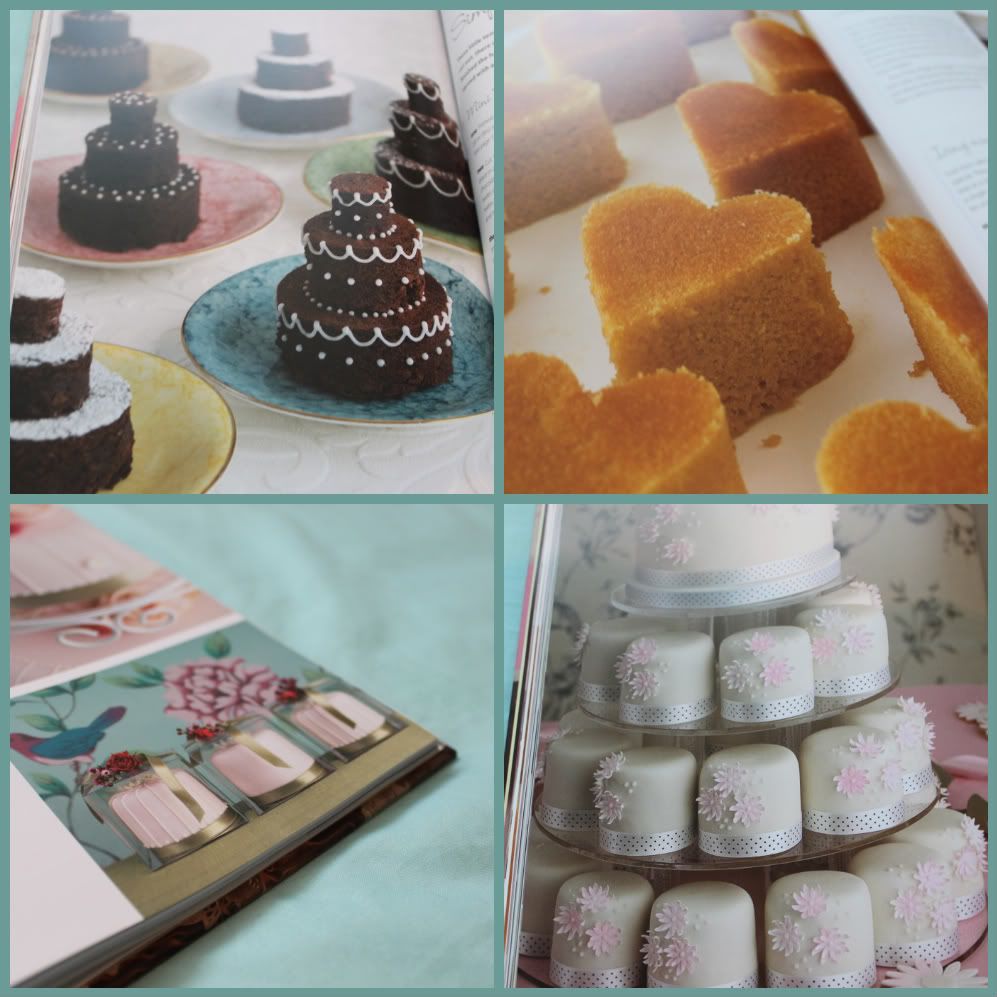
This book has really hit the nail on the head for a new craze in wedding cake design - mini cakes! I absolutely love them and they are so versatile, it's you wedding cake, dessert, and a party favour all rolled into one! Couture Cakes touched on them, but I really think Ms. Clee-Cadman is on to something here. I'm being commissioned to recreate one of her cakes for one of my best friend's wedding, and it's so easy to just adjust the colours to match in with her wedding theme. Get a load of these beauts:
Even my boyfriend, Jim, thinks that chocolate brownie mini triple-tiered wedding cakes would be adorable for our own special day :P And below that, you can see how amazingly little detailing can create such a perfect wedding favour. A small clear box, ribbon and a dried posy makes it look just that extra bit special.
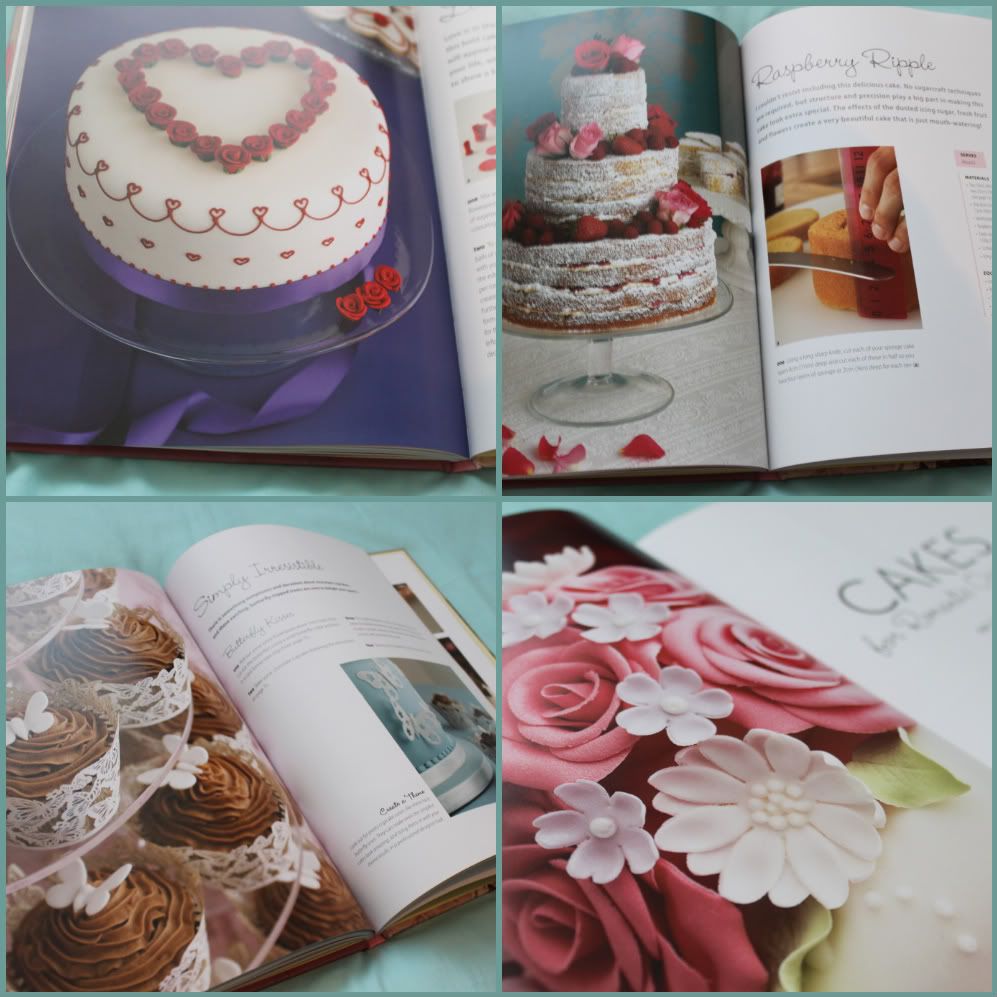
The top right Raspberry Ripple cake looks to diiiiie for, and look - my cupcake wrappers have hit the trend in this book!


Here's a sneak peek of what's to come soon - modelling chocolate: ever seen a beautiful sugar flowered arrangement on a cake? Try that, but chooooocolate! I'll be trying my hand at this baby to practice for the 50th birthday cake.
That's all for now folks.
Happy Baking x

Disclaimer: All photographs in this post are re-taken images from the books previously mentioned. I take no credit for any of the images in this post, they are simply there to help advertise the books I have reviewed.