Showing posts with label White Edible Shimmer Powder. Show all posts

20 December, 2010

Have Yourself a Very Grumpy Christmas!

My christmas cake is finally finished! I say finally, because I started making it back in November. That's the beauty of fruit cakes. I'm sure you already know this, but, like wine, they keep better the longer you have them. That's why the top tier of a wedding cake is traditionally fruit so the newlyweds can keep it and re-ice it for their first child's christening.
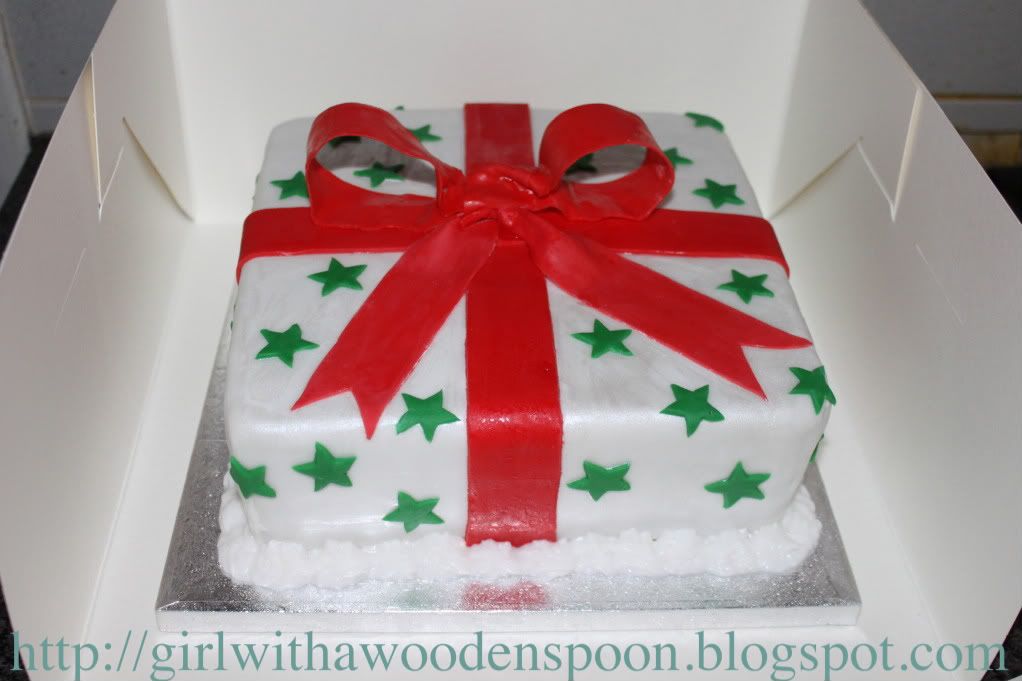
Anyway, I'm rather skint this festive period. So what better present than a home-made christmas cake?! The lucky recipient is my boyfriend's Grandad, who they lovingly call "Grumpy." He was supposed to visit relatives in Ipswich this christmas, but due to all the snow and whatnot, he's staying in Plymouth. Shame really, seeing as he could've shared the cake with everyone up there!

Would you like to know how to make it? Okay, you'll need:
- 12oz Self-Raising Flour
- 1/2 tsp Salt
- 1 dsp (dessert spoon) mixed spice (I used Christmas Spice, available from all supermarkets)
- 1 tsp cinnamon
- 1 tsp nutmeg
- A lot of fruit. I didn't measure my quantities. I'm quite bad for that. But the recipe I followed recommends 1lb per fruit i.e. ground almonds, currants, glace cherries, mixed peel (lemon and orange), raisins and sultanas.
- Rind and juice of 1 lemon
- 12oz Butter
- 10oz Dark Brown Sugar
- 8 Eggs
- 8 tbsp Brandy

1) Butter a deep cake pan. I used a square 10in pan. Line with greaseproof paper. Brush the paper with melted butter.
2) Tie a double layer of brown wrapping paper around the OUTSIDE of the cake tin, and make sure it's high enough to protrude above the rim. I don't know how, but it prevents the fruit cake from burning.
3) Sift all dry ingredients together. Stir in your fruits.
4) In a separate bowl, cream the butter, sugar and lemon rind.
5) Beat in the eggs, one at a time.
5) Stir in the flour and the lemon juice, and 4 tbsps of brandy to this mixture.
6) Add this to the dry mixture and stir thoroghly. Transfer to cake tin and level out.
7) Bake on 150'C for an hour and a half.
8) Reduce the heat to 130'C and bake for a further 3-3 and a half hours. Cover the cake with brown paper and fasten with string in the last few hours to prevent burning.
9) Remove from the oven and cool on a wire rack. Turn the cake upsidedown and skewer holes in the cake. Pour in the remaining brandy and seal in an air-tight container until needed for icing.

To Decorate:

- Marzipan
- White Sugarpaste
- Green Sugarpaste
- Red Sugarpaste
- Neutral-coloured Flower Paste
- White Shimmer Powder (Only available from cake decorating stockists i.e. Lawson Shop.
- Trex vegetable fat
- Marmalade
Okay, Trex is AMAZING for cake decoration. If you haven't already discovered it, it's a great, greasy alternative to a tonne of icing sugar when rolling icing and marzipan. It doesn't dry them out, and it's so malleable. All you have to do is rub a bit between your (washed) hands, on your rolling pin and the work surface. Roll away! (I know, I discovered it once I had actually got as far as the green stars, div.)
1) Melt a few tablespoons of marmalade in a pan with some boiled water until you have a runny consistency.
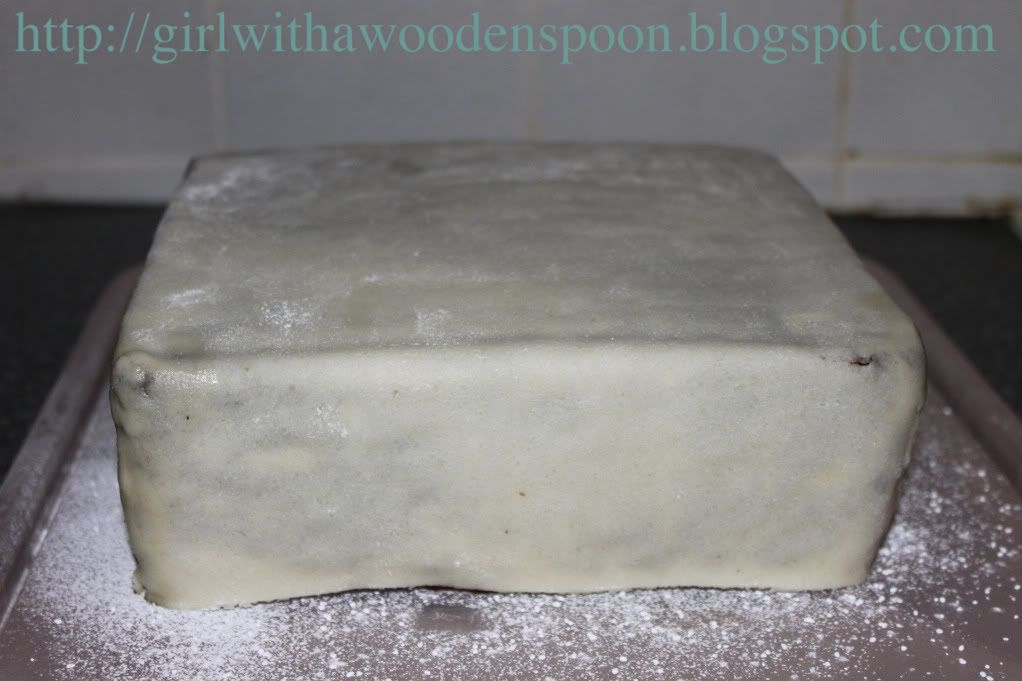
2) Paint this over your cake using a cook's brush. Cover the cake with rolled marzipan.
3) Use cool, boiled water to paint onto your marzipan before transferring your icing onto the cake. Leave to set for a day or two.
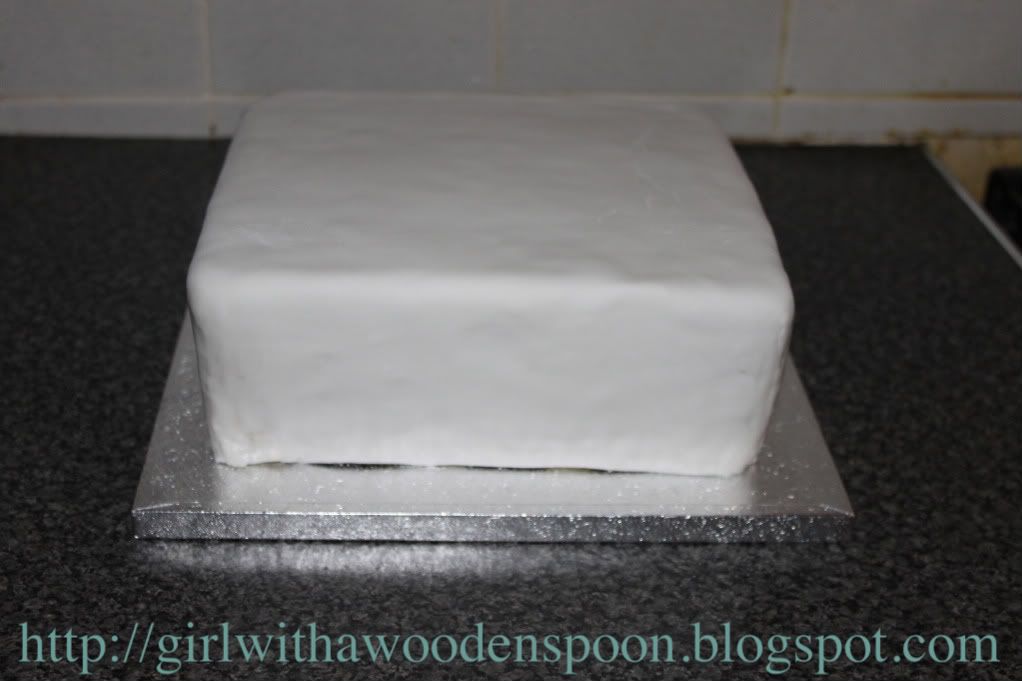
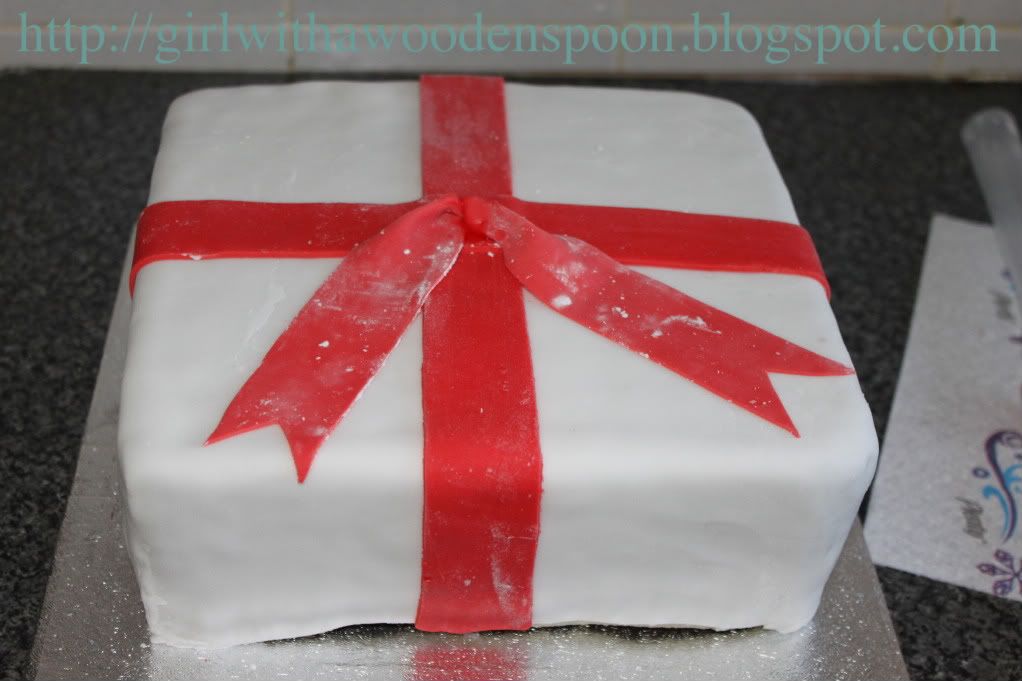
4) Mix red icing and flower paste together to create your bow. Flower paste helps icing harden, so it's ideal for decoration. Roll very thinly, and cut strips long enough to cover the lengths of your cake. Create a cross for the ribbon on your cake.
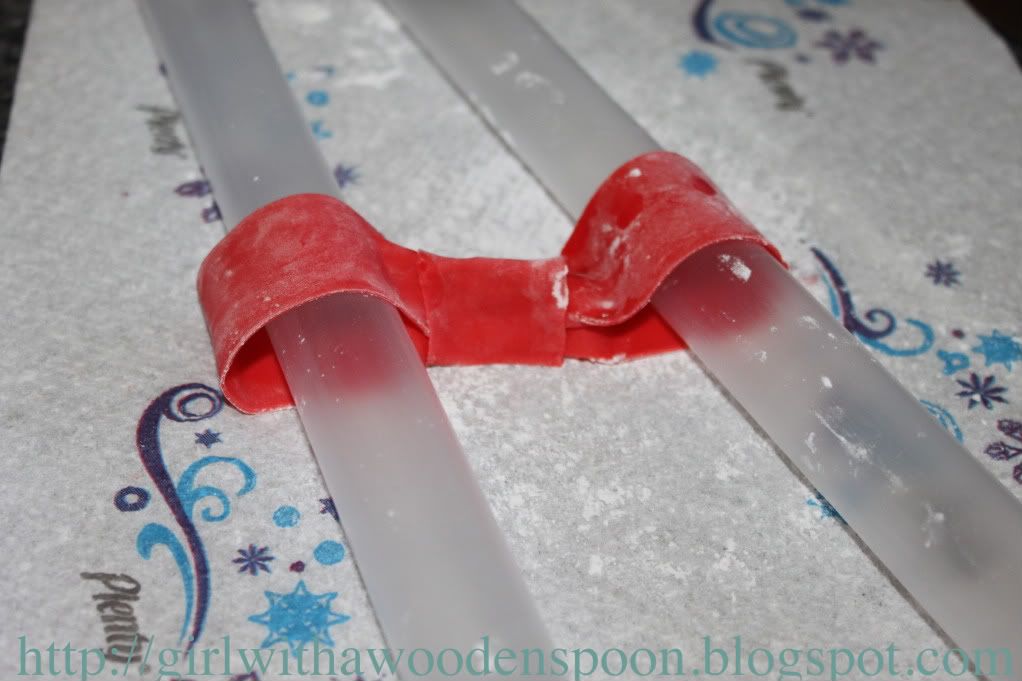
5) Take a strip of icing/paste mix the same width as your "ribbon." Pinch in the centre, and fold both ends together. Take another short strip of "ribbon" icing and wrap around the centre of the bow to hide the folds.
6) I used two plastic cylinders to keep the shape of the bow overnight, then gently remove them once you know they're hard.
7) Affix to your cake using vodka.
8) Paint your cake in a mixture of a tsp of vodka and a touch of white edible shimmer powder. This creates a nice pearly effect, and also a glue for your stars.
9) Cut lots of green star shapes using a small cutter and stick to the cake straight away.
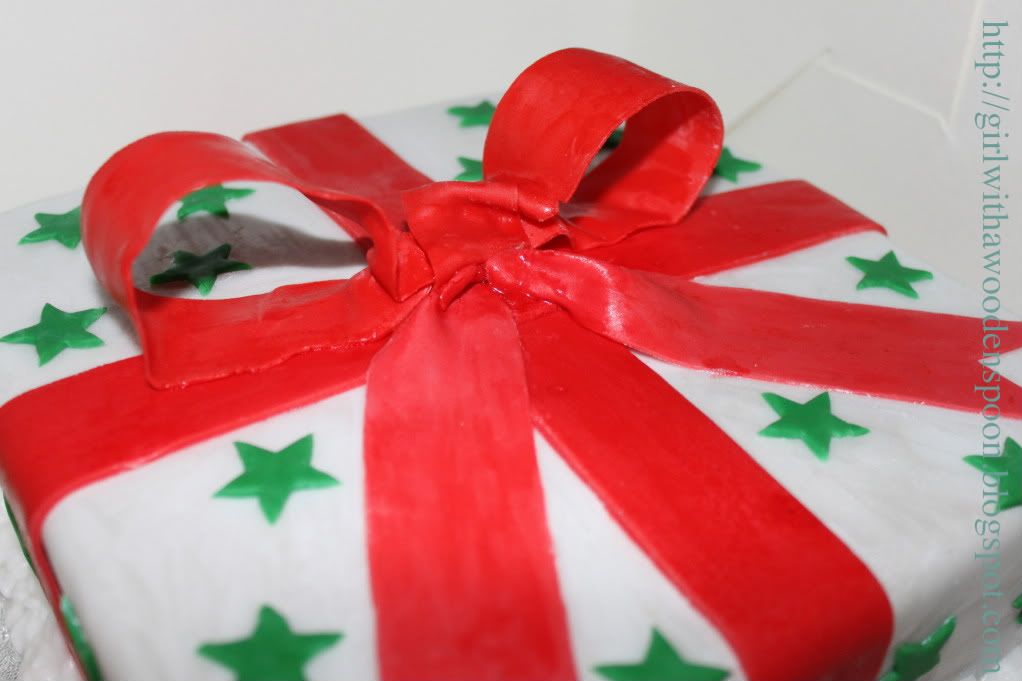
10) Finish with royal icing piped around the edges.

Happy Baking and Happy Christmas! x

15 August, 2010

Wedding Fever Part 2

The wedding fever continues as the week draws to a close. One of my best friend's is getting married next year - I'm doing her cake, of course! - and she just bought her wedding dress - ahhh exciting times! If that isn't enough to make me smile, a local wedding hangout in Plymouth are desperate for more cake makers to flaunt their stuff for their clients, so asked my friend (who was enquiring about a Reception there) to pass on the message to me, and to get some business cards up there! Woohoo!
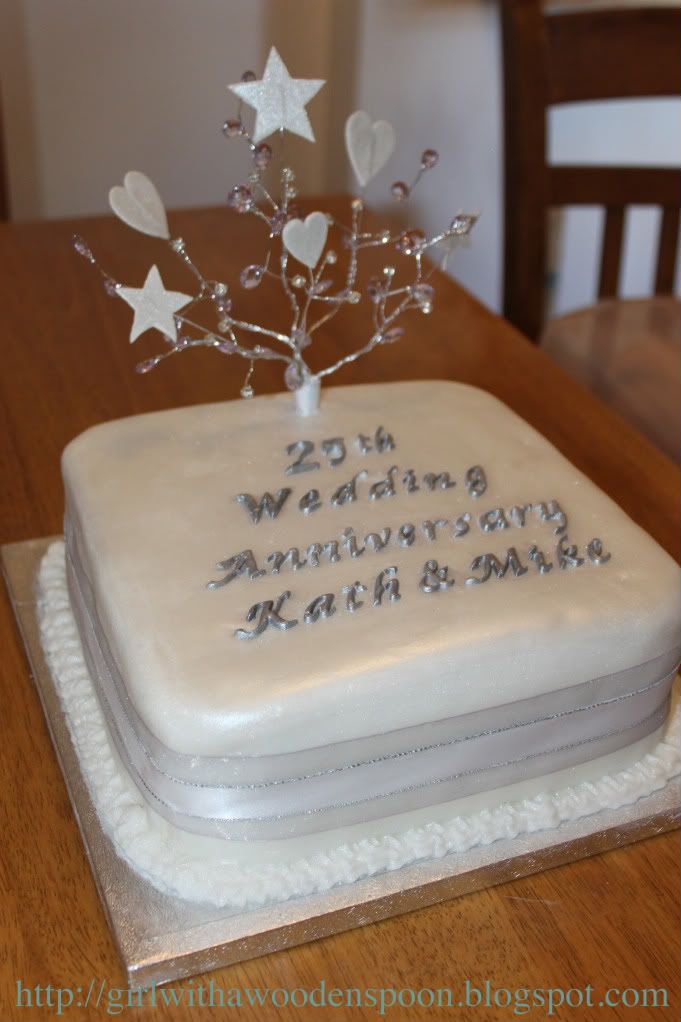
The Silver Wedding Anniversary was a huge success, they were so pleased with their suprise party and knew instantly I made their cake :D They loved it, thankfully! I followed the same recipe as the previous Engagement Cake, and FIIIIINALLY managed to figure out how to make an icing and wire spray decoration. FINALLY!!!
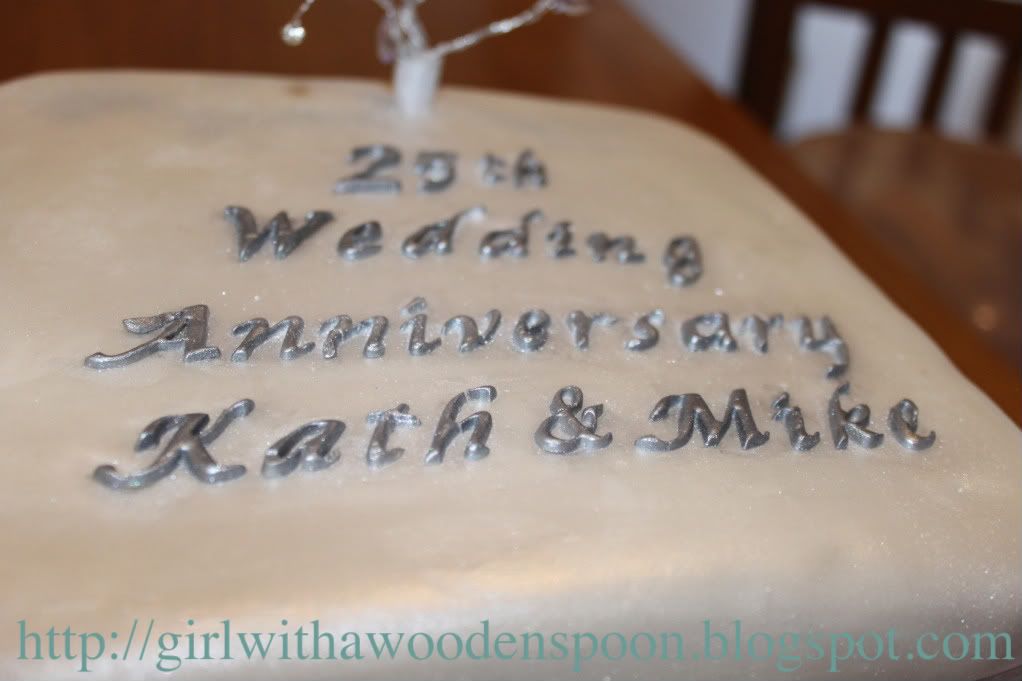
To decorate, I cut out some writing from White Rolled Icing, and using a Lustre Silver Edible Spray, gave the letters a metallic sheen. Hence the Silver anniversary theme. I left them to dry, which is a pain because since the font is so intricate, the feet of the font came off some of the letters after drying. Unfortunately, the silver spray takes aaaaaaages to dry, so I just had to suck it up and stick the letter feet back on later. Doesn't really make a whole difference though, does it?
I bought two sets of ribbon, since it was a white iced cake. Most silver ribbon is really tacky and untasteful - very glittery etc. So I bought a simple thick grey organza ribbon, and a thin white ribbon with silver edging. I then placed the thick ribbon around the cake first, and then the thin ribbon around the middle of the thicker ribbon. I used Royal Icing at a thick consistency to pipe around the edge of the cake, too. This is handy if you have a rough edge to the cake, which I usually do. Hey, I am still learning... To finish I dusted White Edible Shimmer Powder onto the entire cake to give a pearly sheen. Perfecto!

Okay, so how did I finally make the icing decoration? You will need:
- A pack of silver wire strands
- A pot of coloured Flower Paste - I used 'Silver Celebration' and dusted with more shimmer powder
- Cornflour
- A little water and pasting brush
- Jewels and gems for decoration
- Plastic pointed cone
*All available from a good cake stockist or craft shops*

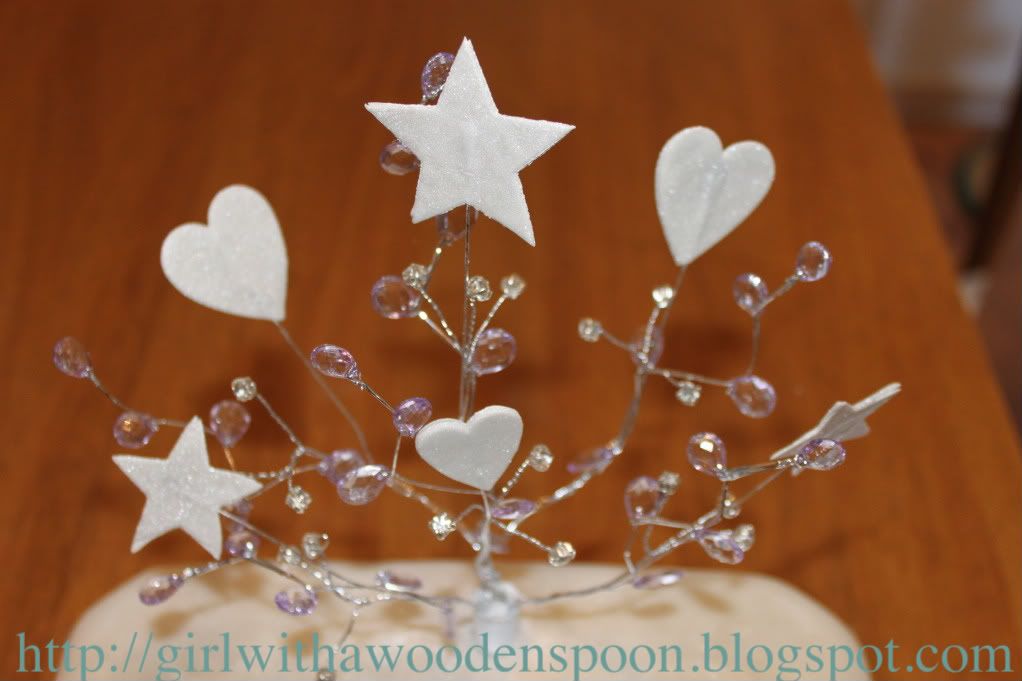
It was so simple. I have always tried making this with simple rolled icing. I tried cutting out shapes, letting them dry in the fridge and then inserting the wire. Fail. I cut out shapes, let them dry at room temperature, and inserted wires. Fail. I cut out some more shapes, inserted the wire, and then let them dry. Fail. I tried all of these methods with different thicknesses for each cut out shape. FAIL. All of these times, the icing broke apart, or the wire wouldn't set flat and poked through.
So I asked my local cake shop owner. I took the two-year old, dusty decoration I had from my 18th Birthday Cake, and flat out just asked how the hell I did it. Her reply..."It's icing, dear..." YES I KNOW IT'S ICING!!! WHAT ICING?!?!
Well, I didn't really say that back to her. She is an old lady, after all. She told me to use Flower Paste, which is what people use to make icing flowers, too. It's very pliable and sets hard as a rock in no time at all.
She told me to roll out the icing very thinly, so thinly that you could read a book through it. Then, use a little cornflour for dusting. Cut out one shape, and use a little water brushed over it before placing a wire with the top folded down in the centre of the shape. Then cut out the same shape, and sandwich the wire between the two shapes. Voila, one icing on a stick.
I did this numerous times with different size hearts and stars, and let them to dry overnight - juuuust in case. The next morning, I arranged each stick with one lilac jewelled wire, and one silver gemmed wire, and repeated this until I had six trios of icing, gems and jewels. I then twisted them altogether, tweaked them a bit to look nice, and superglued the decoration into a plastic pointed cone - specifically for this decoration. This was then inserted into the cake, and with a bit of remaining ribbon I fastened this around the base of the decoration to hide the cone and wires.

Happy Baking x