I've finally finished university!!!!
So, that said, I should really have more time to spend on my blog now. So here goes! Last week I had another cake double-whammy, and was up until 3am on Saturday morning finishing them off in time for a Saturday afternoon delivery. The things I do for my customers...
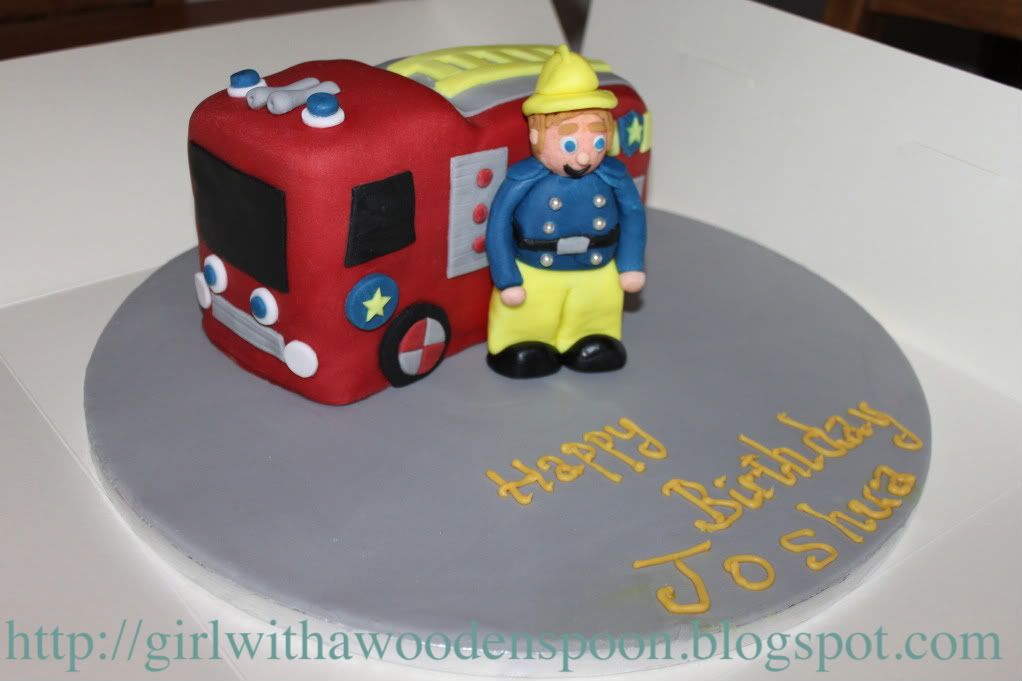
Fireman Sam
A good friend from university asked me to create a cake for her nephew's 4th birthday. More than happy to oblige, I made this Fire Engine cake complete with sugarpaste Fireman Sam (it's my first attempt at a sugarpaste figure, so please excuse his er... appearance!). The sponge itself is the usual victoria sponge with jam and buttercream concoction, which I had to cut specially into fire-engine shape before covering in fondant. I had a few problems with this cake, firstly, that Sam's head decided to fall off. Then the newly-built Sam fell over mid-delivery, but no harm done. I think I need some lessons on sugarpaste figures, though. Bit peed off with how he turned out :(
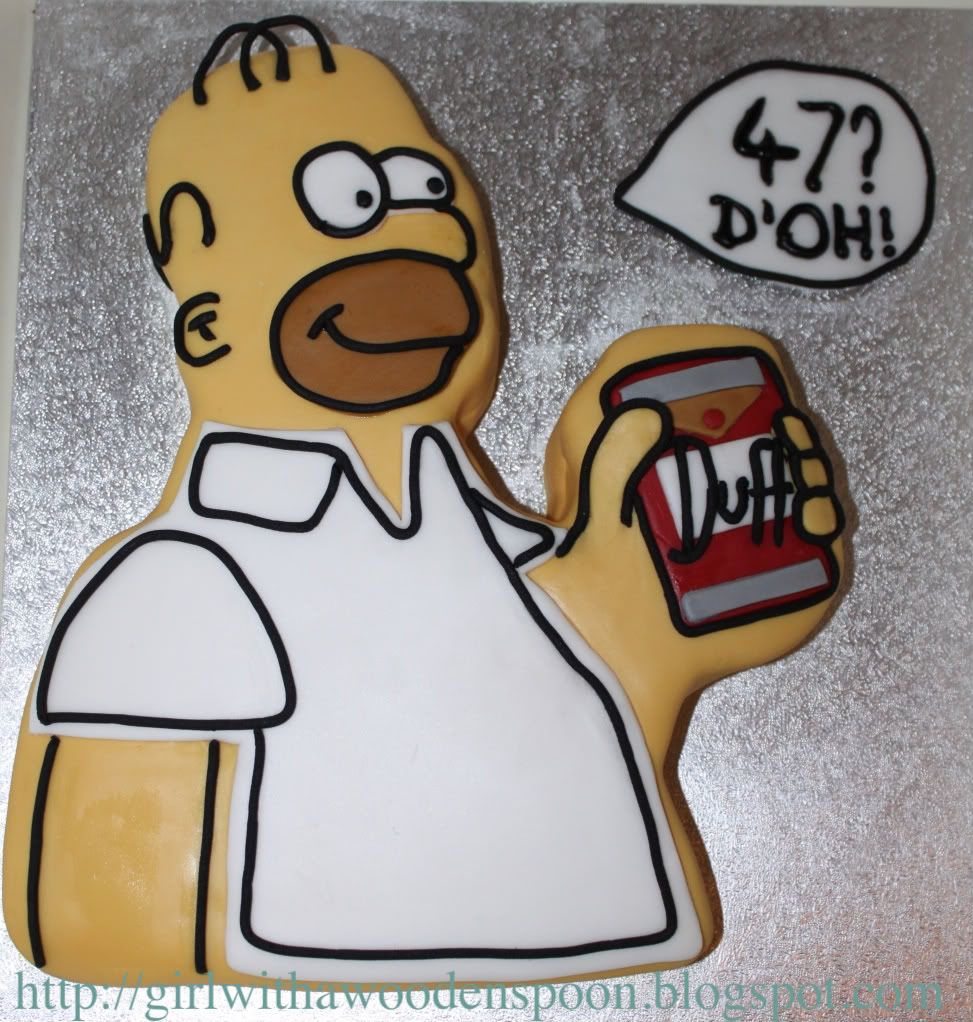
Homer Simpson
I am SO happy with how Homey turned out!!! I used a stencil to cut out the shape of him, then covered in the usual way with fondant. Then came the fun part of cutting out special shapes of his beard and shirt to match his body perfectly. Also, for my birthday, my in-laws got me a sugarpaste gun which I had wanted for aaaaaages - ever since Peppa Pig. It helps you create really perfect sausage shapes (and more, it comes with loads of shapes) without the icing breaking. As you can see, this is how I made the black outline of Homer, and I think you'll agree it works perfectly. I managed to keep his hair pieces in place by placing a thick cookbook under them, and left it overnight 'til the icing set in place :P This cake was made for Jim's dad's birthday party, and it went down a storm. It was gone by Sunday, which is what I like to hear!!
I have just recovered from two days filled with baking fruit cakes in preparation for July's cake orders, and am now taking a well-earned break until next week, when it's Jim's birthday :) Getting closer to moving day, too, so I'll have to do a post on my new flat :D
Happy Baking x
Showing posts with label Jam. Show all posts
26 May, 2011
04 April, 2011
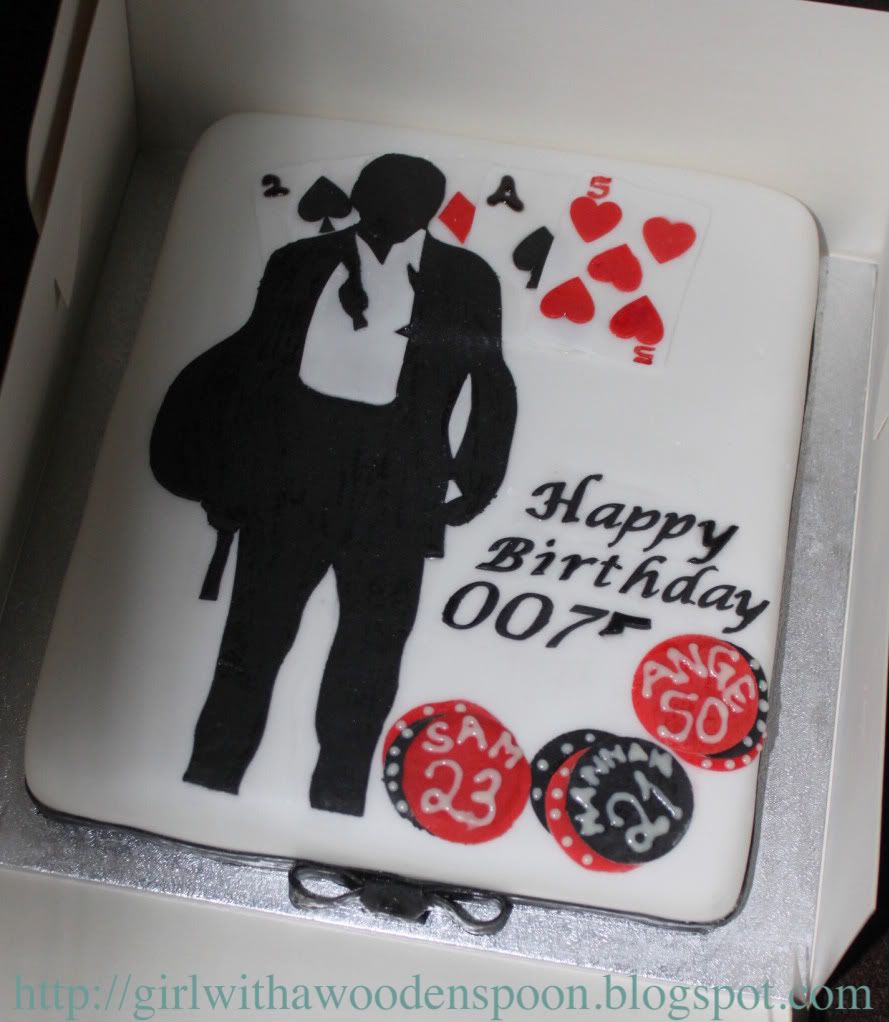
Pussy Galore: Bumper Post
Hi y'all! Back from the Big Apple today so I just had to tell you about the recent cake extravaganza I embarked upon 24 hours prior to departure :)
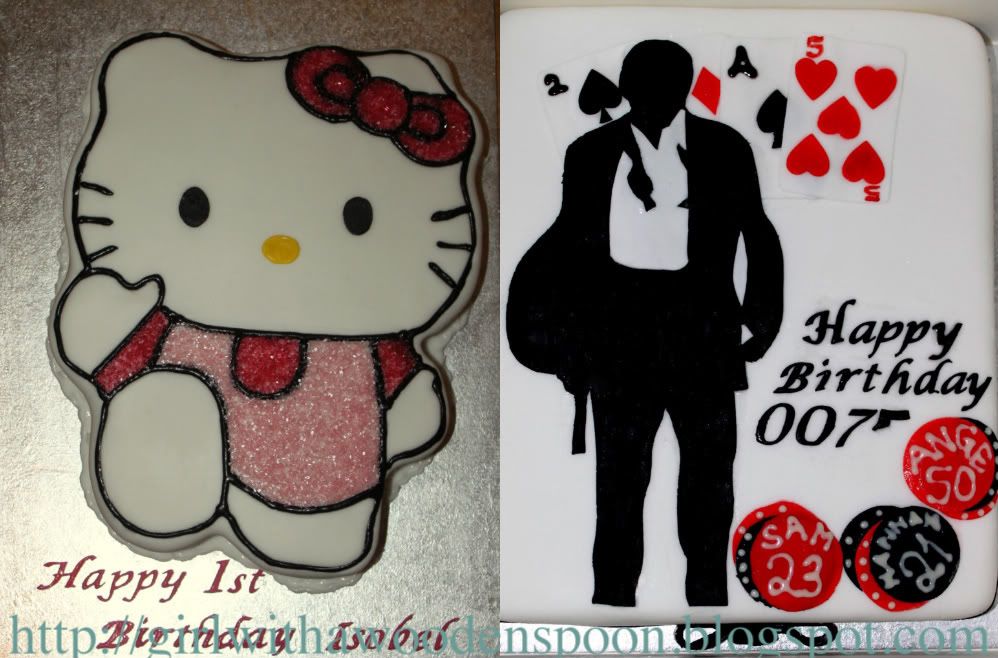
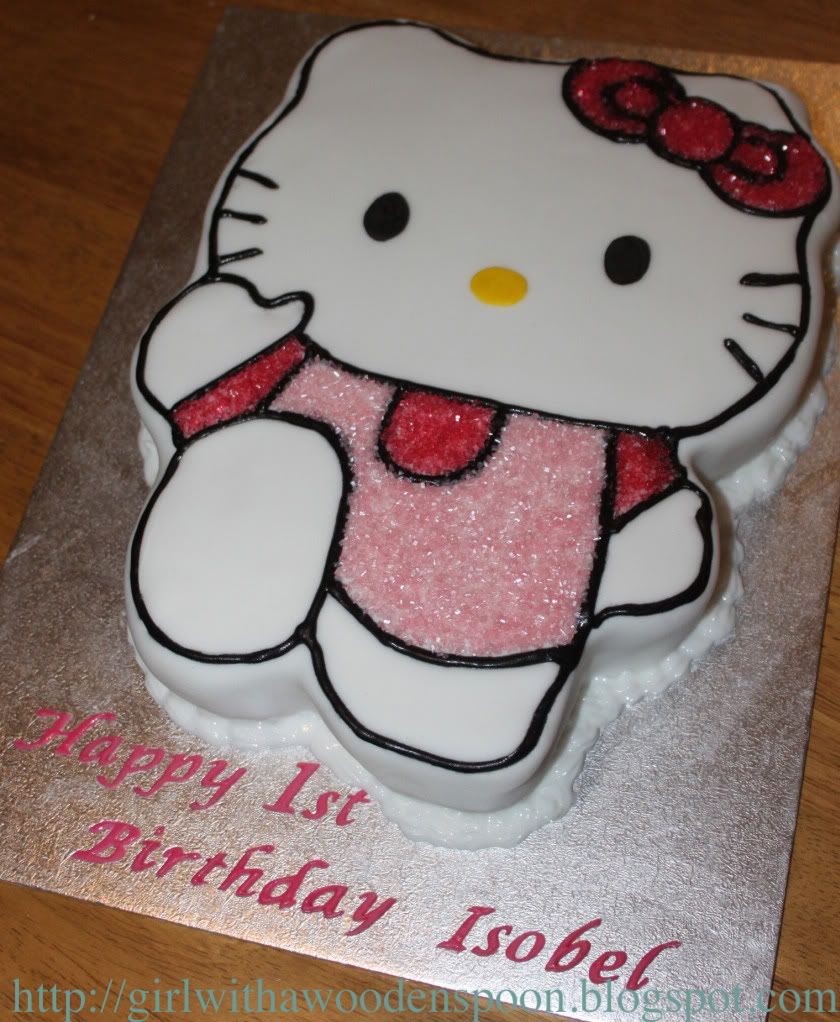
I couldn't really say no to doing two cakes just before I set off on holiday - both were family orders and plus I really really wanted to do them. I was commissioned to make a Hello Kitty cake for my second cousin's first birthday, and a triple-whammy-James-Bond-themed-birthday cake for my other cousin's friends' party.
Phew.
So in a mere 48 hours I took upon the challenge of baking, icing and decorating two cakes, and here's the final results. (I haven't done a progress post this time as I was sooo strapped for time what with packing and uni-working too, so the final product is what you see is what you get.)
James Bond silhouette casino cake - Madeira Sponge with vanilla buttercream and jam filling.
Hello Kitty character cake - Devil Food Cake with chocolate buttercream with edible SPARKLES for decoration (note: no glitter - sparkles!!)
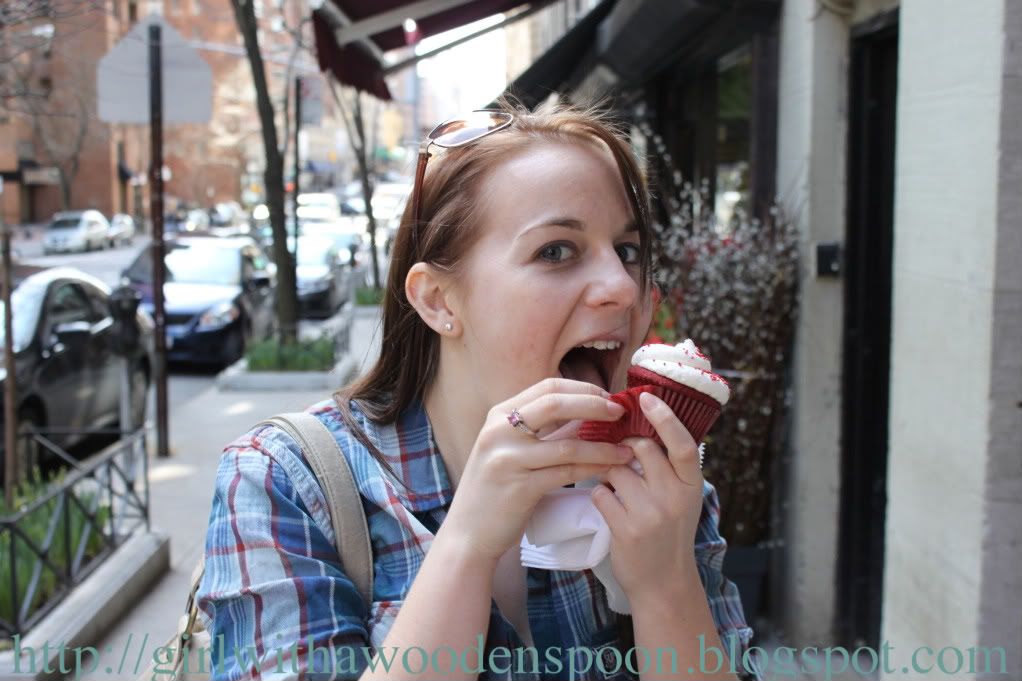
And remember the failed Red Velvet cupcake post I did last year? I tasted my first American-style cupcake from a little cupcakery on the stylish Madison Avenue and oh-my-goodness they are heavenly. Literally velvety, a hint of chocolate, and very frothy frosting! I HAVE to find a good recipe soon!!!
Happy Baking x
I couldn't really say no to doing two cakes just before I set off on holiday - both were family orders and plus I really really wanted to do them. I was commissioned to make a Hello Kitty cake for my second cousin's first birthday, and a triple-whammy-James-Bond-themed-birthday cake for my other cousin's friends' party.
Phew.
So in a mere 48 hours I took upon the challenge of baking, icing and decorating two cakes, and here's the final results. (I haven't done a progress post this time as I was sooo strapped for time what with packing and uni-working too, so the final product is what you see is what you get.)
James Bond silhouette casino cake - Madeira Sponge with vanilla buttercream and jam filling.
Hello Kitty character cake - Devil Food Cake with chocolate buttercream with edible SPARKLES for decoration (note: no glitter - sparkles!!)
And remember the failed Red Velvet cupcake post I did last year? I tasted my first American-style cupcake from a little cupcakery on the stylish Madison Avenue and oh-my-goodness they are heavenly. Literally velvety, a hint of chocolate, and very frothy frosting! I HAVE to find a good recipe soon!!!
Happy Baking x
P.s I hope to set up a Facebook page soon for my 'Cakes by Kirsten' business. Link to come soon, I'd love your feedback!
Labels:
Buttercream,
Cakes,
Chocolate,
Edible Glitter,
Edible Sparkles,
Hello Kitty,
Jam,
James Bond,
Madeira,
Red Velvet,
Rolled Icing
11 February, 2011
Peppa Pig Cake
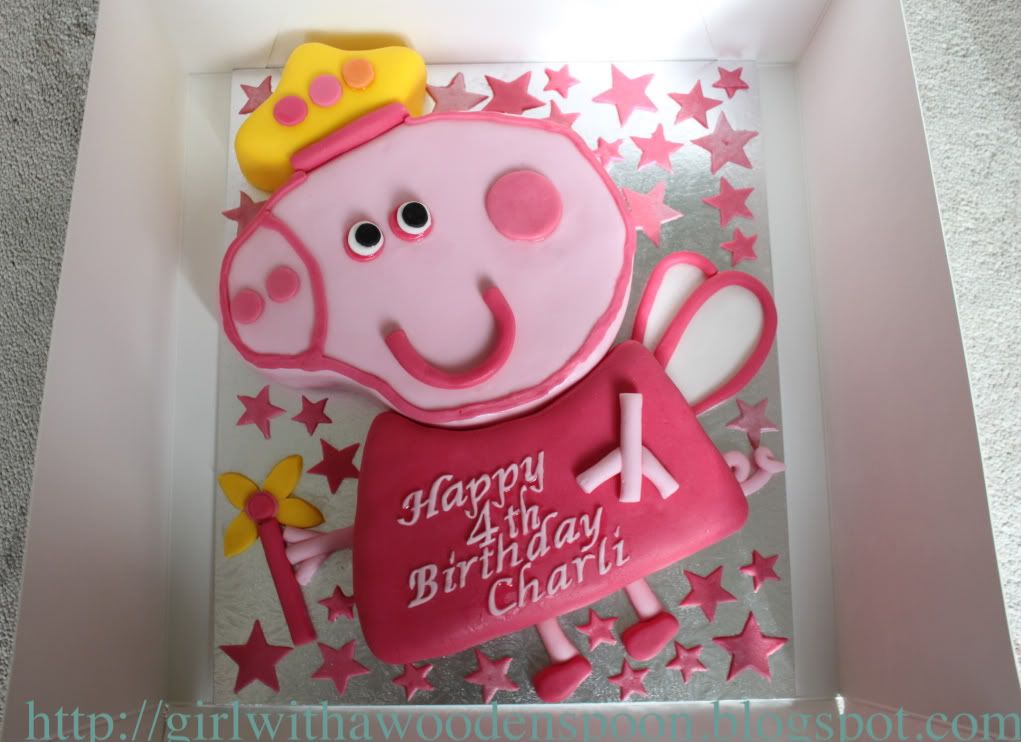
Happy 4th Birthday Charli!
A friend at Uni asked me to do my FIRST COMMISION! for her daughter's birthday, and she was so excited by the results of this Peppa Pig cake that she's asked me to do her other daughter's birthday cake in March. I'm such a busy bee at the moment! I'm about to start a Valentine's cake tomorrow and then another next week... Ahhh!!
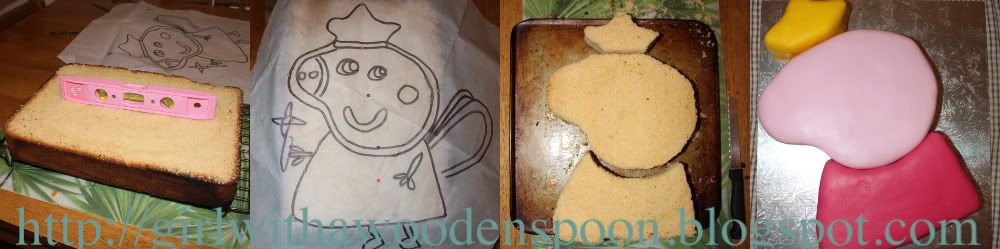
Anyways, so this is the progress of how I went from sponge to pig. Sorry guys, I really did try to do a video tutorial like I mentioned before, but trying to hold a rolling pin and a £600 camera at the same time as shooting a mini-vid is very hard. Ah well, when I'm rich I'll just have to hire someone to film me :P
I actually traced Peppa straight from the pc screen onto some tracing paper and then used that as a guide for the three parts of the cake, then split those parts in two horizontally to add jam and buttercream. Those three parts were then coated in a crumb coat of buttercream and popped into the fridge for 1/2 an hour. I used white rolled icing to do the first coat of icing, which set overnight. Then I used three shades of icing to create her skin, tiara and dress. Everything else was handmade and stuck on with Sugarcell. (You can't see it very well but I did use white lustre dust on the stars, too.)
I have a massive wishlist of cookery items that I really need to get more professional at these cakes, and one of them I really could have done with for this cake. A Sugarcraft gun would have produced a perfect log shape for creating her darker pink outline on her face, and also the outline of the fairy wings. Unfortunately it's just impossible to create logs that long and symmertrical without them falling to pieces. I hope Jim's got the hint and has bought me one for V. Day :D
More to come soon, Happy Baking! x
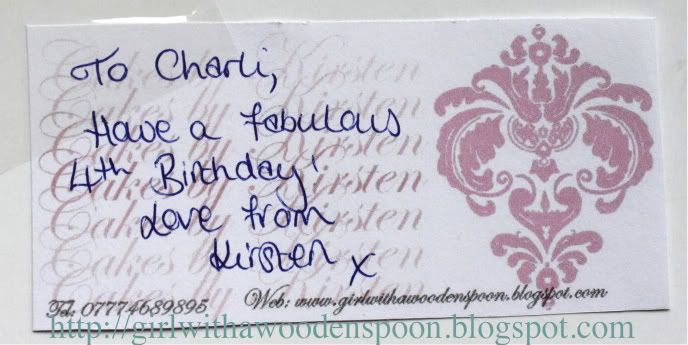
P.s What do you guy's think of my make-shift business cards? I'd like to get some properly made up when I have the money and a solid idea - maybe replace the damask picture with my own sketch of a cake/cupcake? (Yes, I'm saying cupcake again. I suppose I'm not going to be very popular if I still refer to the them as buns. Which they are...)
A friend at Uni asked me to do my FIRST COMMISION! for her daughter's birthday, and she was so excited by the results of this Peppa Pig cake that she's asked me to do her other daughter's birthday cake in March. I'm such a busy bee at the moment! I'm about to start a Valentine's cake tomorrow and then another next week... Ahhh!!
Anyways, so this is the progress of how I went from sponge to pig. Sorry guys, I really did try to do a video tutorial like I mentioned before, but trying to hold a rolling pin and a £600 camera at the same time as shooting a mini-vid is very hard. Ah well, when I'm rich I'll just have to hire someone to film me :P
I actually traced Peppa straight from the pc screen onto some tracing paper and then used that as a guide for the three parts of the cake, then split those parts in two horizontally to add jam and buttercream. Those three parts were then coated in a crumb coat of buttercream and popped into the fridge for 1/2 an hour. I used white rolled icing to do the first coat of icing, which set overnight. Then I used three shades of icing to create her skin, tiara and dress. Everything else was handmade and stuck on with Sugarcell. (You can't see it very well but I did use white lustre dust on the stars, too.)
I have a massive wishlist of cookery items that I really need to get more professional at these cakes, and one of them I really could have done with for this cake. A Sugarcraft gun would have produced a perfect log shape for creating her darker pink outline on her face, and also the outline of the fairy wings. Unfortunately it's just impossible to create logs that long and symmertrical without them falling to pieces. I hope Jim's got the hint and has bought me one for V. Day :D
More to come soon, Happy Baking! x
P.s What do you guy's think of my make-shift business cards? I'd like to get some properly made up when I have the money and a solid idea - maybe replace the damask picture with my own sketch of a cake/cupcake? (Yes, I'm saying cupcake again. I suppose I'm not going to be very popular if I still refer to the them as buns. Which they are...)
Labels:
Buttercream,
Cakes,
Jam,
Madeira,
Rolled Icing,
Sugarcell,
Sugarcraft Gun
27 July, 2010
Caravan Cake
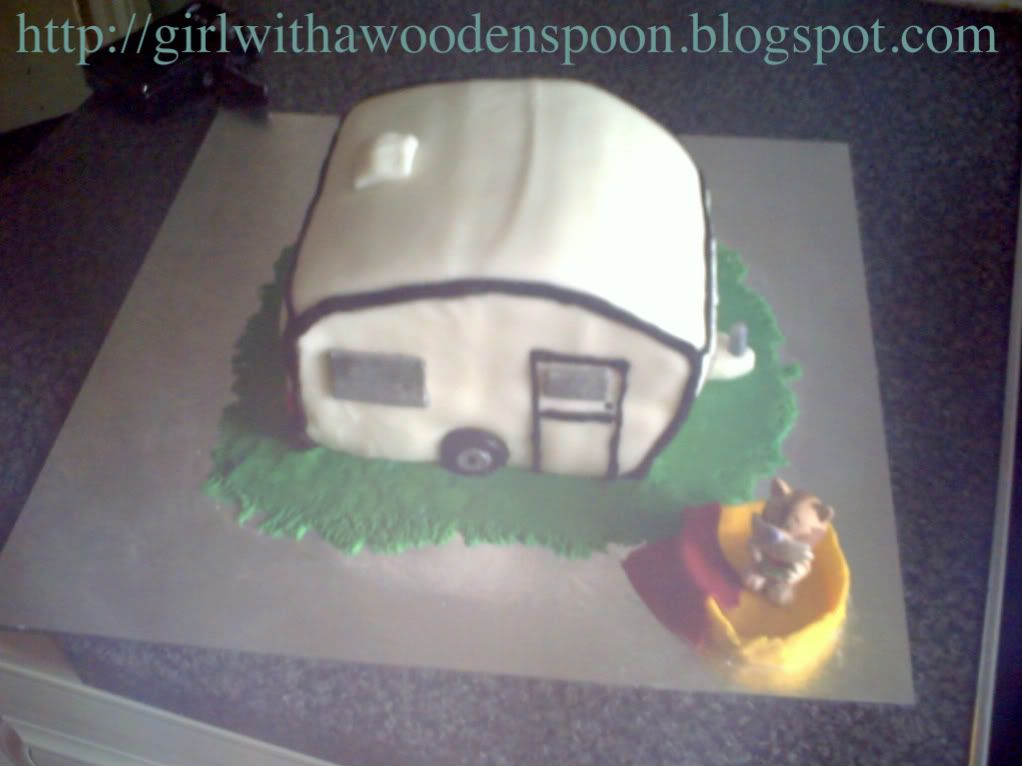
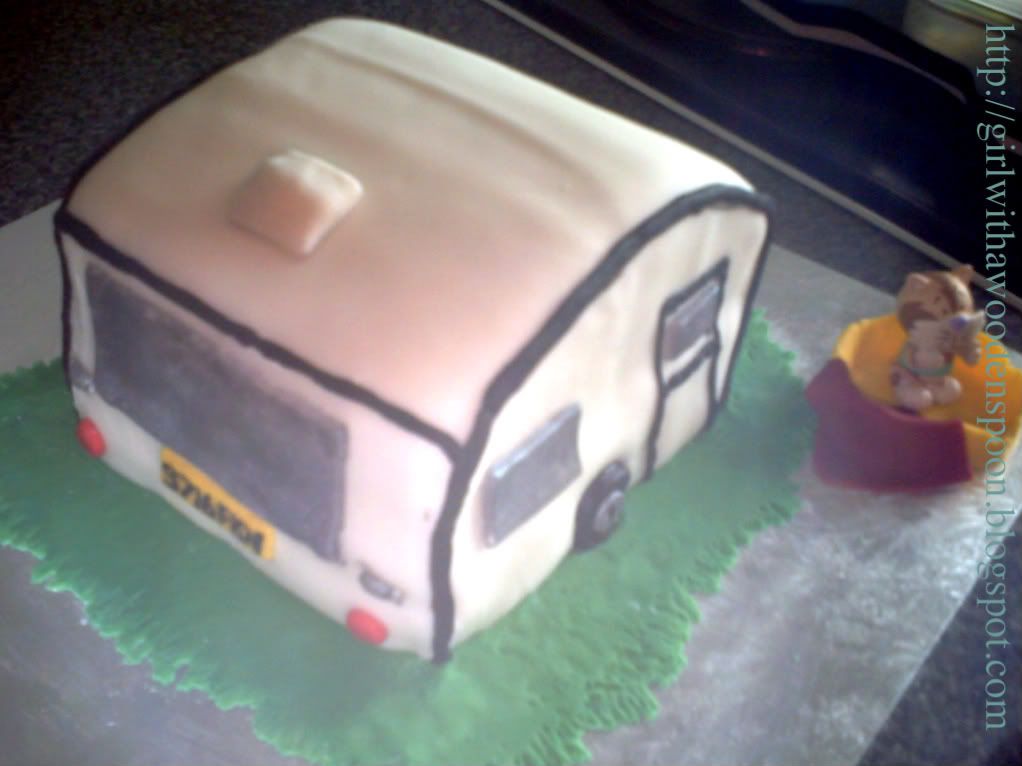
So my auntie heard about my new business venture into the world of cake-making, and asked me to make a caravan shaped cake for a work colleague who was leaving. Ironically, he hates caravans so the joke was on him, poor soul. But apparantly the cake went down a storm in the office and I thought I'd share with you how I made it :) Also, the cat in the basket was made my mum and auntie, who thought it would be funny to add on to the design - hence the shoddy workmanship of the basket and lack of scale towards the caravan. The cat is a figurine by the way, not modelled. Silly women!
(I do apologise for the quality of the photos - my SLR is at my in-law's house, and my battery ran out on my compact digi cam, so it was up to the ol' mobile phone snapper to help me document this post.)
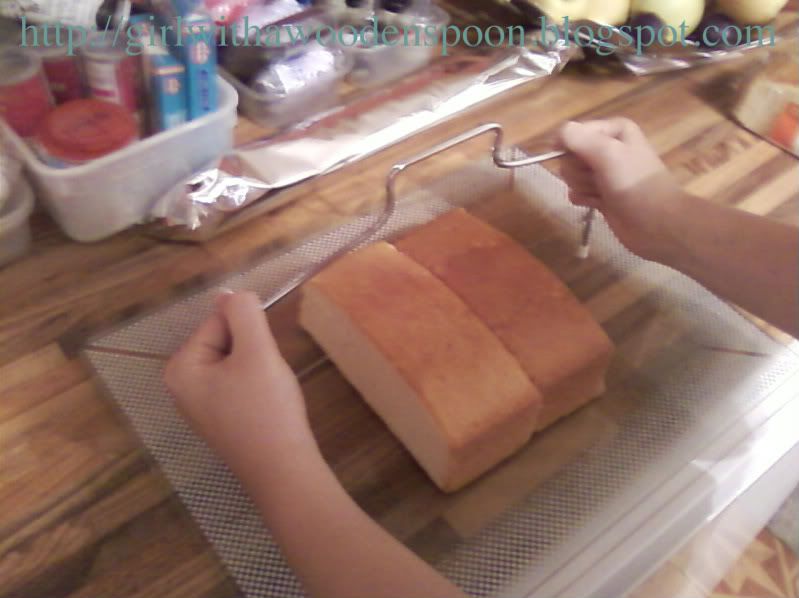
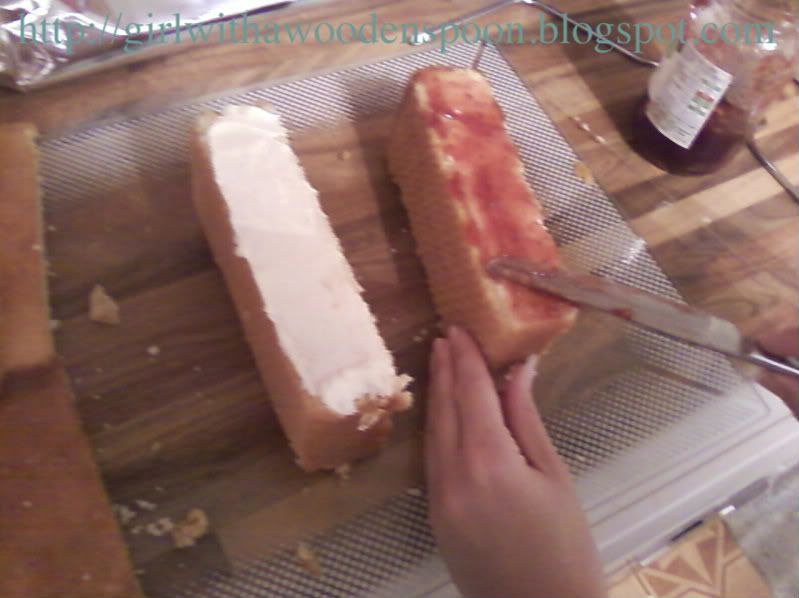
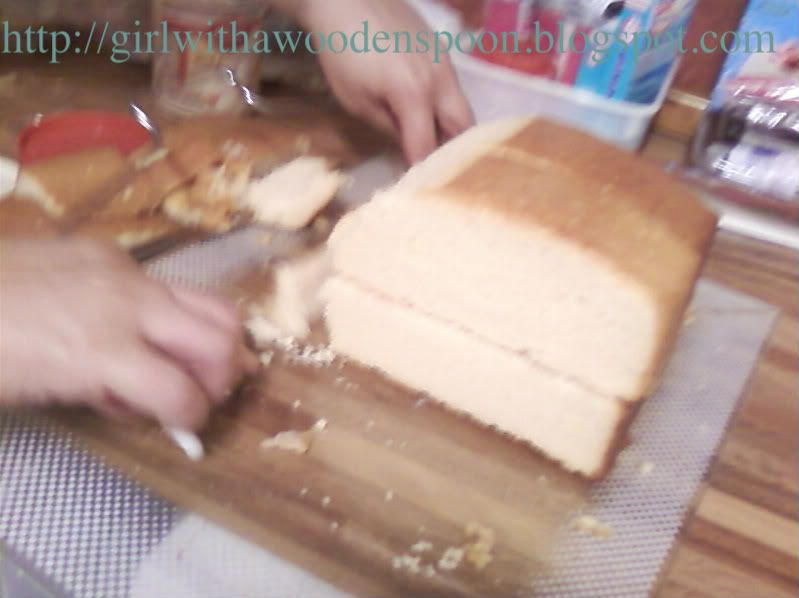
Firstly, I made four madeira cakes in loaf tins. I'll post the recipe for this type of cake soon, as I've also made another recently. After they set, I used my brand new Lawson's cake leveller so get rid of the lumpy bumpy bit on top of two of the cakes, giving a nice smooth top surface. I kept the other two loaves the same as when they came out of the oven, to give the curved feature of the caravan's roof.Next, I used Betty Crocker's Vanilla Buttercream and Sainsbury's Strawberry seedless jam to create a filling and also a glue to stick the pieces together. I arranged the cakes so that they resembled a cuboid shape, and continued to fill it.
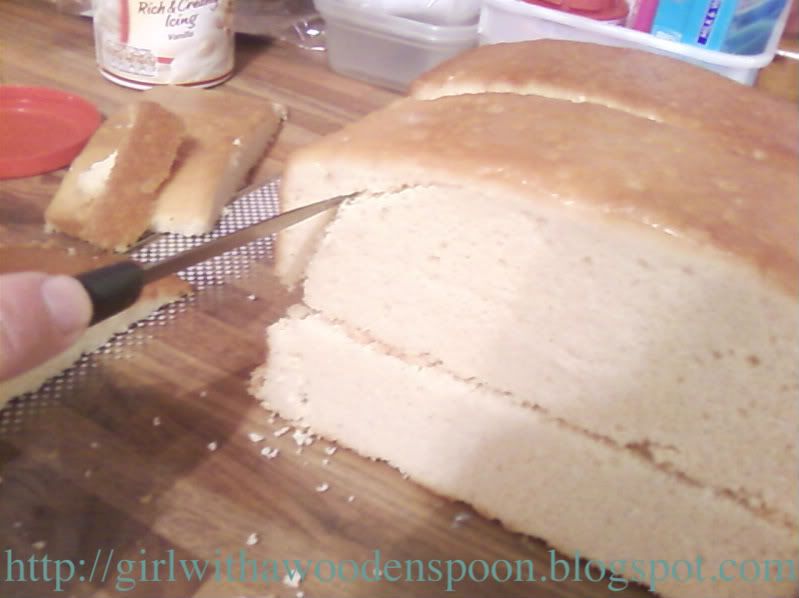
Then, I used a sharp knife to cut down one side of the cake to give the curved edging of a caravan, however I only grooved into the cake as a guideline, I used my cake leveller, and brought it down the side of the cake to give an even finish.
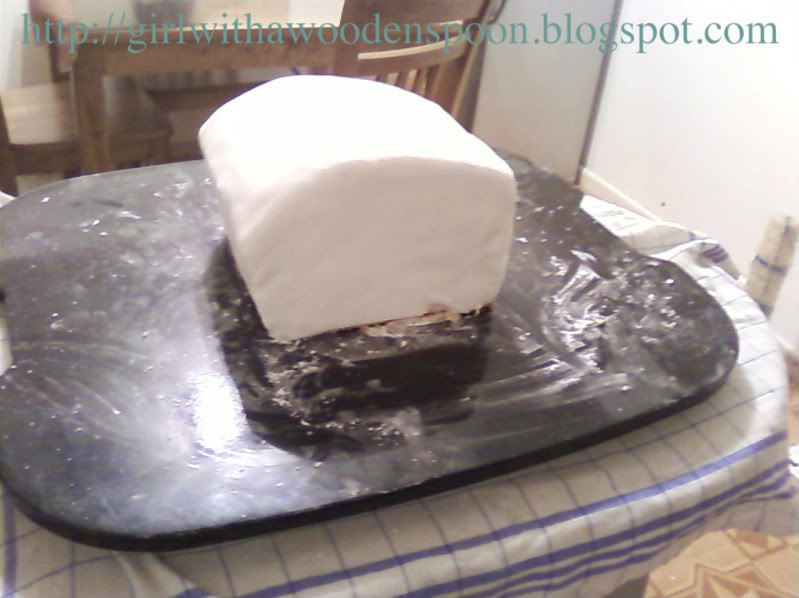
After this, I finished the cake off with one thin layer of buttercream, ready to stick the rolled icing onto. *Tip* When covering cakes, use either marzipan then icing, or two layers of icing if you don't like marzipan. I don't, so I used the two layers of icing, albeit very thin - it would be too sickly. To stick the two layers together, I used a cooking brush and boiled water. Boiled apricot glaze also works, or even a clear alcohol like vodka for all you alcys :P When covering a square shaped cake, pinch the corners together and cut them off, then use a sharp knife to get rid of the excess edges at the bottom of the cake. Remember to keep your hands well dusted with icing sugar whilst handling icing.
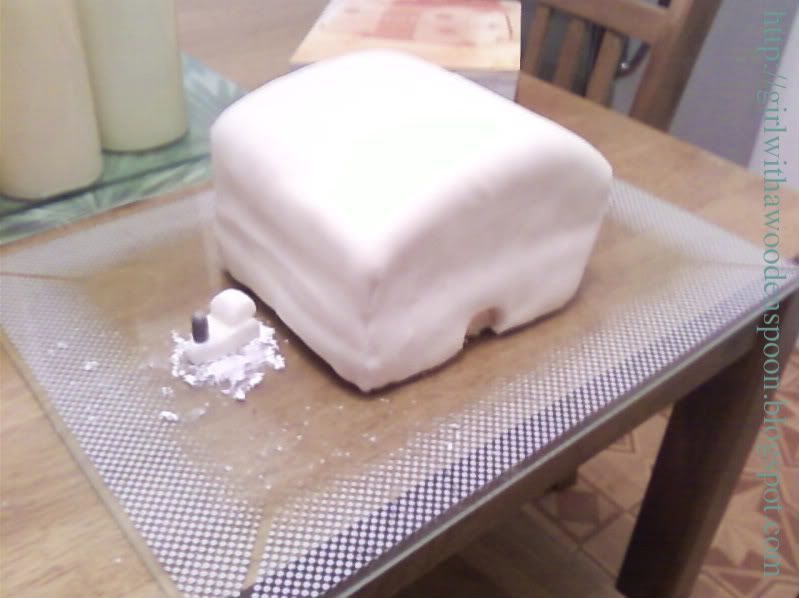
I let the cake set for about 3 days before decorating, so that the icing could dry out and make it easier to assemble objects on to. The little blob of icing on the side of the cake is the towing bar you see on caravans - I used an edible silver spray to get the metallic look on the hook, and inserted into the tow with a small bit of a cocktail stick, so it stayed upright.
Use your imagination when it comes to modelling, use paint brushes, cutlery items, modelling tools - anything you can get your hands on to give different effects. For example, if you were making a sugarpaste person, put a blob of sugarpaste through a garlic press to make their hair! The numberplate is also writen in a liquorice edible writing pen, and also happens to be the guy's own numberplate for his car. Add personality to your projects!
Anyways, that's all on the caravan cake stuff. Sorry it's been so long (again), I've been in Barcelona for a week and such like :D But on the plus side, I got my results back for my 2nd year of uni, and am happy to report that the highest marks I got were for my blog (yes this actually did start out as a uni project!). A lovely 2:1 overall for the year, and only one more to go!Happy baking munchkins.
Kirsten x
Labels:
Apricot Glaze,
Buttercream,
Cake Leveller,
Cakes,
Jam,
Madeira,
Marzipan,
Rolled Icing,
University,
Vodka
Subscribe to:
Posts (Atom)