
I made a simple square vanilla madeira cake, covered it in rolled icing and then decorated with icing letters, ribbon and a bow. I'll tell you where I went wrong further down the post...
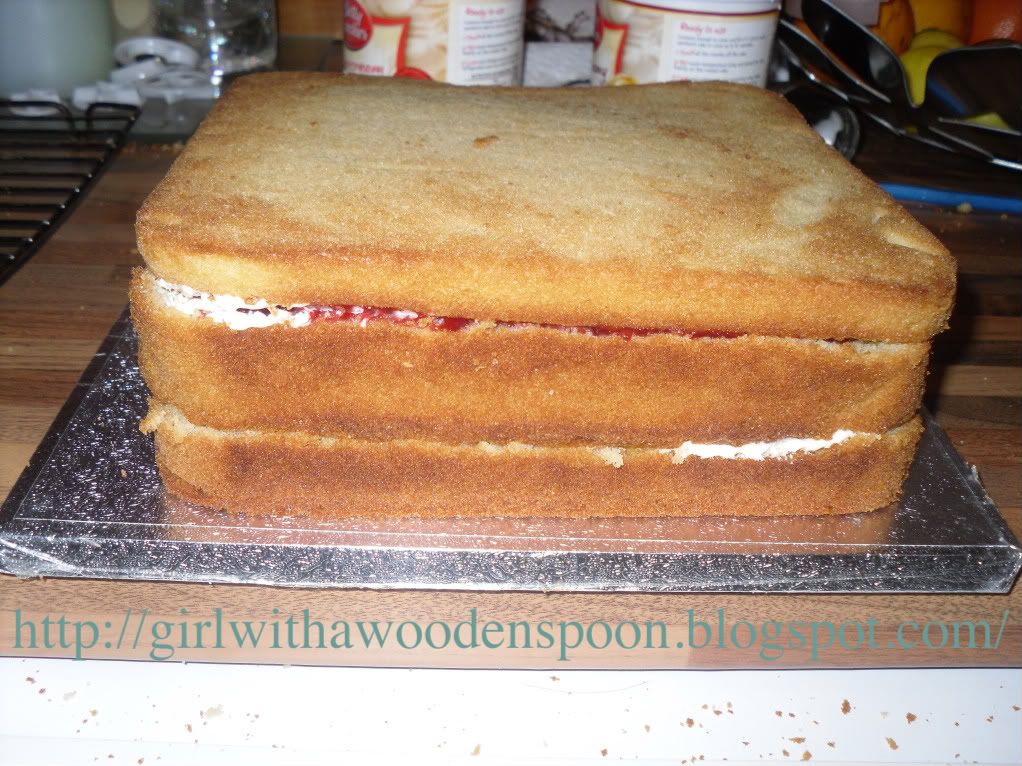
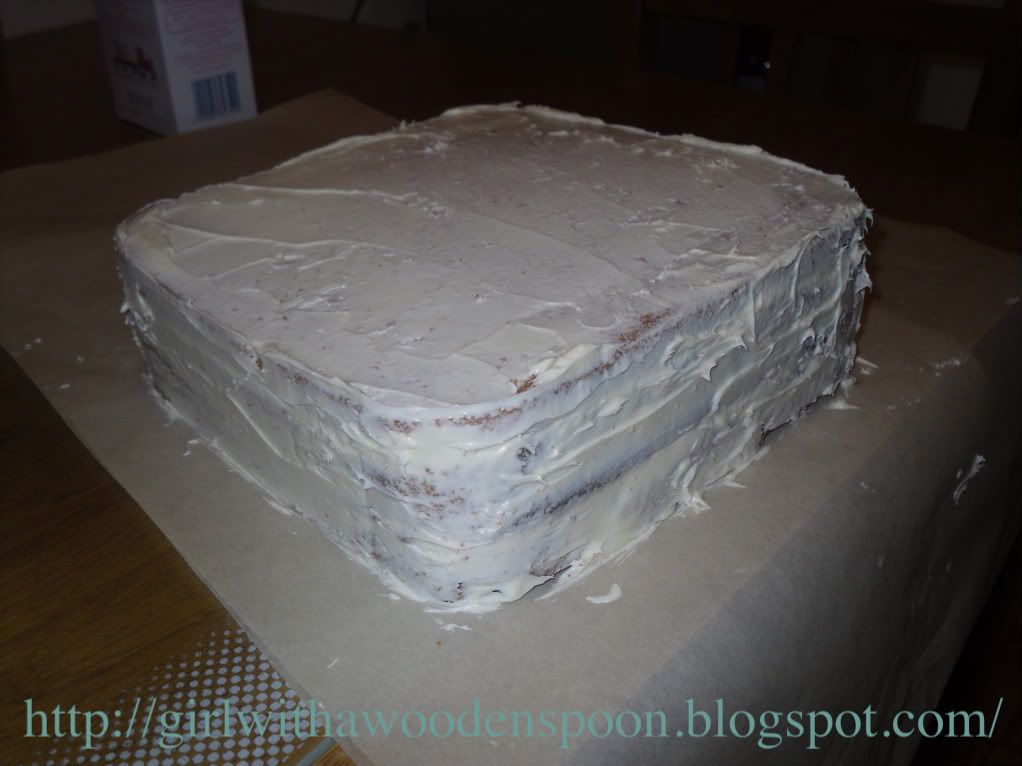
N.B. If you intend to make madeira sandwich cake like I did for this cake, you'll want to cut off the top of the cake to level it. This ultimately leaves you with half the cake left, so make two if you are sandwiching it :) Also, you can see in this picture that there are a few air bubbles in the icing. Use one of the pins to pop the bubbles and just smooth it over again with your hand. Use icing sugar to fill in the little hole.
Ingredients (for an 8 inch size square cake tin):
- 11 oz Butter
- 11 oz Sugar
- 6 Eggs
- 7 oz Plain Flour
- 2.5 oz Self-Raising Flour
- 6 teaspoons milk
*Optional* Buttercream and Strawberry Jam for the filling.
Decoration:
- 2 x Silver Spoon Ready Rolled Icing Sheets
- Red Rolled Icing
- Ribbons and bows (from all good decorating shops)
- 2 x Glass-Headed Pins
- Royal Icing (You can buy this ready made. RECOMMENDED. I made some from a recipe in my book and it gave me enough to cover a cake. I only needed a bit to pipe around the edges.
Method:
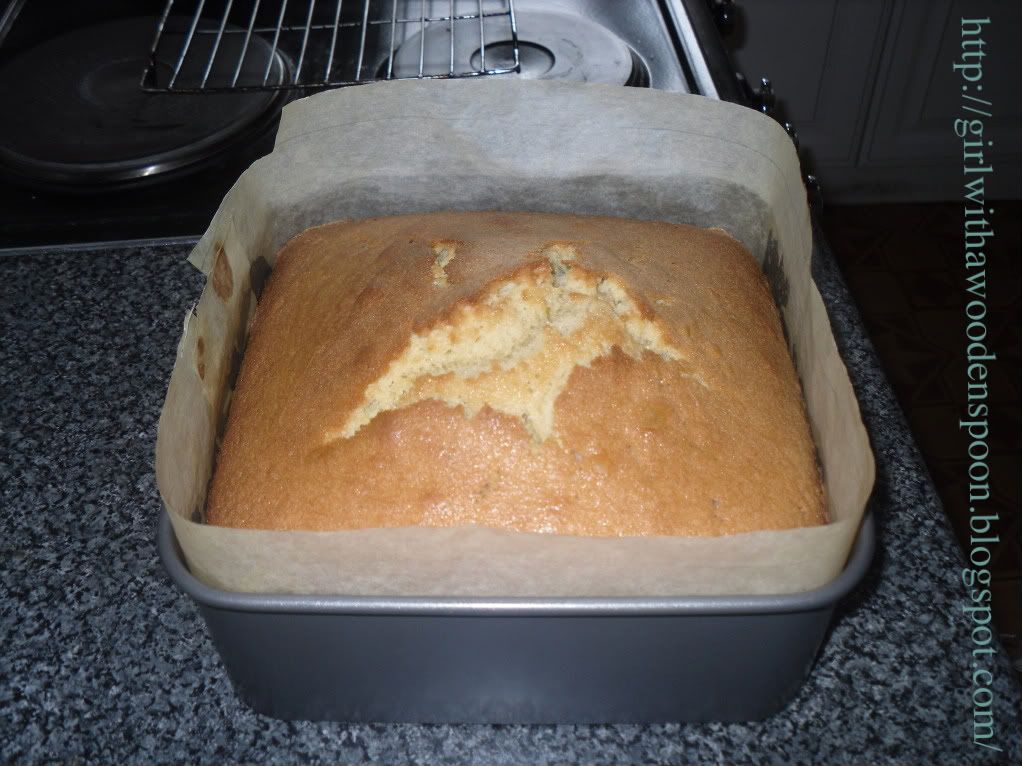
I bought a cheapy whisk from Sainsbury's to get my bottom drawer started. So go buy one for £4.18, chuck all the ingredients in a bowl and whiiiiiisk :P Haha, cheat. Bake for 1 hour and 35 minutes on 160'C.
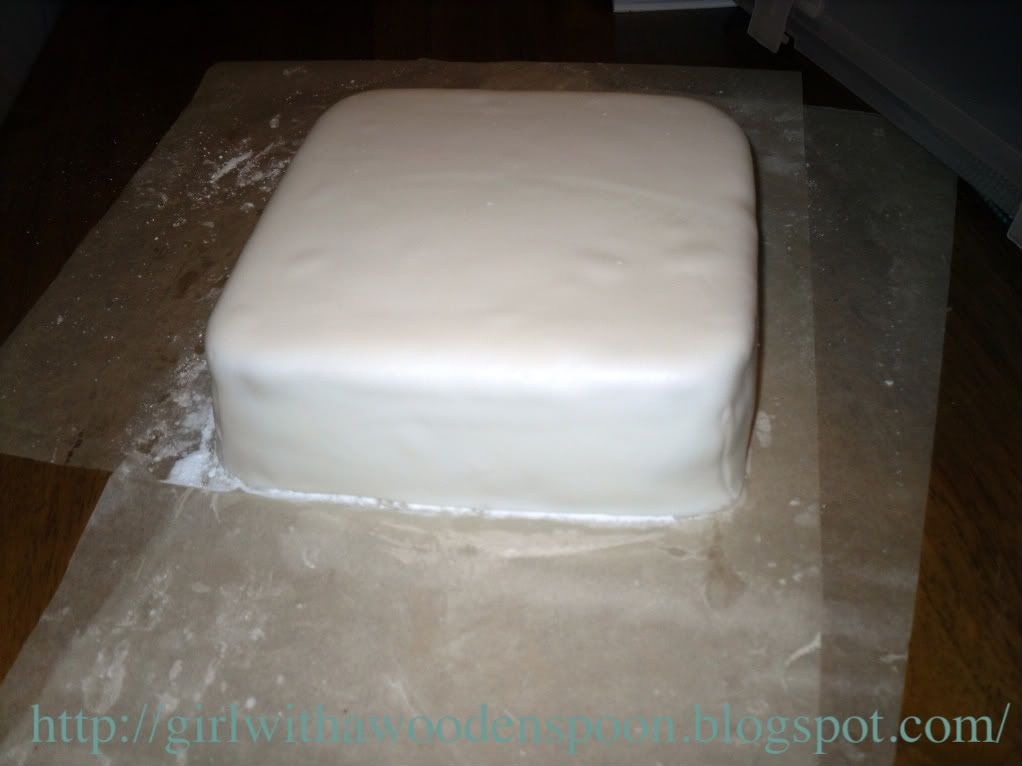
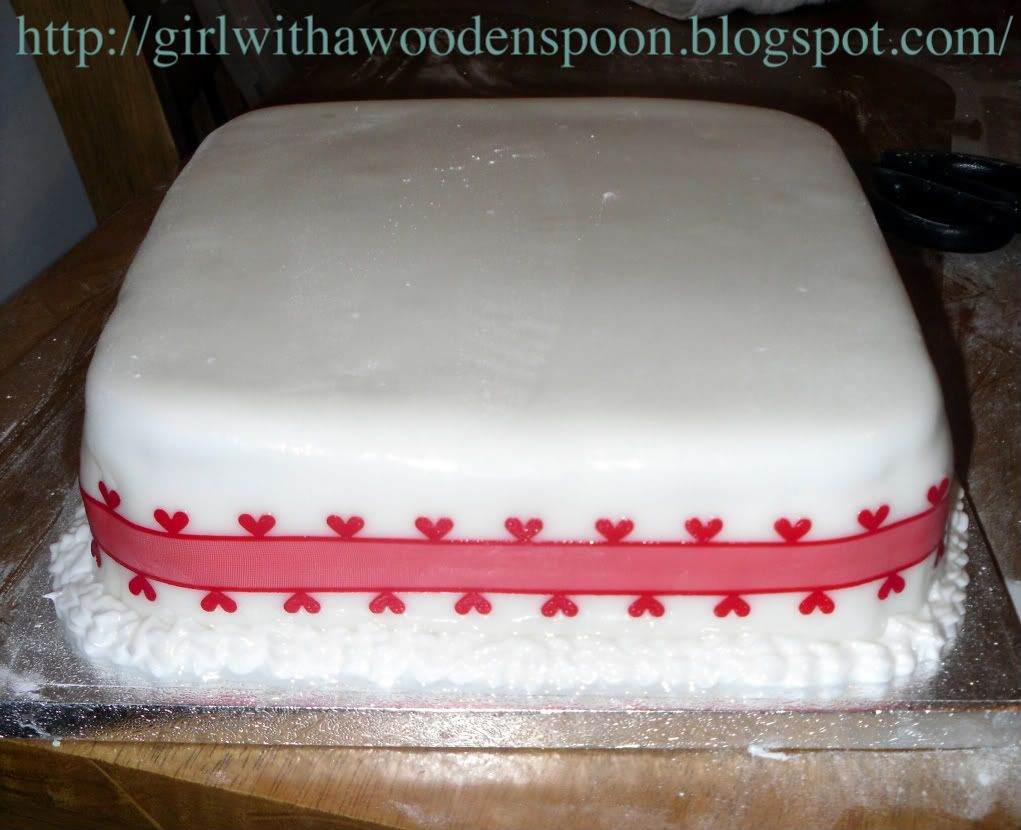
When covering the cake, use a very thin layer of buttercream to make a glue for your first layer of icing. Remember to either ice your cake twice, or cover it in marzipan and then icing - depending on your tastebuds. Use a rolling pin to carefully pick up the icing and place over the cake. Use your hands to smooth down the lumps and bumps and chop off any excess icing with scissors. On the corners, pinch the excess icing together and chop it off. Brush a little boiled water over the first layer, then add your second layer. If you only use one layer of icing you will get a bumpy finish.
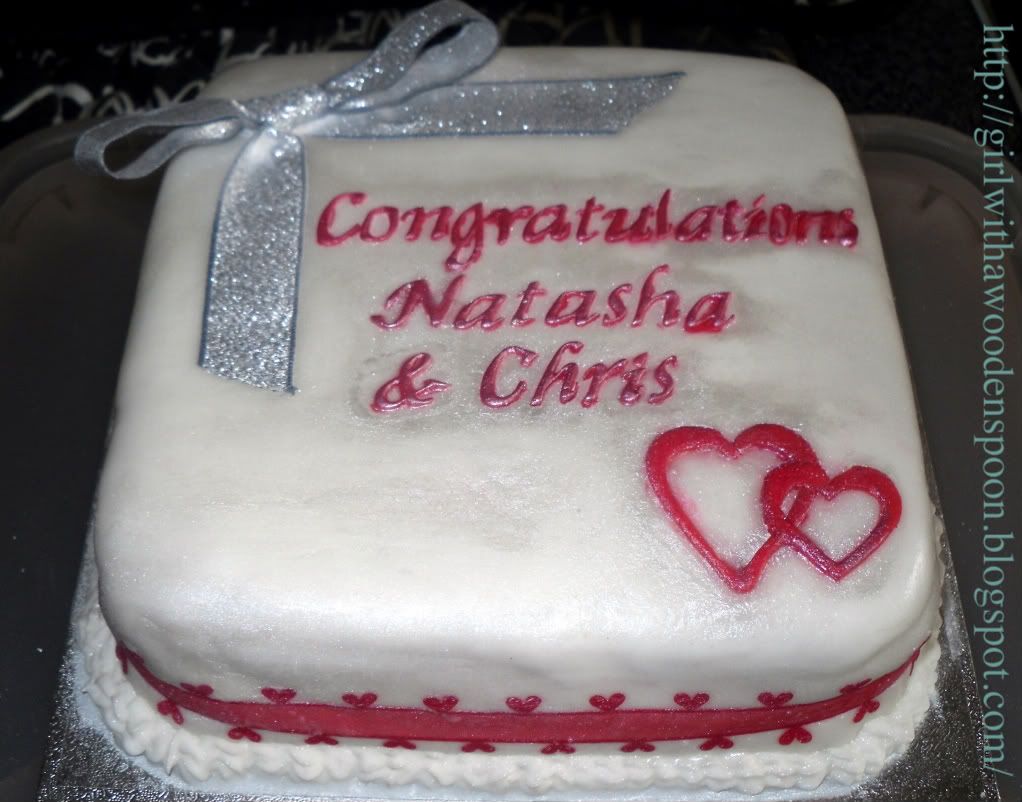
I used alphabet letter cutters to spell out "Congratulations Natasha and Chris" onto the cake in red rolled icing, and then cut out a big and medium sized heart in red rolled icing to finish it. When fastening bows and ribbons, use a glass-headed pin to secure them in place. Just remember to tell your recipient there are sharp objects in the cake!
Okay, so where did it go wrong? For my 18th birthday cake, the ladies who made it managed to give the whole cake a glittery finish over the icing. I thought I'd try this. Remember the silver edible spray I used for the Caravan Cake? I sprayed some of this into a small pot then used a brush to brush some of the glitter spray onto the cake. This doesn't work. At least, if it's a silver colour. You can get other shades, including a pearl sheen for special cakes, so don't let my mistakes put you off. Anyways, I ended up with silver streaks on my white icing, effectively giving it a dirty finish. I just had to grit my teeth and try to blot it off with damp kitchen towels, and when that didn't work completely, went to the cake shop to pick up some white dusting powder. Well, here are the results. Obviously, I couldn't get in between the letters very well, which is where the worst of it is:
Happy Baking x
This look so yummy!
ReplyDeleteAlex
http://alexslifeafter20.blogspot.com/