10 August, 2010

Wedding Fever Part 1

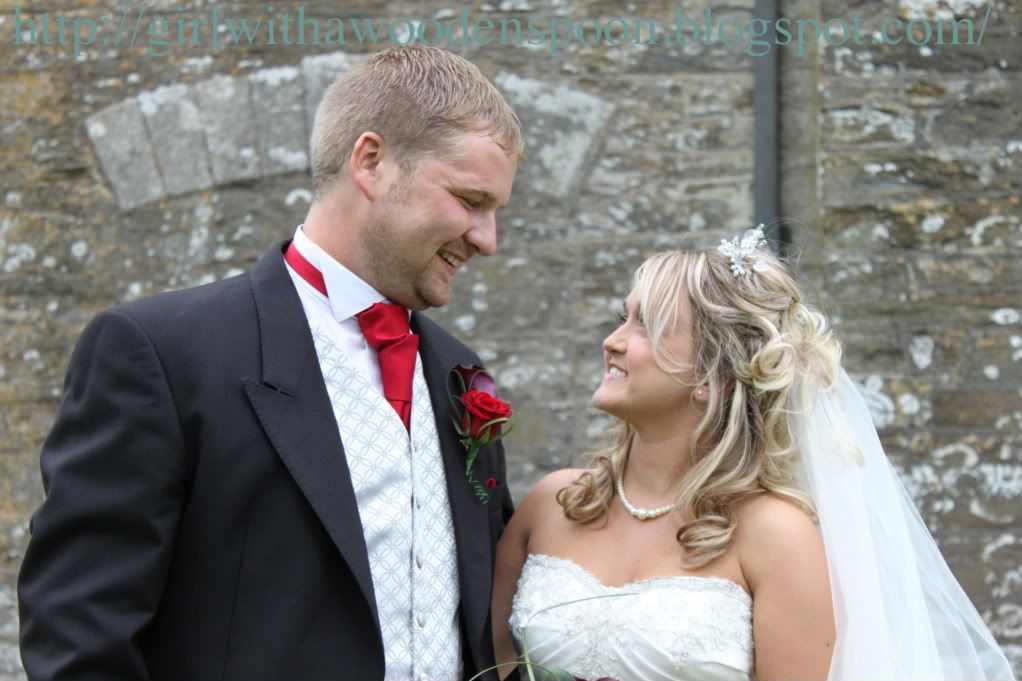
Hi folks! I can practically still hear wedding bells with all my latest antics! Two great people I know got married after being together for 10 years! Here's my favourite photograph of them on their happy day, don't they look beautiful?!
As mentioned in the previous post, I recently made an engagement cake for the other's half's cousin. I had a few ups and downs with this one, but they seemed pleased enough with it, and so did the whole family :D So much so, I got another order! This time for a Silver Wedding Anniversary cake, which I'm actually baking right now. Thought I'd get round to posting the other cake while it rises...
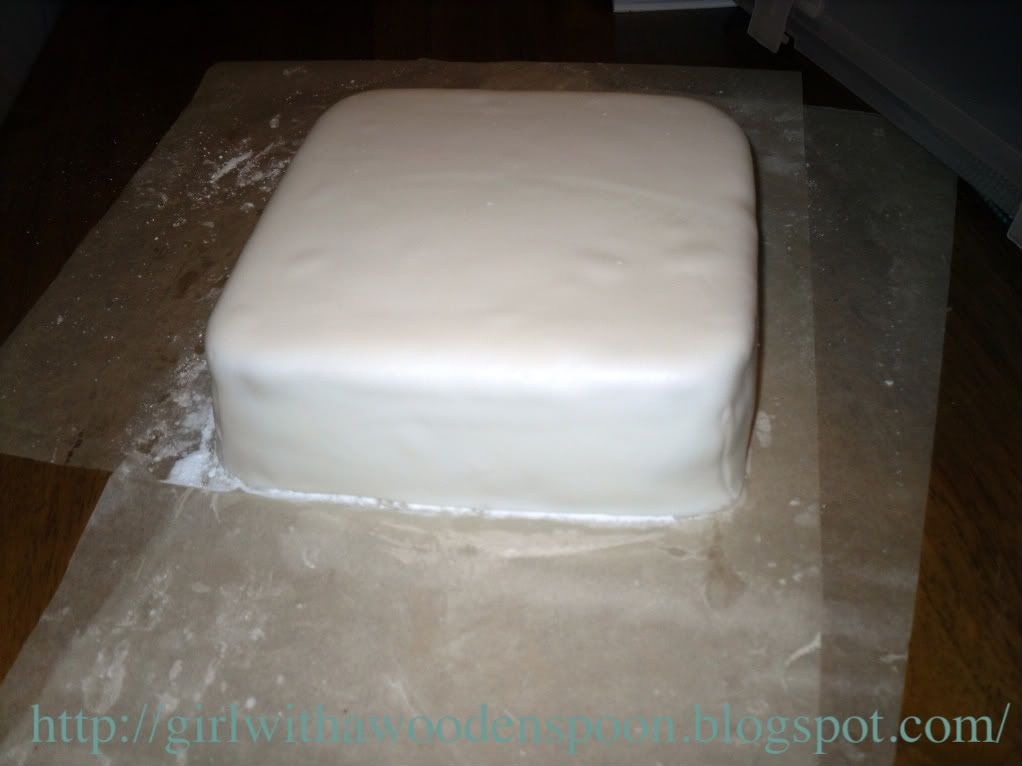
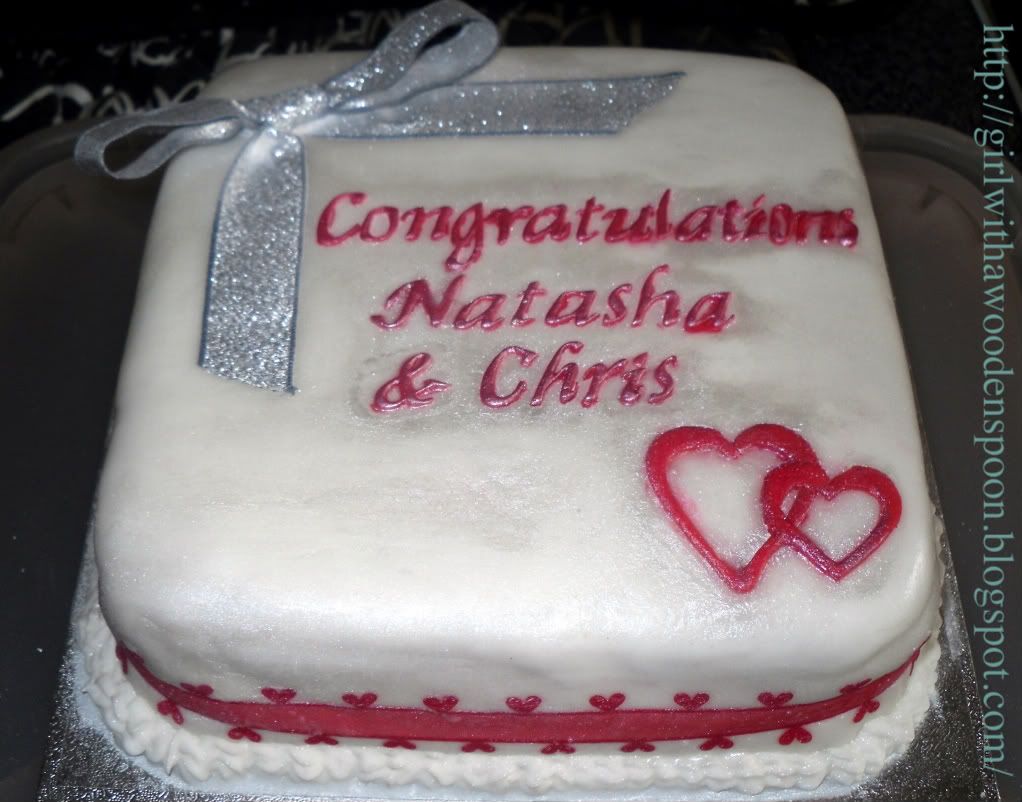
I made a simple square vanilla madeira cake, covered it in rolled icing and then decorated with icing letters, ribbon and a bow. I'll tell you where I went wrong further down the post...
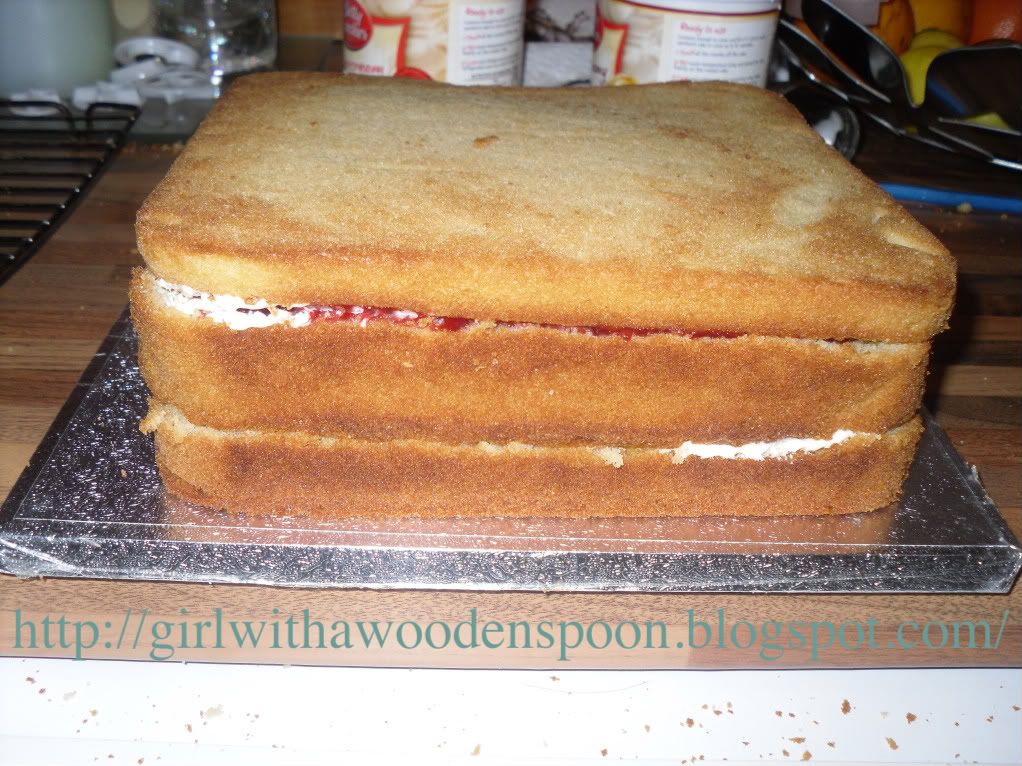
N.B. If you intend to make madeira sandwich cake like I did for this cake, you'll want to cut off the top of the cake to level it. This ultimately leaves you with half the cake left, so make two if you are sandwiching it :) Also, you can see in this picture that there are a few air bubbles in the icing. Use one of the pins to pop the bubbles and just smooth it over again with your hand. Use icing sugar to fill in the little hole.
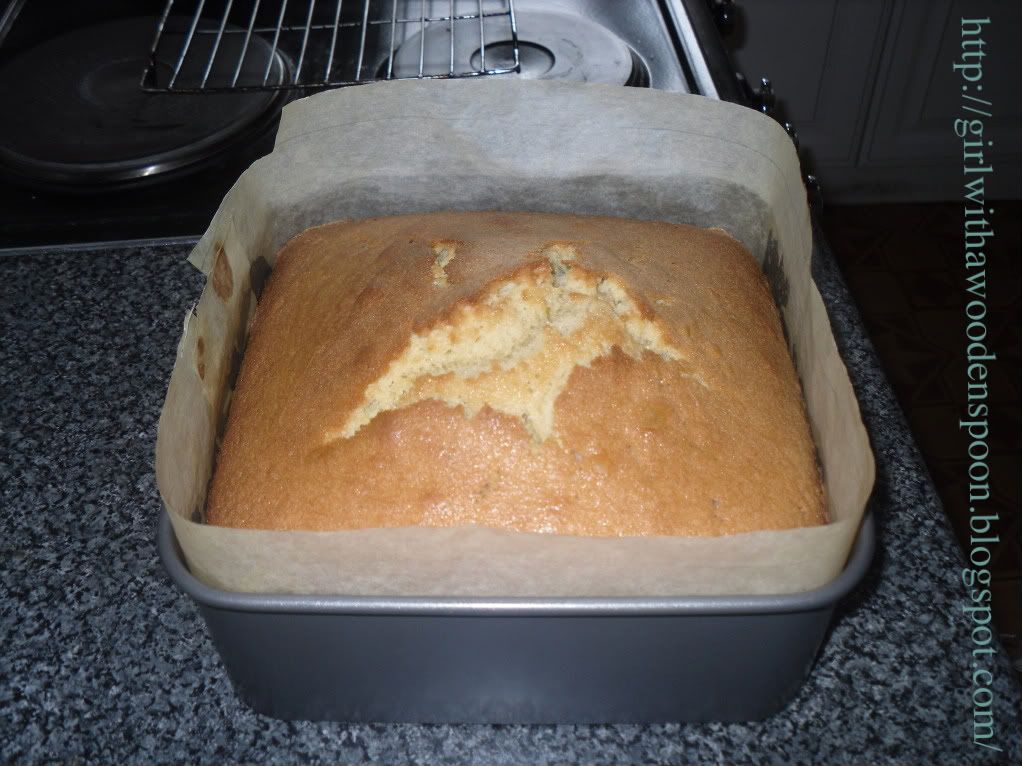
Ingredients (for an 8 inch size square cake tin):
- 11 oz Butter
- 11 oz Sugar
- 6 Eggs
- 7 oz Plain Flour
- 2.5 oz Self-Raising Flour
- 6 teaspoons milk
*Optional* Buttercream and Strawberry Jam for the filling.
Decoration:
- 2 x Silver Spoon Ready Rolled Icing Sheets
- Red Rolled Icing
- Ribbons and bows (from all good decorating shops)
- 2 x Glass-Headed Pins
- Royal Icing (You can buy this ready made. RECOMMENDED. I made some from a recipe in my book and it gave me enough to cover a cake. I only needed a bit to pipe around the edges.
Method:
I bought a cheapy whisk from Sainsbury's to get my bottom drawer started. So go buy one for £4.18, chuck all the ingredients in a bowl and whiiiiiisk :P Haha, cheat. Bake for 1 hour and 35 minutes on 160'C.
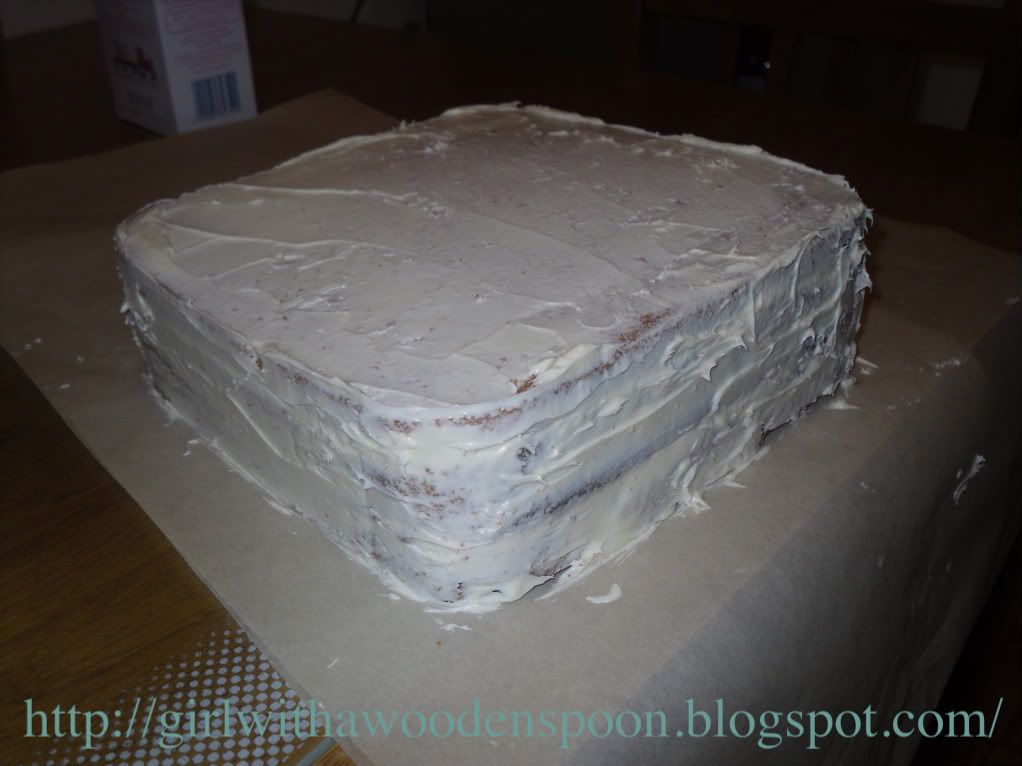
When covering the cake, use a very thin layer of buttercream to make a glue for your first layer of icing. Remember to either ice your cake twice, or cover it in marzipan and then icing - depending on your tastebuds. Use a rolling pin to carefully pick up the icing and place over the cake. Use your hands to smooth down the lumps and bumps and chop off any excess icing with scissors. On the corners, pinch the excess icing together and chop it off. Brush a little boiled water over the first layer, then add your second layer. If you only use one layer of icing you will get a bumpy finish.
   I used alphabet letter cutters to spell out "Congratulations Natasha and Chris" onto the cake in red rolled icing, and then cut out a big and medium sized heart in red rolled icing to finish it. When fastening bows and ribbons, use a glass-headed pin to secure them in place. Just remember to tell your recipient there are sharp objects in the cake!
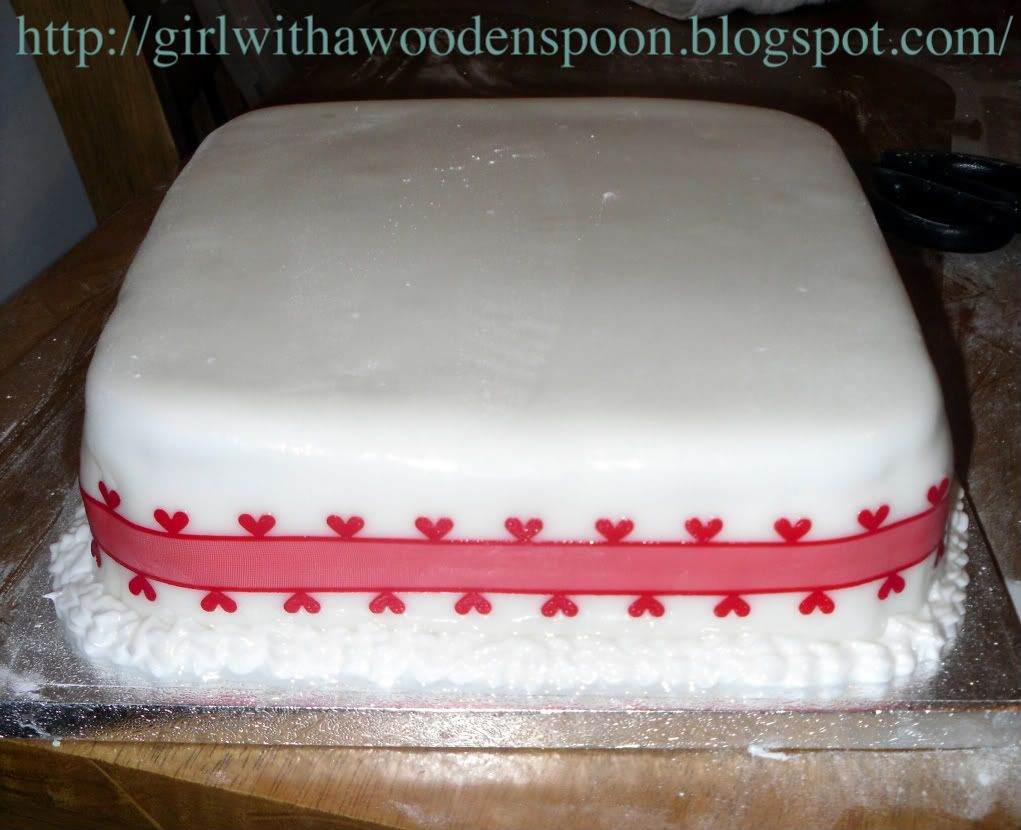
Okay, so where did it go wrong? For my 18th birthday cake, the ladies who made it managed to give the whole cake a glittery finish over the icing. I thought I'd try this. Remember the silver edible spray I used for the Caravan Cake? I sprayed some of this into a small pot then used a brush to brush some of the glitter spray onto the cake. This doesn't work. At least, if it's a silver colour. You can get other shades, including a pearl sheen for special cakes, so don't let my mistakes put you off. Anyways, I ended up with silver streaks on my white icing, effectively giving it a dirty finish. I just had to grit my teeth and try to blot it off with damp kitchen towels, and when that didn't work completely, went to the cake shop to pick up some white dusting powder. Well, here are the results. Obviously, I couldn't get in between the letters very well, which is where the worst of it is:
Happy Baking x

27 July, 2010

Caravan Cake

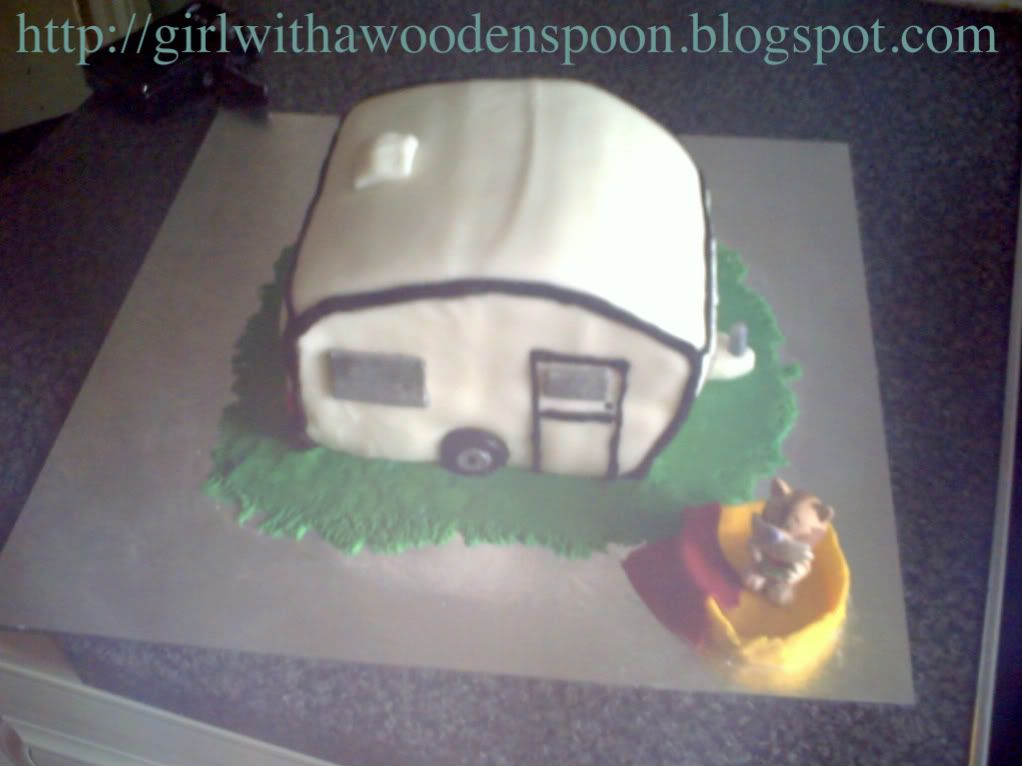
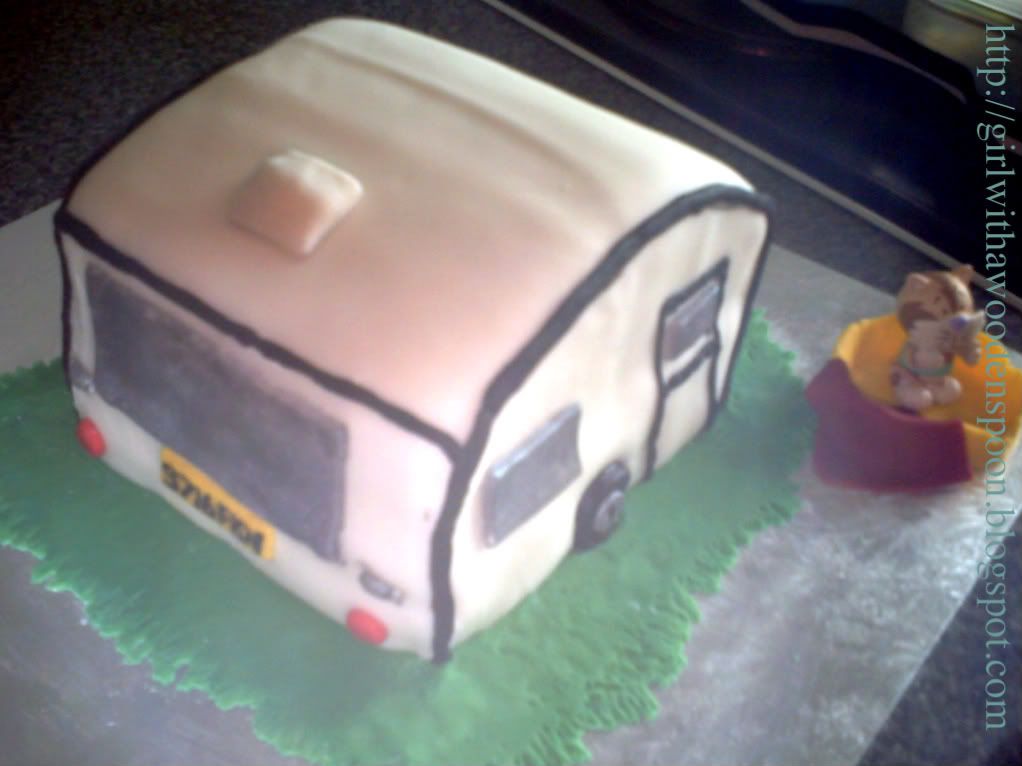
So my auntie heard about my new business venture into the world of cake-making, and asked me to make a caravan shaped cake for a work colleague who was leaving. Ironically, he hates caravans so the joke was on him, poor soul. But apparantly the cake went down a storm in the office and I thought I'd share with you how I made it :) Also, the cat in the basket was made my mum and auntie, who thought it would be funny to add on to the design - hence the shoddy workmanship of the basket and lack of scale towards the caravan. The cat is a figurine by the way, not modelled. Silly women!
(I do apologise for the quality of the photos - my SLR is at my in-law's house, and my battery ran out on my compact digi cam, so it was up to the ol' mobile phone snapper to help me document this post.)
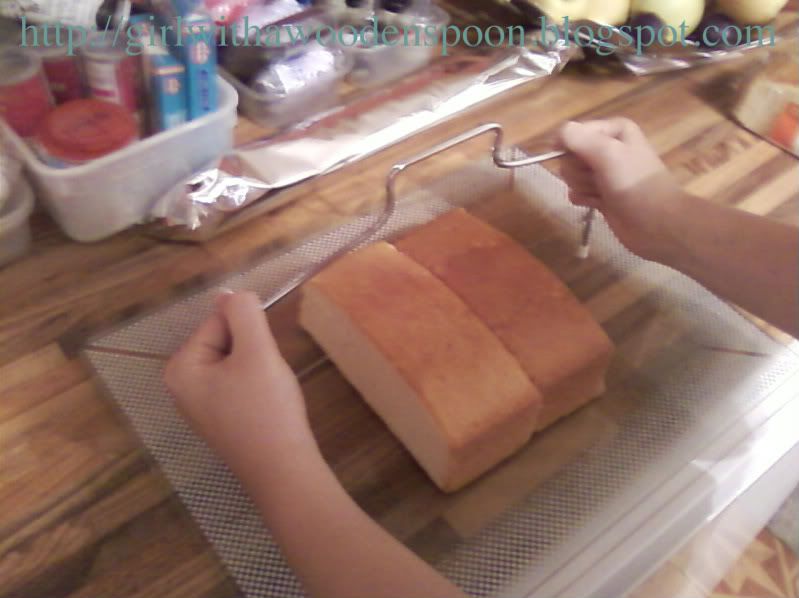
Firstly, I made four madeira cakes in loaf tins. I'll post the recipe for this type of cake soon, as I've also made another recently. After they set, I  used my brand new Lawson's cake leveller so get rid of the lumpy bumpy bit on top of two of the cakes, giving a nice smooth top surface. I kept the other two loaves the same as when they came out of the oven, to give the curved feature of the caravan's roof.
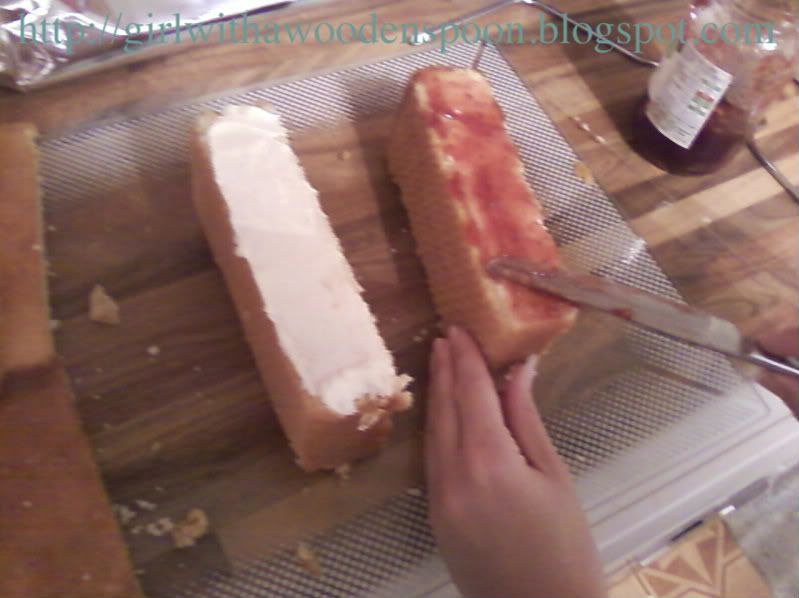
Next, I used Betty Crocker's Vanilla Buttercream and Sainsbury's Strawberry seedless jam to create a filling and also a glue to stick the pieces together. I arranged the cakes so that they resembled a cuboid shape, and continued to fill it.
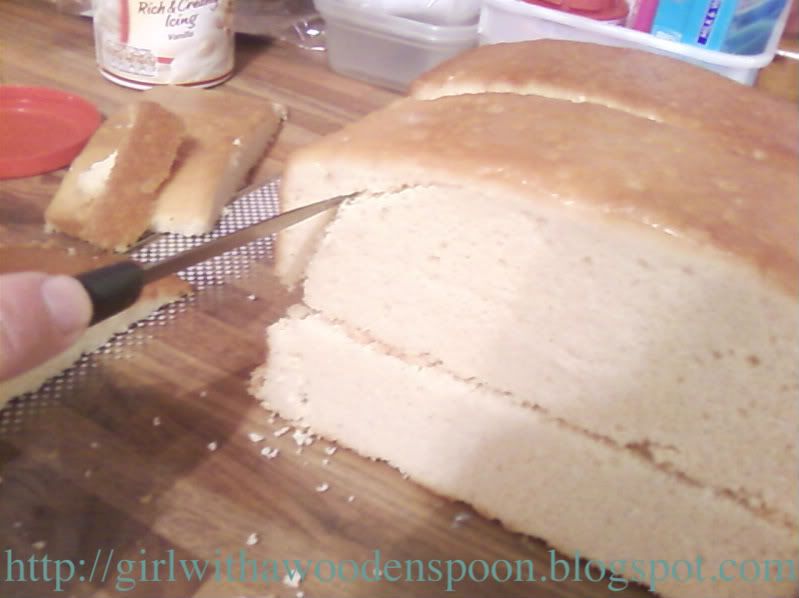
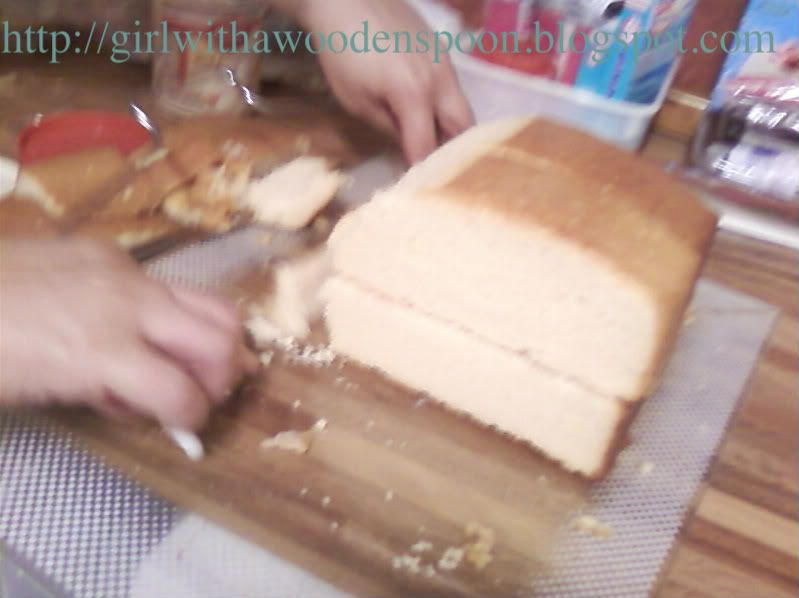
Then, I used a sharp knife to cut down one side of the cake to give the curved edging of a caravan, however I only grooved into the cake as a guideline, I used my cake leveller, and brought it down the side of the cake to give an even finish.
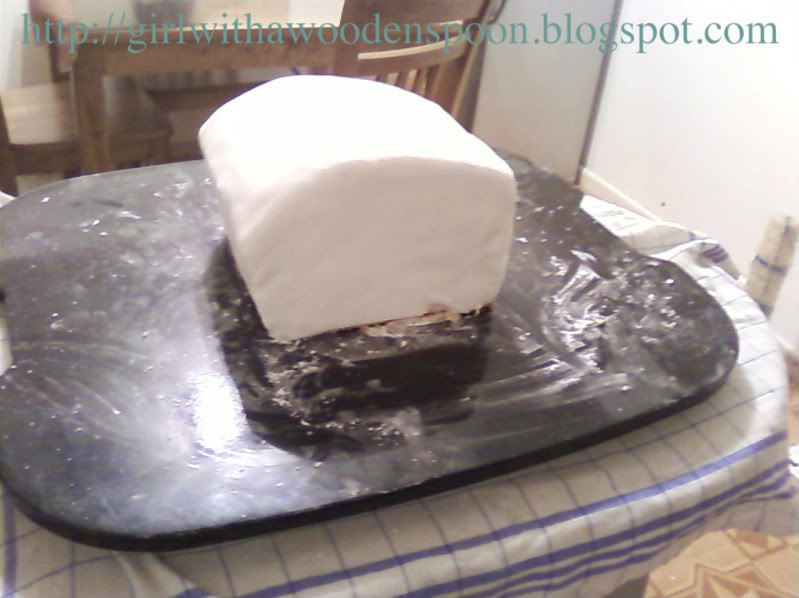
After this, I finished the cake off with one thin layer of buttercream, ready to stick the rolled icing onto. *Tip* When covering cakes, use either marzipan then icing, or two layers of icing if you don't like marzipan. I don't, so I used the two layers of icing, albeit very thin - it would be too sickly. To stick the two layers together, I used a cooking brush and boiled water. Boiled apricot glaze also works, or even a clear alcohol like vodka for all you alcys :P When covering a square shaped cake, pinch the corners together and cut them off, then use a sharp knife to get rid of the excess edges at the bottom of the cake. Remember to keep your hands well dusted with icing sugar whilst handling icing.
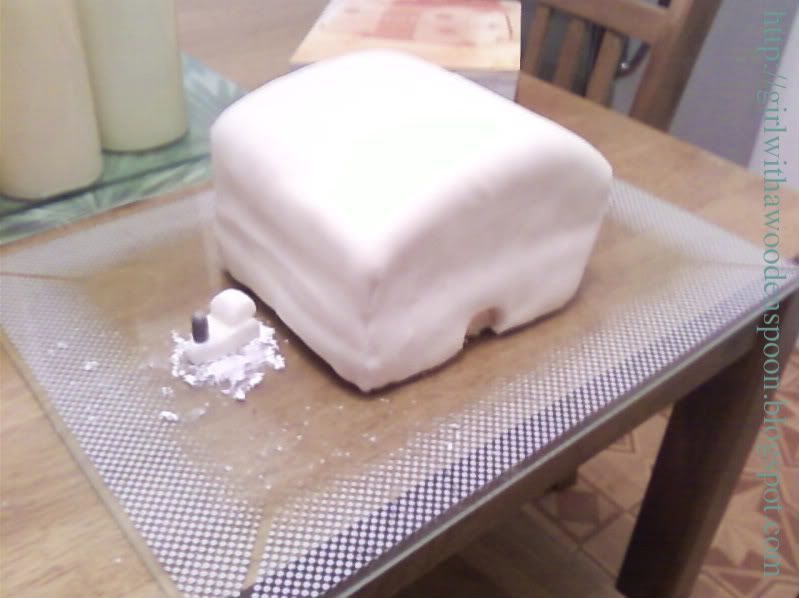
I let the cake set for about 3 days before decorating, so that the icing could dry out and make it easier to assemble objects on to. The little blob of icing on the side of the cake is the towing bar you see on caravans - I used an edible silver spray to get the metallic look on the hook, and inserted into the tow with a small bit of a cocktail stick, so it stayed upright.
Use your imagination when it comes to modelling, use paint brushes, cutlery items, modelling tools - anything you can get your hands on to give different effects. For example, if you were making a sugarpaste person, put a blob of sugarpaste through a garlic press to make their hair! The numberplate is also writen in a liquorice edible writing pen, and also happens to be the guy's own numberplate for his car. Add personality to your projects!
Anyways, that's all on the caravan cake stuff. Sorry it's been so long (again), I've been in Barcelona for a week and such like :D But on the plus side, I got my results back for my 2nd year of uni, and am happy to report that the highest marks I got were for my blog (yes this actually did start out as a uni project!). A lovely 2:1 overall for the year, and only one more to go!

Happy baking munchkins.
Kirsten x

23 June, 2010

New York Chicken

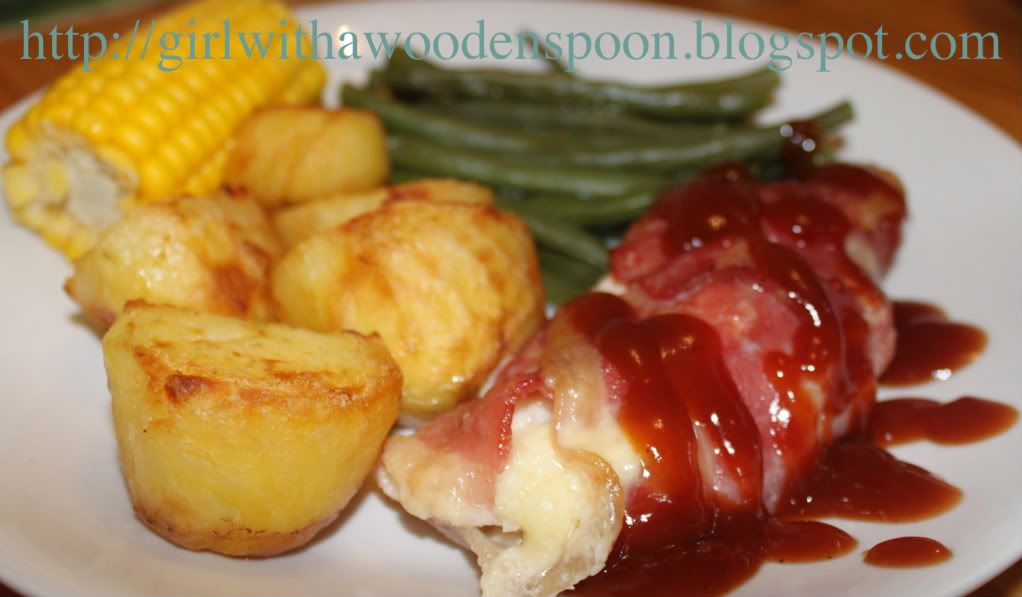
This dish has lots of names, I've heard it called the Chicken Melt, New York Chicken and Cajun Chicken before, but I don't know why. I have an unhealthy obsession with New York though so I think I'll stick with that name :)
So, what is it? I'm sure you've all had it once in your lifetime at least. It's a great meal, and will really impress your friends since it looks like you've put a lot of effort into it. However, it's actually really simple, and I made it the other night in a bid to woo my boyfriend (way to a man's heart is your cooking, ladies!). Safely say it worked :D
Chicken, with melted cheese and bacon wrapped around it. YUM! It's usually served with barbecue sauce drizzled over, but if you don't like it, Reggae Reggae sauce or even gravy is a good alternative.
Ingredients:
- Boneless chicken breast - these can be misshaped, economy lines from Asda for all I care. Still tastes yummy. Have one piece per person, about the size of your palm.
- Cheese - dependant on your tastebuds, it's up to you how much.
- 2 rashers of bacon per person
- Additionally, add BBQ sauce, gravy, or whatever you have on chicken to take away the dryness :P

Method:
-  Pre-heat your oven to 175'C.
- Wash the chicken under a cold tap, leave on a chopping board whilst you tend to your other ingredients.
- Chop a line of cheese, about 1cm thick and 10cm long. Don't make it longer than the piece of chicken.
- With a sharp knife, slice a line down the middle of the chicken piece, but don't pierce right through. It's more of a slit, really. Insert your stick of cheese into the line.
- Arrange your rashers of bacon so they lie parallel to one another on the chopping board. Place the chicken piece on top of the bacon, and carefully wrap the loose ends around the chicken.
- Using a square of tin foil, wrap the chicken pieces individually in the foil, starting underneath and finishing with the opening at the top of the chicken. This will allow so that when the chicken is almost cooked, you can open up the foil easily and brown it off.
- Repeat these steps for each of the chicken pieces. Once you are ready to bake, pop them on a deep roasting tin. This allows for any run-off of melted cheese to be caught.
- Bake them for around 25-30 minutes, until the chicken is thoroughly cooked (no pink bits!). For the last five minutes, open up the foil casing on each piece and brown off your bacon for crispyness :)

Serve and enjoy with roast potatoes, chips, vegetables, salad - whatever you fancy!
Happy cooking, blogging world! I have an engagement cake to blog about in a few days, watch this space ;)

Kirsten x

11 June, 2010

Happy Birthday!

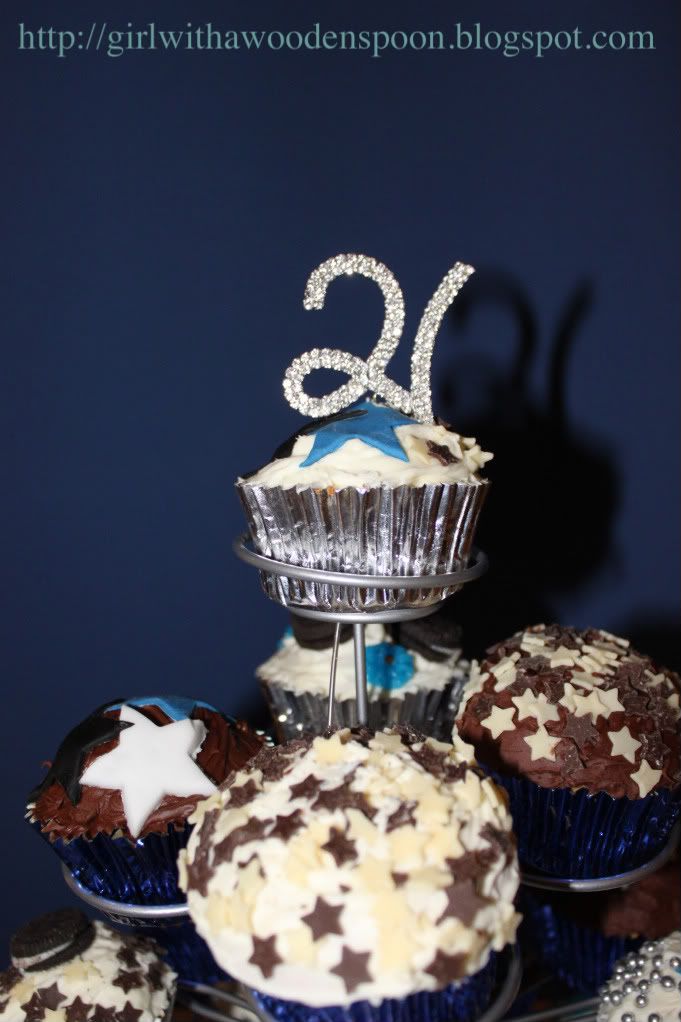
Two weeks too late, I know. But I can safely say that Jim's 21st Birthday Cupcake Tier Cake was a massive success! :D I have even been asked to make someone's Wedding Cake now!!! So I'm a very happy girlie. Anyways, so what happened? If you've been following, I bought all the ingredients and equipment in the weeks leading up to my boyfriend's big birthday party at the end of May. The night before the party, I actually made the cupcakes, using the same recipe from Pink Muffins (vanilla, mutual favourite). On the day of the party, I woke up super early and spent the following FOUR hours decorating 30 cupcakes. Every cupcake was individual, and was designed with my boyfriend's favourite foods being the main theme.
We have a range of cakes, each decorated with:
- Mini Oreos - he loves them!
- Silver Balls
- Dr Oetker Chocolate Stars
- Silver Spoon Blue and White Writing Icing
- Rolled Icing in the shape of stars
- The buttercream I cannot take credit for. I cheated. Sorry guys, but my main reasoning behind this was there was already two jars of Betty Crocker vanilla and chocolate buttercream in the cupboard, and with funds being already low (oh yeah, I paid for the whole party as his present. Not cheap!) I used them on the cakes. However, I do know how to make buttercream, so don't lose faith. It's not hard. Butter. Icing Sugar. Bit o' milk. Colouring. Flavouring. EASY.
This was the central focus of the whole cake. Unfortunately, my plans did not go well for this part. I did aim to make a range of different sized icing stars and affix them to silver wire, then have them sprayed behind the '21.' This went terribly, albeit my original thinking that it would be easy. You see them a lot on today's celebration cakes, I even had one on my 18th cake two years ago. However, the stars broke. They melted. Thet slid down the wire. It didn't end well... I even tried supergluing them to the wire, but instead of superglue drying clear like usual, it didn't when used on rolled icing. Damn! Try again soon.
This cake was used as a deterrent for nosey party attendees. It says "Don't Touch," as I thought the style of cake wouldn't be obvious as the Birthday Boy's actual birthday cake and people would assume the cake was part of the buffet. No, people. (I later found out that this cake was stolen and mashed into the mouth of my friend. Not impressed!)

So, I'm pleased with how it turned out. What do you think? Would you ever have a cupcake tier-cake?
Kirsten x