20 December, 2010

Have Yourself a Very Grumpy Christmas!

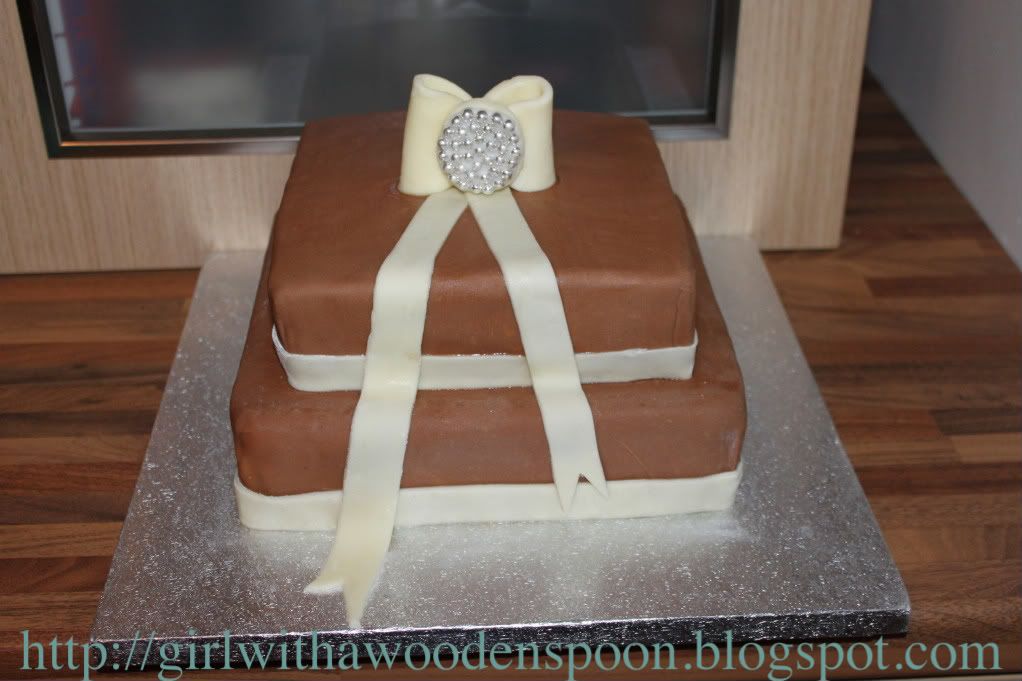
My christmas cake is finally finished! I say finally, because I started making it back in November. That's the beauty of fruit cakes. I'm sure you already know this, but, like wine, they keep better the longer you have them. That's why the top tier of a wedding cake is traditionally fruit so the newlyweds can keep it and re-ice it for their first child's christening.
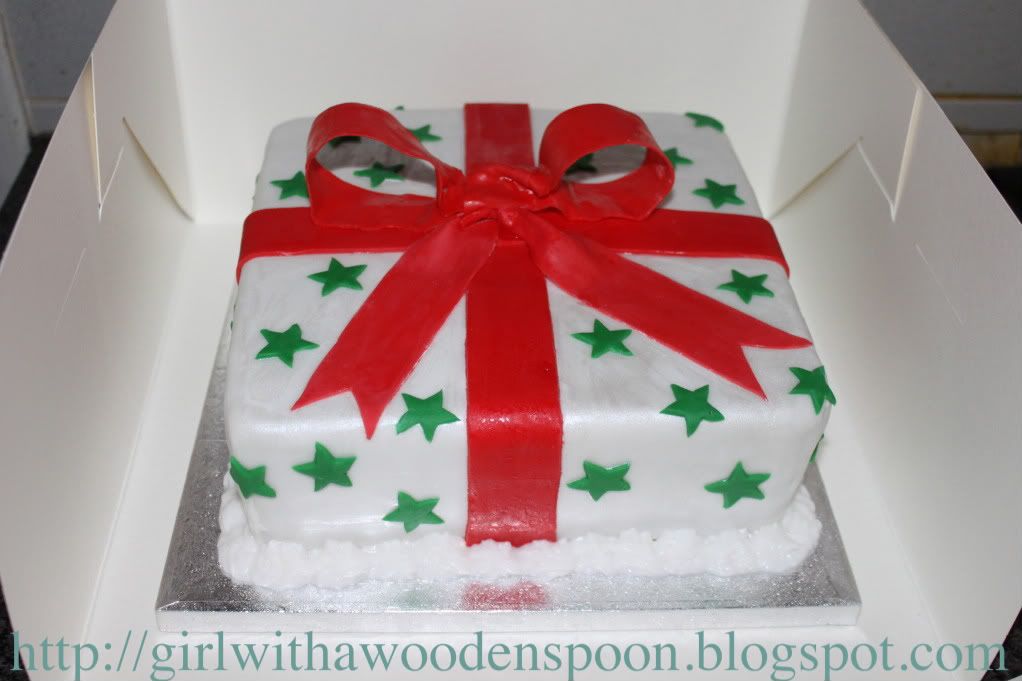
Anyway, I'm rather skint this festive period. So what better present than a home-made christmas cake?! The lucky recipient is my boyfriend's Grandad, who they lovingly call "Grumpy." He was supposed to visit relatives in Ipswich this christmas, but due to all the snow and whatnot, he's staying in Plymouth. Shame really, seeing as he could've shared the cake with everyone up there!

Would you like to know how to make it? Okay, you'll need:
- 12oz Self-Raising Flour
- 1/2 tsp Salt
- 1 dsp (dessert spoon) mixed spice (I used Christmas Spice, available from all supermarkets)
- 1 tsp cinnamon
- 1 tsp nutmeg
- A lot of fruit. I didn't measure my quantities. I'm quite bad for that. But the recipe I followed recommends 1lb per fruit i.e. ground almonds, currants, glace cherries, mixed peel (lemon and orange), raisins and sultanas.
- Rind and juice of 1 lemon
- 12oz Butter
- 10oz Dark Brown Sugar
- 8 Eggs
- 8 tbsp Brandy

1) Butter a deep cake pan. I used a square 10in pan. Line with greaseproof paper. Brush the paper with melted butter.
2) Tie a double layer of brown wrapping paper around the OUTSIDE of the cake tin, and make sure it's high enough to protrude above the rim. I don't know how, but it prevents the fruit cake from burning.
3) Sift all dry ingredients together. Stir in your fruits.
4) In a separate bowl, cream the butter, sugar and lemon rind.
5) Beat in the eggs, one at a time.
5) Stir in the flour and the lemon juice, and 4 tbsps of brandy to this mixture.
6) Add this to the dry mixture and stir thoroghly. Transfer to cake tin and level out.
7) Bake on 150'C for an hour and a half.
8) Reduce the heat to 130'C and bake for a further 3-3 and a half hours. Cover the cake with brown paper and fasten with string in the last few hours to prevent burning.
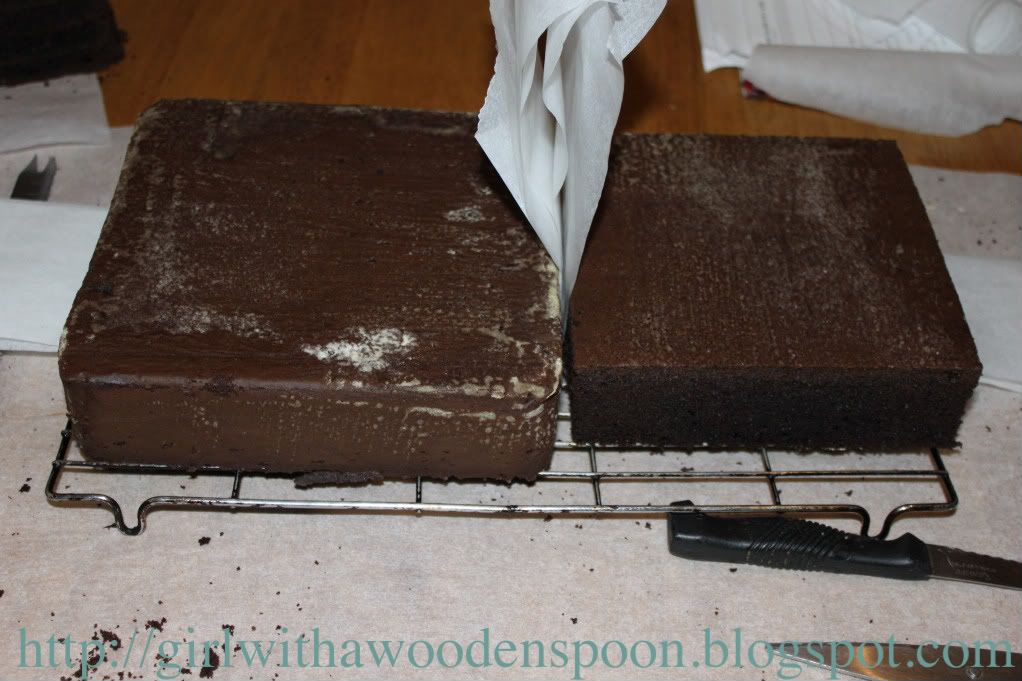
9) Remove from the oven and cool on a wire rack. Turn the cake upsidedown and skewer holes in the cake. Pour in the remaining brandy and seal in an air-tight container until needed for icing.

To Decorate:

- Marzipan
- White Sugarpaste
- Green Sugarpaste
- Red Sugarpaste
- Neutral-coloured Flower Paste
- White Shimmer Powder (Only available from cake decorating stockists i.e. Lawson Shop.
- Trex vegetable fat
- Marmalade
Okay, Trex is AMAZING for cake decoration. If you haven't already discovered it, it's a great, greasy alternative to a tonne of icing sugar when rolling icing and marzipan. It doesn't dry them out, and it's so malleable. All you have to do is rub a bit between your (washed) hands, on your rolling pin and the work surface. Roll away! (I know, I discovered it once I had actually got as far as the green stars, div.)
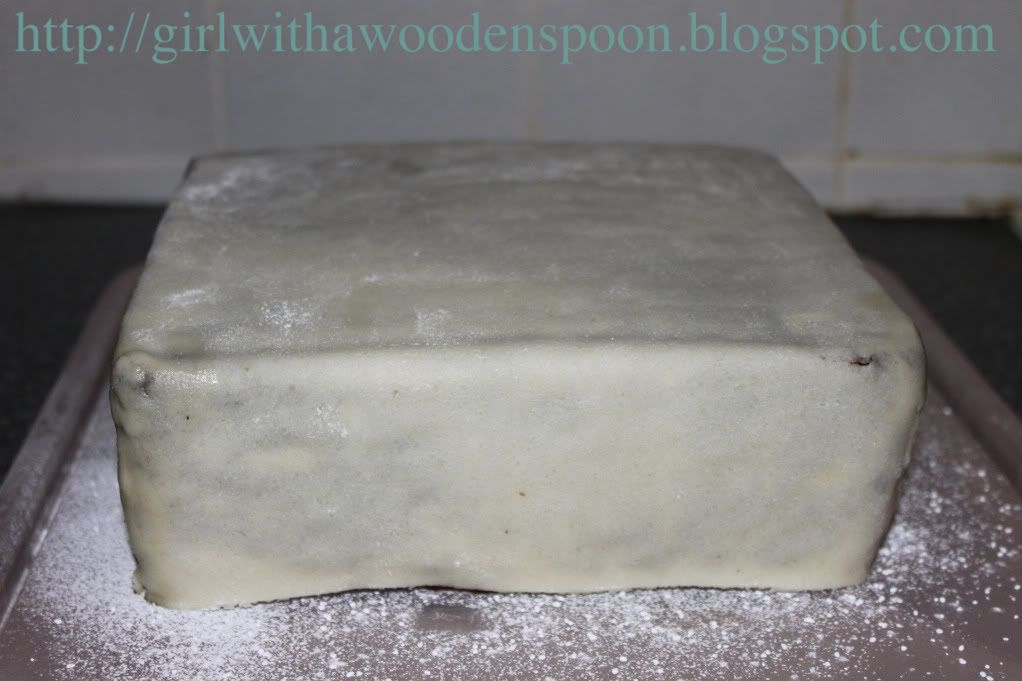
1) Melt a few tablespoons of marmalade in a pan with some boiled water until you have a runny consistency.
2) Paint this over your cake using a cook's brush. Cover the cake with rolled marzipan.
3) Use cool, boiled water to paint onto your marzipan before transferring your icing onto the cake. Leave to set for a day or two.
4) Mix red icing and flower paste together to create your bow. Flower paste helps icing harden, so it's ideal for decoration. Roll very thinly, and cut strips long enough to cover the lengths of your cake. Create a cross for the ribbon on your cake.
5) Take a strip of icing/paste mix the same width as your "ribbon." Pinch in the centre, and fold both ends together. Take another short strip of "ribbon" icing and wrap around the centre of the bow to hide the folds.
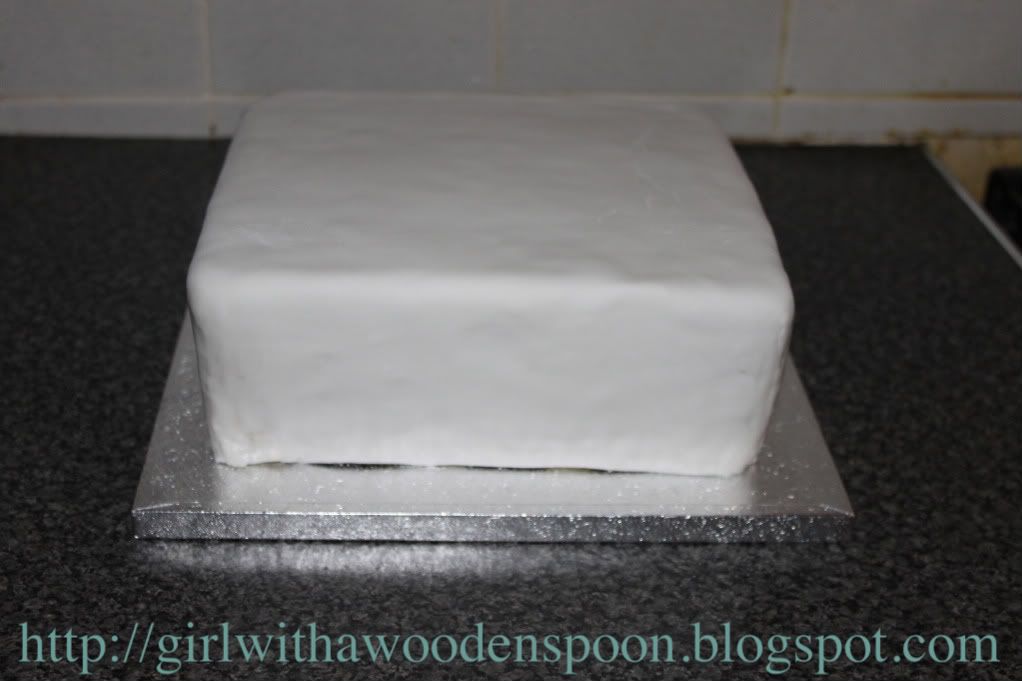
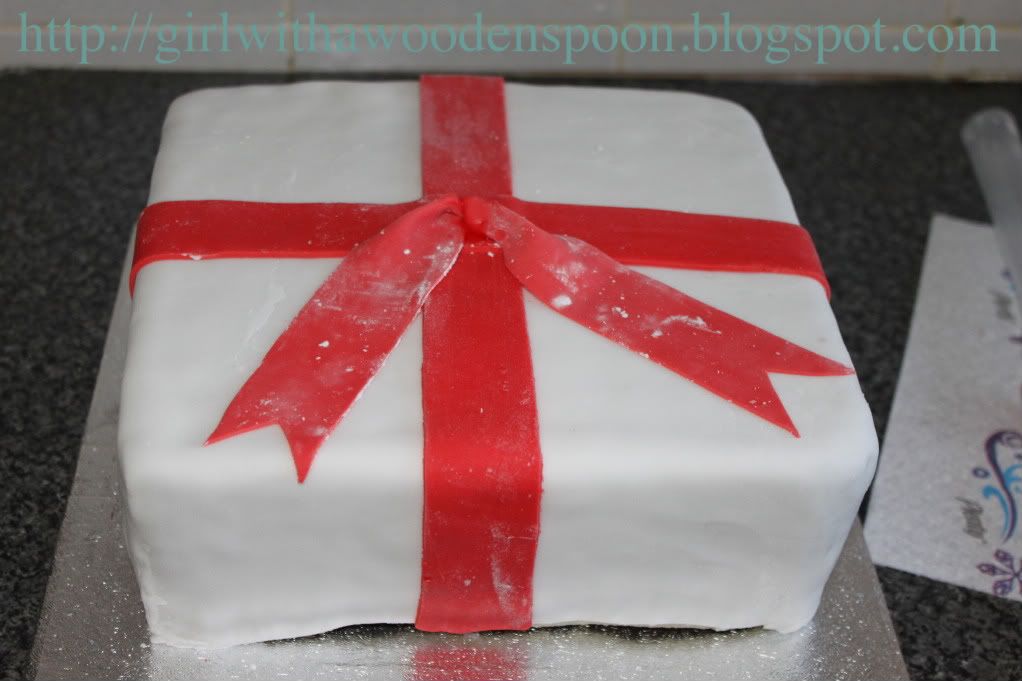
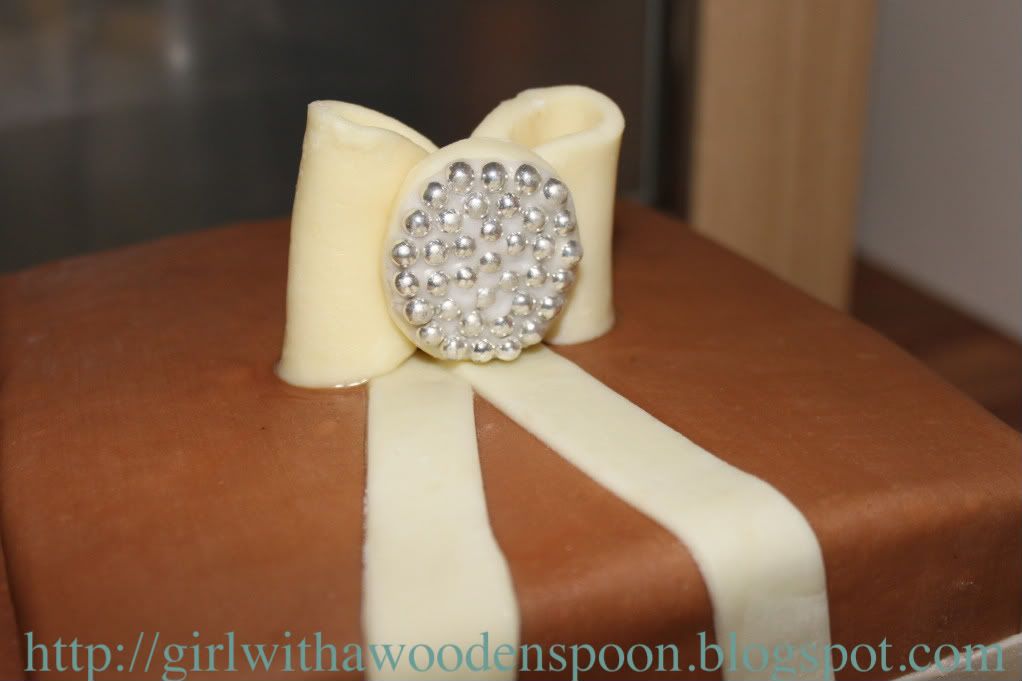
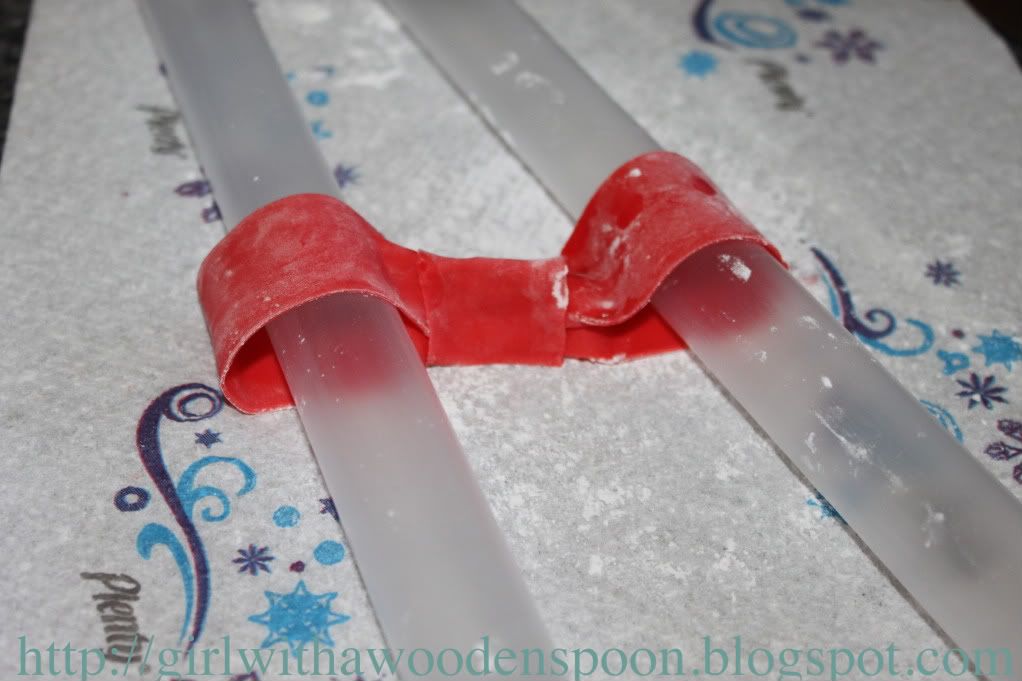
6) I used two plastic cylinders to keep the shape of the bow overnight, then gently remove them once you know they're hard.
7) Affix to your cake using vodka.
8) Paint your cake in a mixture of a tsp of vodka and a touch of white edible shimmer powder. This creates a nice pearly effect, and also a glue for your stars.
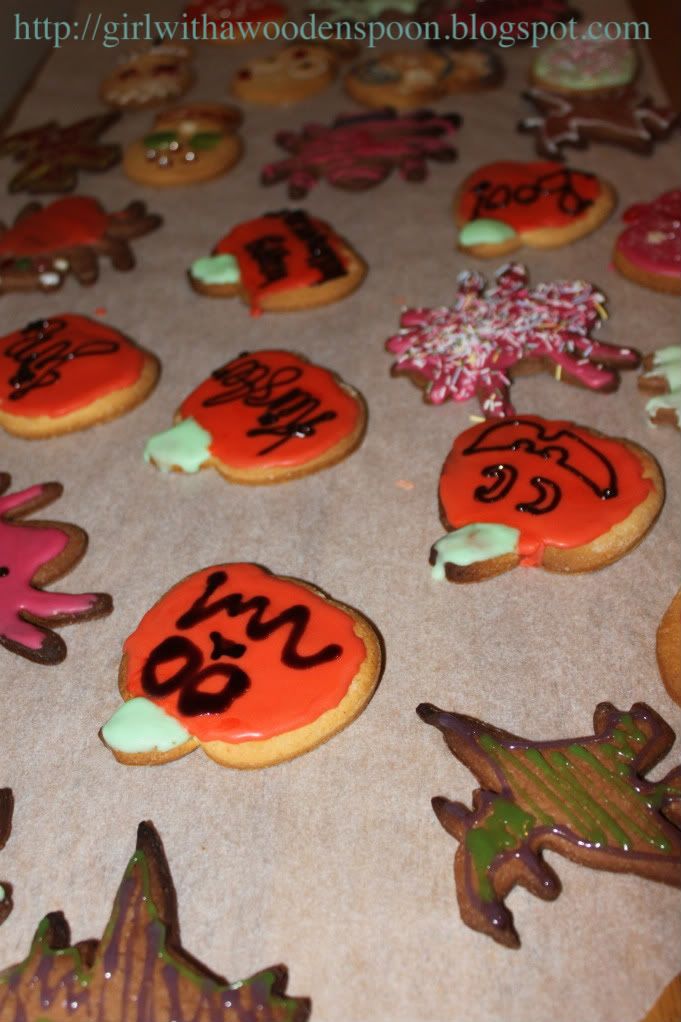
9) Cut lots of green star shapes using a small cutter and stick to the cake straight away.
10) Finish with royal icing piped around the edges.

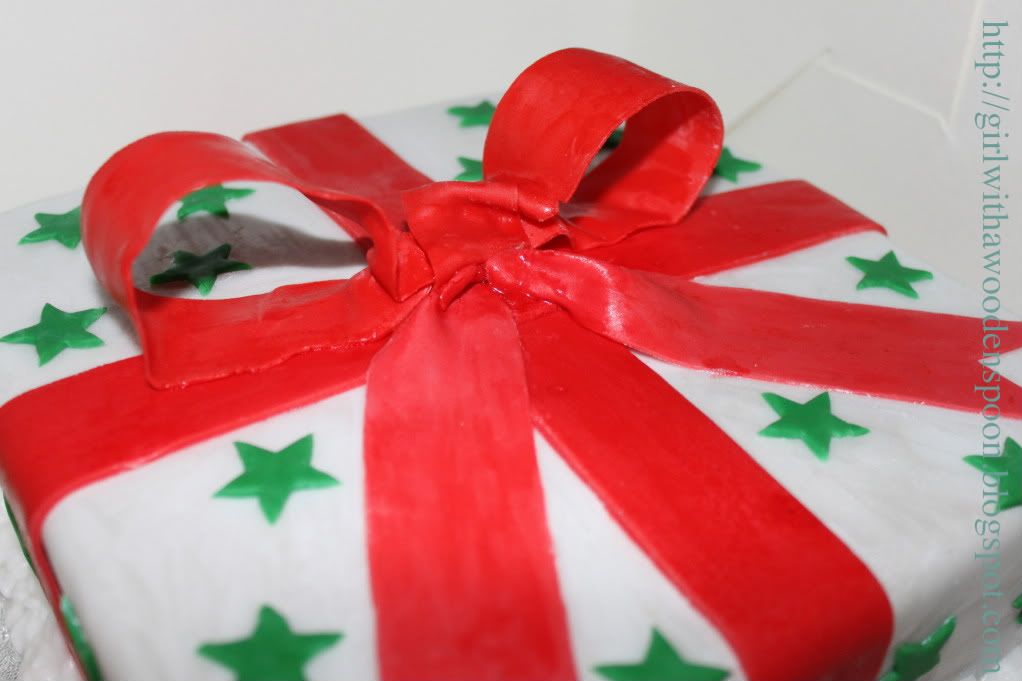
Happy Baking and Happy Christmas! x

15 December, 2010

50th Birthday Cake

I was naughty with this one. I cheated :O
This post is not about the specific ingredients of the sponge, but rather about how I got on with the modelling chocolate which I used to cover and decorate my mum's two-tier birthday cake. I bought a dry Devil Food Cake mix from my local cake supply shop - I know it's naughty of me to cheat, but the lady who owns the shop adds preservatives into the mix so the cake has a longer shelf life. This cake took me aaaaaages to finish, so it was a good thing that it lasted so long. Using that mixture, you can bake up to 12 days before whatever celebration you need the cake for - it's ideal, and totally delicious!!!

This is what the cakes turned out like before covering, and I measured my only square cake tin wrong and went out and bought another tin exactly the same size, so had to cut down the second tier veeeery carefully to add on top:
To cover the cakes, again I cheated. I bought chocolate frosting from the same cake shop - again because of the preservative qualities it has. I covered both cakes in the frosting, and then covered in rolled white modelling chocolate. To make this, you will need:
- Squire's Belgian White AND Milk Chocolate Coverture - 2 x 300g packs for each flavour
- Any good quality rolled white icing - 600g

You need to knead (haha) both icing and chocolate together until they have merged completely. This will take some time, and because of the bulkiness of the two together I broke them into smaller pieces, then merged into larger blobs once mixed well enough. The cocoa butter in the cocoform will make the mixture greasy, but in a good way, so you get the rhythym going soon enough.
Roll out like you would normal icing, with a little icing sugar for dusting. Cover each of the cakes in white chocolate first (remember, if you ice a normal cake you always do two layers, or one layer of marzipan and one of icing - this is the same principle: use two layers of chocolate) and then repeat the same steps with Milk Chocolate Coverture to cover. A little water is enough to make the milk chocolate stick to the first layer of white, do not layer with more frosting else it's too sickly!

To layer the cakes, you will need two 30cm wooden or plastic cake dowels. Cut these down to size so that they are the depth of the first layer, just slightly higher - about 1mm will do. Roughly add some more frosting onto the underside of the second tier, but not completely to the edges - the frosting will spread out too much else. Insert the cake dowels at four points in the first tier, where you know the second tier will cover them perfectly. Where you place the dowels will depend on where you want the second tier, so make sure you do this very carefully. Then simply place the second tier on top of the first, and voila!
To make the white chocolate ribbon, I used some more cocoform mixture that was left over from covering the cakes. If you need to make more as necessary, repeat the earlier steps. Roll out to a thickness of about 2mm, and cut long strips for your ribbon tails. Cut a 'V' at each end to make them pretty. For the actual bow, I used a circular cutter and cut a brooch shape out. Using piped royal icing in small peaks, I attatched silver edible balls to give it that blingy look. Again with extra white cocoform, form a rough oval circle with your hand and a rolling pin. Join the two pointy edges together and pinch to stick. Repeat with a second oval, and these are the two parts of your bow. Again using royal icing, attatch the brooch into the middle of the bow and attatch with water to the ribbon tails on your cake. Hey presto!

I can't remember if I already mentioned this, but the final outcome of the cake changed considerably since the first time I mentioned it on here. I said I'd be using chocolate cigerellos, however they couldn't be ordered in time for my mum's birthday, so this is what we did instead!

Happy Baking x

What I've been up to...

Hi y'all!
So as my mother just asked me why I wasn't at Uni today, I forgot to mention to her we've already broken up for the christmas holidays so that means I'm baaaaack for now :) At least just to tell you what's been happening :P

I still have a ton of work to do over the break, including a fashion wedding photography shoot and starting my dissertation (eek!!) oh yeah... And christmas! Normally I'm the most organised person you'll meet. I carry my diary with me everywhere, and am constantly making lists of what I need to do/buy/save for. Yet the Big Day is upon us next week and I'm barely there with christmas presents. I'ma be a busy bee over the next few weeks!

But because it's christmas, I decided I needed to come back fairly quickly - I've got another cake to show you soon. A christmas cake! I'm also thinking of making mince pies as home-made presents for people who buy for me but I just can't afford to buy back for, so although they're very simple I'm attempting to make pastry from scratch for those - and you know how I feel about pastry. Hmm. We shall see!

So in October this is what I did...
And then in November I celebrated a special friend's 21st...
And also rocked out to one of my favourite bands, Avenged Sevenfold...
And of course, as mentioned beforehand, it was Mummy's 50th. Read about that later though :)
Anyways so that's what's been happening, flick over to my newest post to find out how the 50th Birthday cake went...
Happy Baking x