
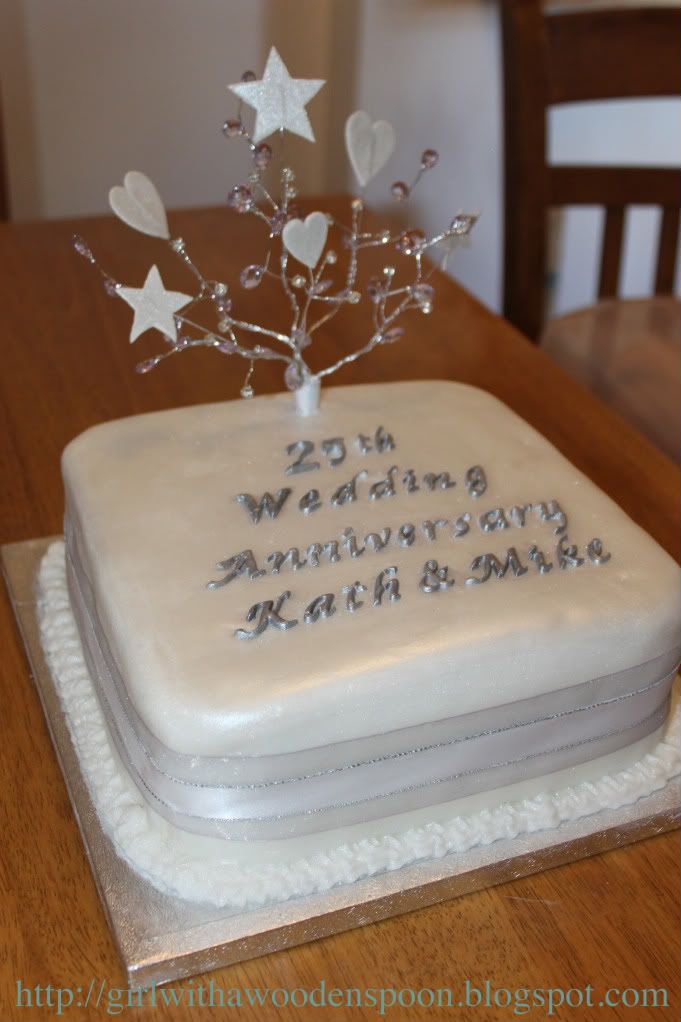
The Silver Wedding Anniversary was a huge success, they were so pleased with their suprise party and knew instantly I made their cake :D They loved it, thankfully! I followed the same recipe as the previous Engagement Cake, and FIIIIINALLY managed to figure out how to make an icing and wire spray decoration. FINALLY!!!

Okay, so how did I finally make the icing decoration? You will need:
- A pack of silver wire strands
- A pot of coloured Flower Paste - I used 'Silver Celebration' and dusted with more shimmer powder
- Cornflour
- A little water and pasting brush
- Jewels and gems for decoration
- Plastic pointed cone
*All available from a good cake stockist or craft shops*
It was so simple. I have always tried making this with simple rolled icing. I tried cutting out shapes, letting them dry in the fridge and then inserting the wire. Fail. I cut out shapes, let them dry at room temperature, and inserted wires. Fail. I cut out some more shapes, inserted the wire, and then let them dry. Fail. I tried all of these methods with different thicknesses for each cut out shape. FAIL. All of these times, the icing broke apart, or the wire wouldn't set flat and poked through.
Well, I didn't really say that back to her. She is an old lady, after all. She told me to use Flower Paste, which is what people use to make icing flowers, too. It's very pliable and sets hard as a rock in no time at all.
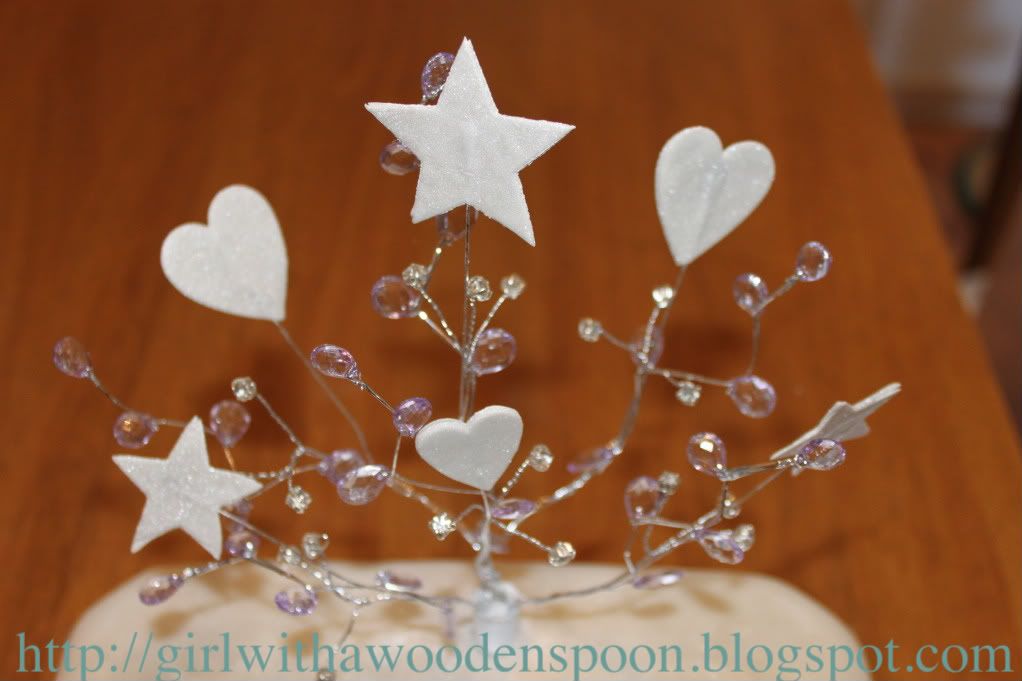
She told me to roll out the icing very thinly, so thinly that you could read a book through it. Then, use a little cornflour for dusting. Cut out one shape, and use a little water brushed over it before placing a wire with the top folded down in the centre of the shape. Then cut out the same shape, and sandwich the wire between the two shapes. Voila, one icing on a stick.
I did this numerous times with different size hearts and stars, and let them to dry overnight - juuuust in case. The next morning, I arranged each stick with one lilac jewelled wire, and one silver gemmed wire, and repeated this until I had six trios of icing, gems and jewels. I then twisted them altogether, tweaked them a bit to look nice, and superglued the decoration into a plastic pointed cone - specifically for this decoration. This was then inserted into the cake, and with a bit of remaining ribbon I fastened this around the base of the decoration to hide the cone and wires.
Happy Baking x
love this miss! you're getting good at these engagement style cakes! :D xx
ReplyDelete